Hello and welcome to Artbeads!
I’m Cynthia (I'm on the left in the photo above) and I am the Co-Owner and Chief Jewelry Designer at Artbeads.com. With the help of my team, we create all the beautiful jewelry ideas and tutorials that you'll find on our website. From trendy wrap-bracelets to intricate bead embroidery, we love it all.
With so many inspirational designs available on our website, we know it can be overwhelming for beginners. Lots of customers ask us where or how to get started. We wanted to give new beaders a place where they can learn basic techniques (or if you’ve beaded before, a place to freshen up on the basics). We are so happy to share our passions with you and can't wait for you to get started making your own jewelry. Choose a place to begin: (or keep scrolling to visit all three techniques!)
Choose a place to begin
(or keep scrolling to visit all three techniques!)

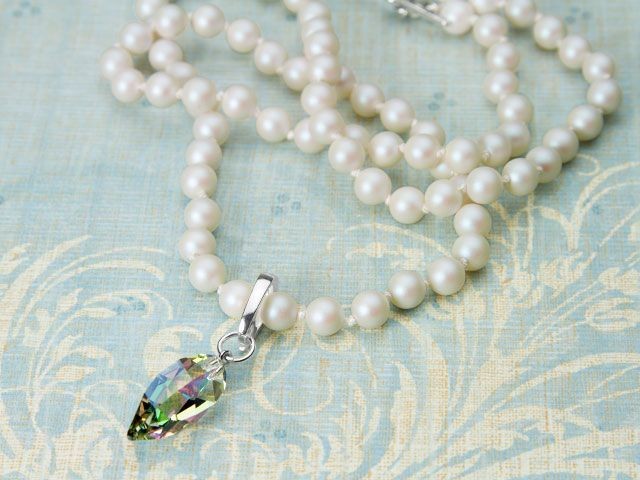
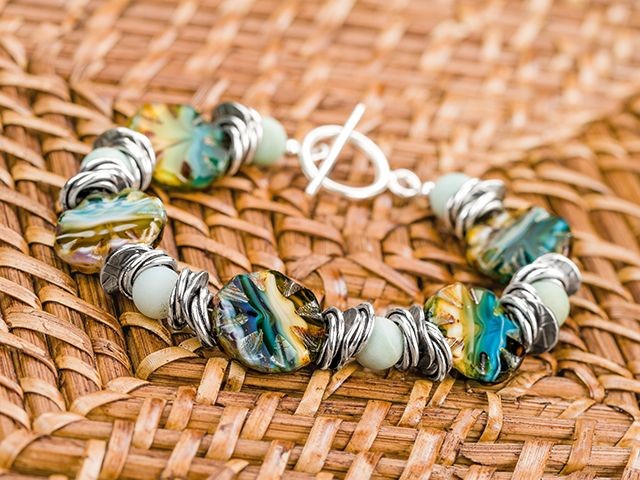
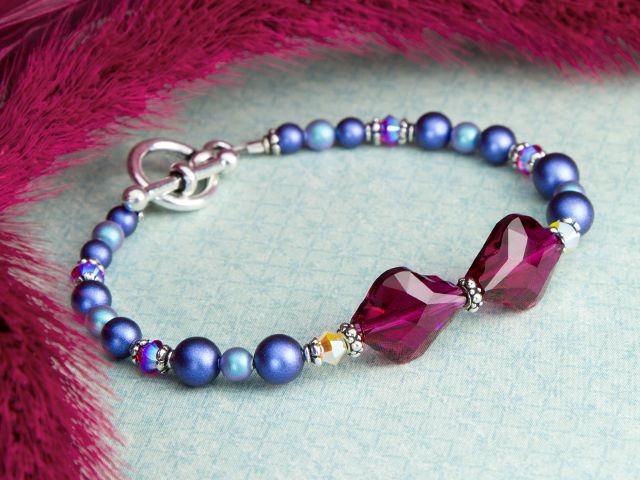
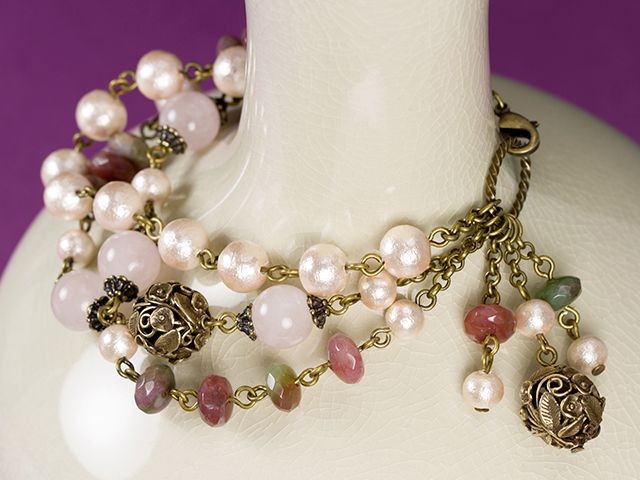
Simple Stringing
Learn how to make bracelets and necklaces using this simple technique. Explore all the necessary products and tools you'll need to use, and see some of Cynthia's favorite examples...

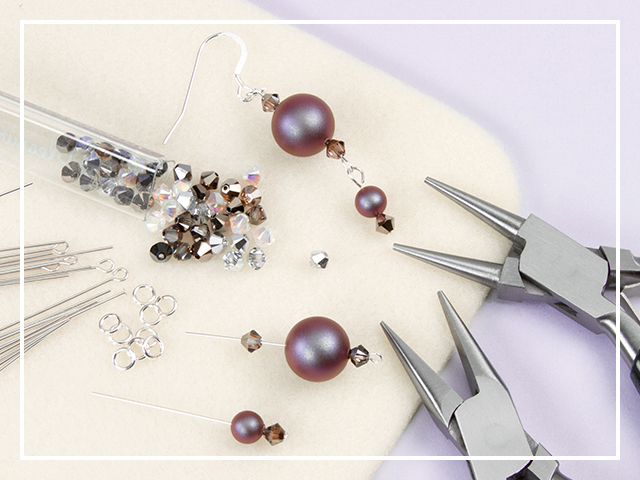

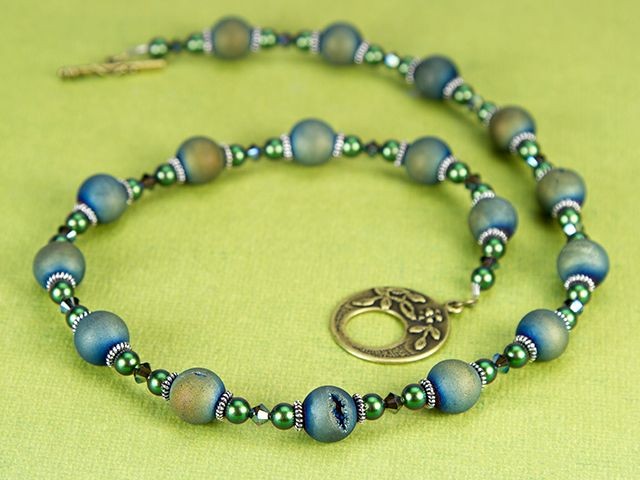
Knotting Beads
Watch Cynthia demonstrate this classic technique in two different ways. See her favorite tools and supplies, along with a handful of inspiring projects to get you started...
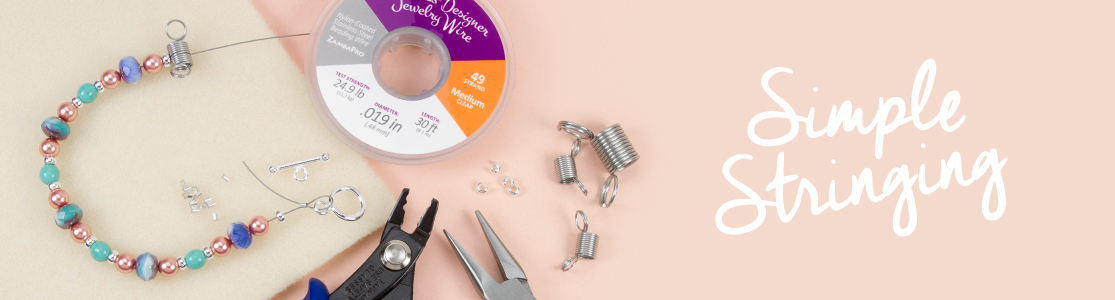
Simple Stringing
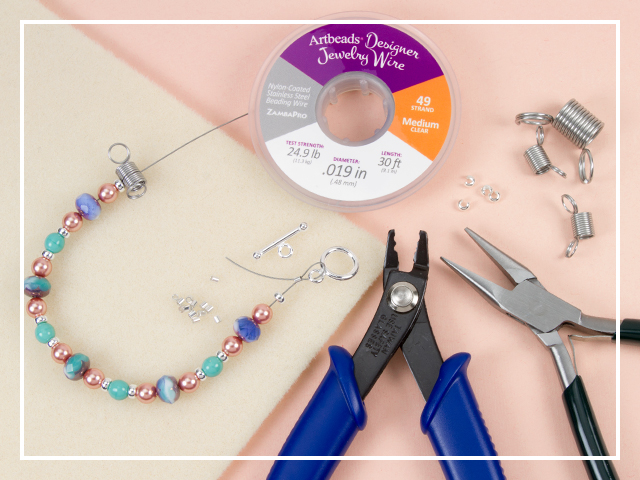
Step 1 - Gather the necessary materials
Check out the list below for individual tools and components that you'll need to get started. You might also find tool sets like this one or this one helpful. Your choice of Beads (Don't know where to start? Try Artbeads Designer Blends)Individual tools and components:
- Jewelry Wire - We recommend Artbeads Designer Jewelry Wire in a medium weight, but any Beading Jewelry Wire will do. View all wire options
- Crimps - Order a few extra for practicing. Shop Cynthia's favorite crimp or View all crimps
- Crimp Covers - These come in lots of finishes and sizes. Shop Cynthia's favorite crimp cover or View all crimp covers
- Toggle Clasp - Toggles are super easy to use and can really elevate your design. Shop toggle clasps or View all clasp options
- Beads - This is the fun part! We sell a lot of beads. In the video, Cynthia used Swarovski Crystal Pearls, Swarovski Crystal Faceted Rounds, and some spacer beads. Want to make shopping easy? Try a tube or two of Artbeads Designer Blends. Or dive right in and Shop all beads
- Pro Tip: Pay attention to the bead sizes, since some can be bigger or smaller than you think when you see them online!
- Bead Stoppers - Cynthia's favorite tool. Shop the mini bead stopper
- Crimp Tool - An essential in jewelry-making. Get yours
- Chain Nose Pliers - You'll use these time and time again. Get our favorite basic or Shop all pliers
- Cutters - Always have a good, sharp pair. Get our favorite basic or Shop all cutters
- Bead Mat - We include these in our Starter Set, but we also sell them in larger sizes (large, and extra-large).
- Bonus: Bracelet Measuring Cone - Such a handy tool when it comes to making and sizing bracelets. Shop the EZ Bracelet Mini
Step 2 - Learn the basics
Cynthia showed you everything you need to know, now it's time to practice! Use a few crimps and find the right strength for your "good hand shake." You can test your crimps by giving them a light tug. Once you're comfortable crimping, try adding a crimp cover. Just remember to close them gently and you'll have it mastered before you know it. Got it figured out? You're ready to start stringing!Step 3 - Make your first piece
Cut your jewelry wire approximately 3.5 inches longer than how long you want your finished project to be. Add a bead stopper to one end of the wire. The bead stopper will ensure your beads don’t fall off the wire while you are stringing. Add the beads of your choice to the wire. Make sure you use your bead mat while working to protect your beads and also prevent beads from rolling away. Once you have added the beads you like, you can measure your project against your wrist or neck to ensure it will fit as desired. Keep in mind the length of the clasp you will be adding. Now it’s time to add the finishing touches: crimp tubes, crimp covers and a toggle clasp. At the end of your strand, slide on a crimp tube, followed by one piece of the toggle clasp. Then, bring the end of the strand back through the crimp tube. Pull the wire snug, so that the loop coming out of the end of the crimp tube is small. Crimp the crimp tube in place with a crimper tool. Add a crimp cover to the crimp tube. Repeat for the other end of the strand and voila! You've finished your first piece.Step 4 - Explore more
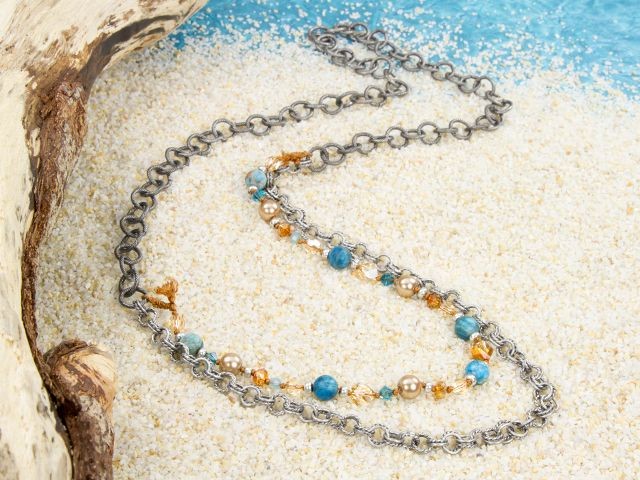
Ready for more? Visit the Artbeads Design Studio and start exploring! We created our Jewelry & Tutorials page with special facets on the left for you to sort and narrow down the inspiration. You can select all sorts of things, including Jewelry technique or Designer (Cynthia, Cheri, and more!). Choose "Simple Stringing" under "By Technique" to see all the projects that use the stringing method that you just learned. You'll find videos, step-by-step instructions, diagrams, components lists, and loads of inspiration. We launch new free content every week, so we hope you come back to explore and grow to love jewelry-making like we do.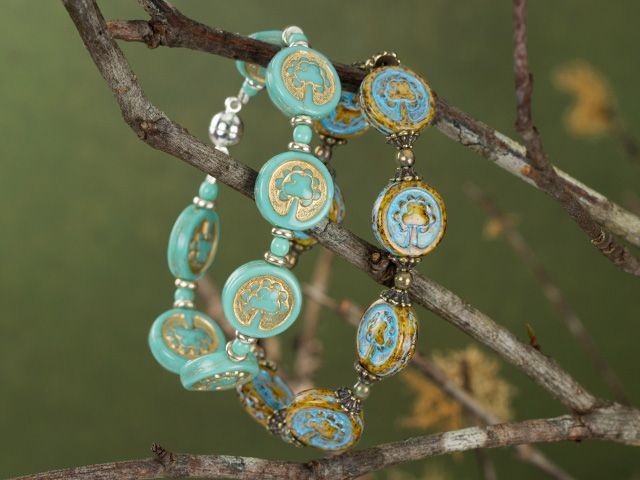
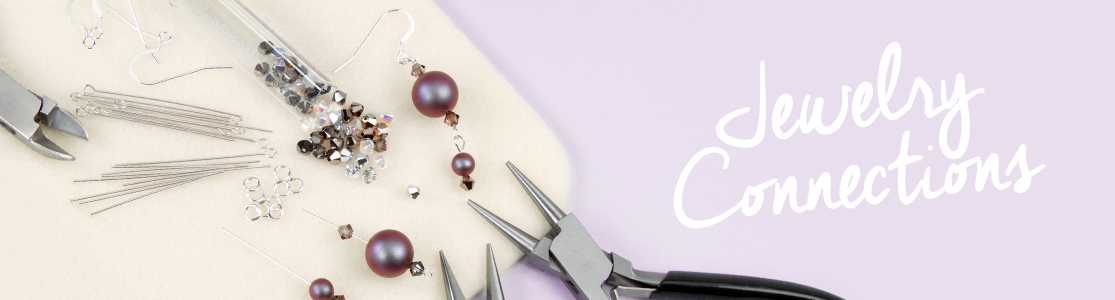
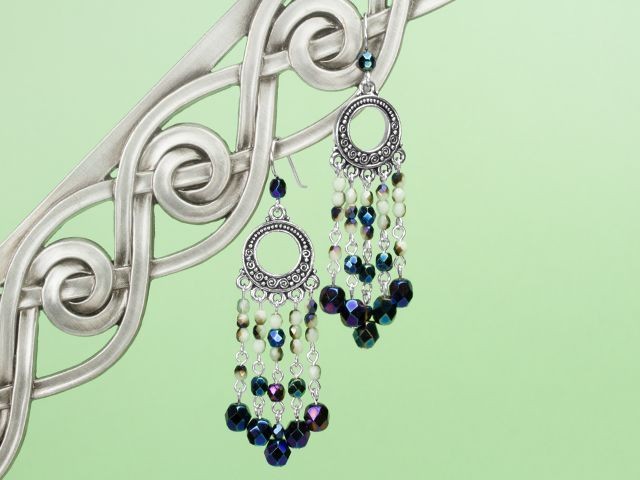
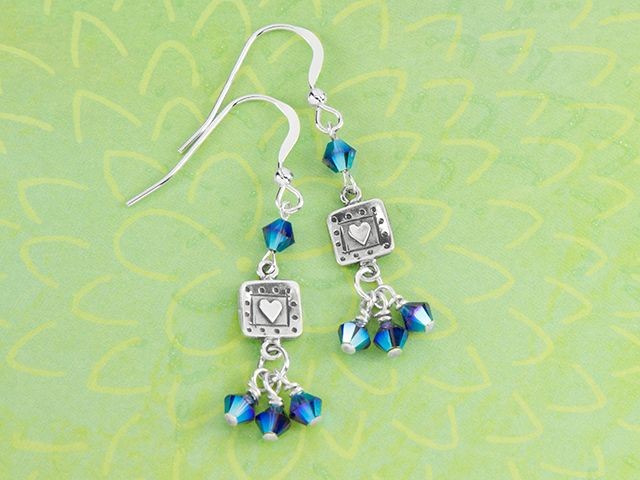
Jewelry Connections
Step 1 - Gather the necessary materials
Check out the list below for individual tools and components that you'll need to get started. You might also find tool sets like this one or this one helpful.Individual tools and components:
- Eye Pins - Shop one of Cheri's staples or View all eye pins
- Head Pins - Shop one of Cheri's staples or View all head pins
- Open Jump Rings - Shop one of Cheri's staples or View all open jump rings
- Earwires - We include these in our Starter Sets, but we sell earwires in all shapes and sizes. Go basic or choose a fun one to spice up your design. Shop all earwires
- Earwire Clutches - Get our favorite basic or Shop all clutches and earrings backs
- Beads - Choose any beads you'd like (we sell all kinds!). See all of our Artbeads Artbeads Designer Blends or Shop all beads
- Pro Tip: Pay attention to the bead sizes, since some can be bigger or smaller than you think when you see them online!
- Cutters - Always have a good, sharp pair. Get our favorite basic or Shop all cutters
- Round Nose Pliers - These will be the start of all your loops! Get our favorite basic or Shop all pliers
- Chain Nose Pliers - You'll want to have two pairs to easily open and close loops. Get our favorite basic or Shop all pliers
Step 2 - Learn the basics
Cheri showed you the technique, now you get to practice! Create a few dangles to perfect your simple loop, and when you're ready, move on to the wrapped loop. Then try opening and closing some jump rings, and start connecting things!Step 3 - Make your first piece
Earrings are a beautiful way to spice up any outfit and it’s easy to get started making them. First you will need to string the beads of your choice onto a head or eye pin. The Artbeads Starter Set comes with an Artbeads Swarovski Designer Blend full of blingy beads to choose from, but you can just as easily use other beads. If you are using an eye pin to create a dangle, you can add more dangles or other components to the simple loop at the end of the eye pin. Once you have added the desired beads, make a simple loop at the top of your head or eye pin. A simple loop makes it easy to add or remove dangles from your earrings. You can also make a wrapped loop for greater security. Use a jump ring to add your dangle to the earwire. Once you have added the desired dangles and your earrings are complete, you can use rubber clutches to secure your earrings while wearing or storing them. The clutch slides on to the earwire after you’ve inserted it into your ear or on a display.Step 4 - Explore more
Ready for more? Visit the Artbeads Design Studio and start exploring! We created our Jewelry & Tutorials page with special facets on the left for you to sort and narrow down the inspiration. You can select all sorts of things, including Jewelry technique or Designer (Cynthia, Cheri, and more!). You'll find videos, step-by-step instructions, diagrams, components lists, and loads of inspiration. We add new free content to our website weekly, so make sure to check back to explore even more. We're sure you'll grow to love jewelry-making like we do.
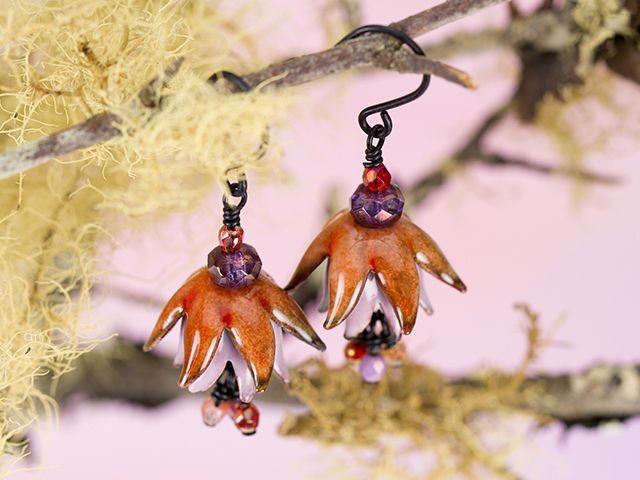
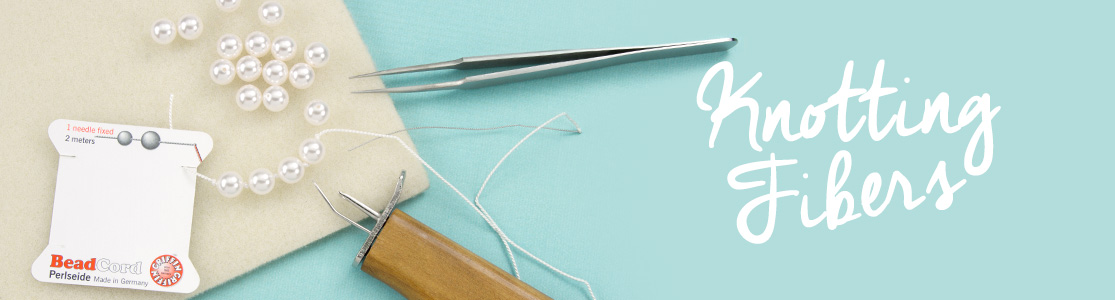
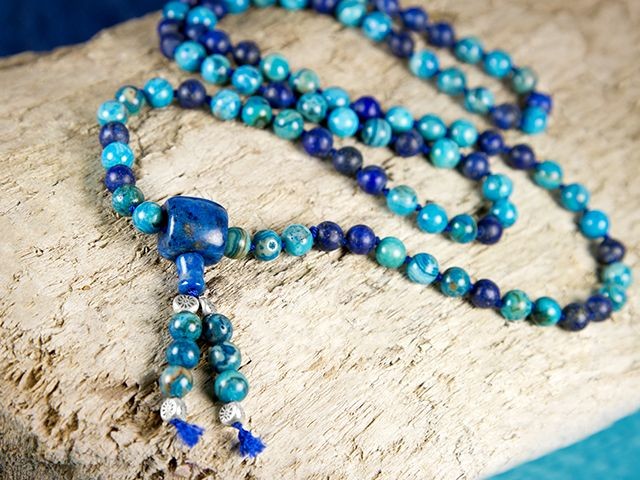
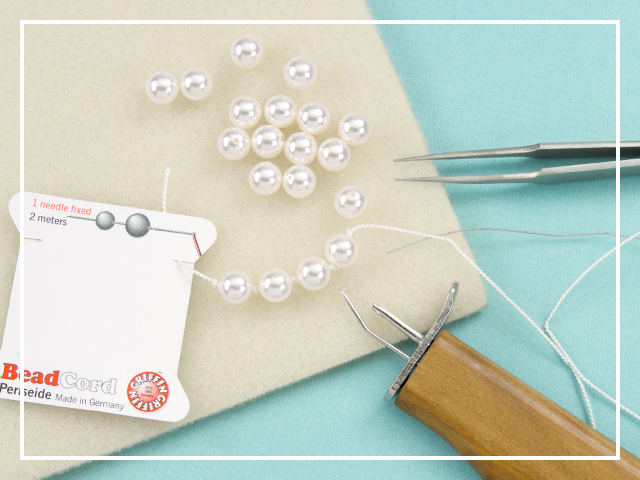
Knotting Beads
Step 1 - Gather the necessary materials
You just need a few things to get started with knotting beads, here's a handy-dandy shopping list to make things easy:- Silk Cord (with Needle) - You can use all kinds of fibers to knot beads, but Griffin Silk Cord is our favorite. They make things easy by attaching a needle to the end of the thread for you. Try it in size 7 (0.75mm) with most pearls or experiment with other sizes and different beads. Shop all Griffin
- Beads - Pearls are traditional when it comes to knotting, but you can use any beads you'd like, just remember that you'll need your cord thickness to fit the bead hole. Shop pearls or Shop all beads
- Bead Tips & Clam Shells - Use these at each end of the strand for a finished look. Shop Cynthia's favorite or View all bead tips & clam shells
- Pearl Clasp - These clasps keep your pearls secure while maintaining an elegant look. Try Cynthia's favorite or Shop all pearl clasps
- Knotter Tool - Try this handy tool for quick, consistent knots.
- Tweezers - Use these precision tweezers to knot the traditional way.
- Bead Mat - Protect your beads and your beading surface with these bead mats. We sell them in larger sizes, too ((large, and extra-large).
- Bonus: Adhesive - Add some extra security to the knots at the end of your strand with a little glue. Try Gem-Tac or Jewel Bond
- Bonus: Open Jump Rings and Chain Nose Pliers - Sometimes you need to attach your clasp to your bead tips using open jump rings. You'll need two pairs of chain nose pliers and a jump ring at each end. Want to skip this part? You can knot your strand directly to your clasp, skipping the bead tips and jump rings entirely. Try this basic jump ring or View all open jump rings / Get our favorite basic or Shop all pliers
Step 2 - Learn the basics
Cynthia showed you two different knotting techniques. Choose your method, then go ahead and practice! You might want to try a few knots before you tackle any heirloom pearls, but you'll get better with each bead and be a pro before you know it.Step 3 - Make your first piece
Knotting between beads ensures that if your strand breaks, you won’t lose all the parts and pieces. It also creates a professional finishing touch in designs and keeps beads from rubbing against each other. You can use knotting tweezers to knot between beads quite easily. Thread a bead onto your beading cord, wrap your thread around your fingers to knot it and use the tweezers to tighten the knot as close as you can to the pearl. Not sure about the tweezers? Try the knotter tool from Beadalon. This easy-to-use tool will help you create tight, consistent knots between each bead in your strand. When your strand is the desired length, finish both ends with a bead tip. Clam shell bead tips are traditionally used to finish knotted pearl jewelry because they hide the knot at the end of the strand. Once your bead tips are on the ends of the strand, you can add a pearl clasp to finish. The pearl clasps often have jump rings attached to them, so you can easily add them to designs. Need help with the jump rings? Visit the Jewelry Connections section above.Step 4 - Explore more
Ready for more? Visit the Artbeads Design Studio and start exploring! We created our Jewelry & Tutorials page with special facets on the left for you to sort and narrow down the inspiration. You can select all sorts of things, including Jewelry technique or Designer (Cynthia, Cheri, and more!). Choose "Knots & Macrame" under "By Technique" to see all the projects that use the knotting method that you just learned. You'll find videos, step-by-step instructions, diagrams, components lists, and loads of inspiration. Have fun exploring and make sure to come back regularly, as we launch new free content every week. We hope you grow to love jewelry-making like we do.