The silver seed beads that line the edges of this bracelet serve a duel purpose: they act as an embellishment and hide the outer edges of thread.
The herringbone stitch is what makes this bracelet so hypnotic. The turquoise beads at the center of the stitch look like a river flowing past tranquil green banks. This bracelet not only looks great, but feels great when wearing it Learn how to make this bracelet and add a Herringbone River to your style
Create a 10-bead ladder stitch for the first row of the bracelet. See Basic Herringbone Stitch PDF to help you get started. Your rows will be 10 beads wide. Here is the order of beads you should use in each row:
One TOHO bead round 8/0 in color-lined light green/topaz. Repeat once more.
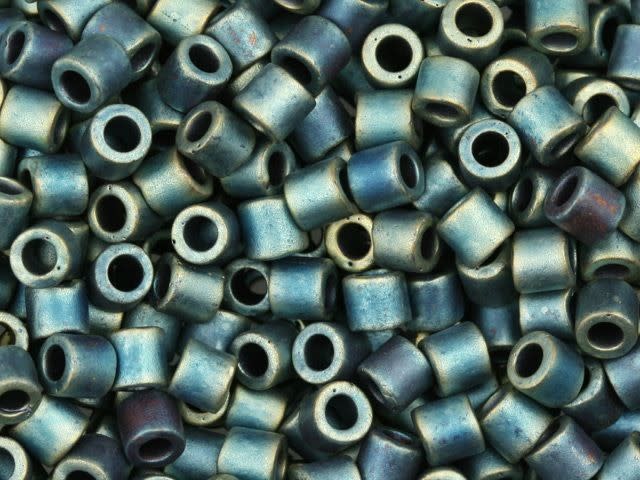
One Miyuki 8/0 metallic rainbow matte turquoise/light green Delica. Repeat one more.
One TOHO bead round 8/0 gilt-lined turquoise opal. Repeat once more.
One Miyuki Delicas. Repeat.
One color-lined light green/topaz TOHO. Repeat.
Note: We find greater success achieving the V formation on the outside rows of the weave with this technique; however, it does leave thread showing on the outside edges. If you don't like the thread showing, use the TOHO 15/0 Bead Rounds in Galvanized Aluminum to cover the threads as we do in this design.
When you get to the end of the first row, the tails of the threads will be coming out of the bottom of the beads at both ends of the row. Flip the row so that the threads are exiting from the top of the beads.
The next row will begin the herringbone stitch. Add two color-lined light green/topaz TOHO beads to the thread and bring the needle down through the second to the last bead in row one, as shown in the PDF above. These two new beads will sit on top of the two beads below in row one. They will make a V shape as you pull the thread. Then bring the needle up through the bead to the left. Add two Miyuki Delica beads to the thread and bring the needle down through the fourth seed bead in row one. Come up through the next bead over, add two turquoise opal TOHO beads to the thread, then go down through the next bead over in row 1. Come up through the next bead over, add two Miyuki Delicas and go down through the next bead over in row 1. Come up through the next bead over, add two light green/topaz TOHO beads and go down through the next bead over in row 1.
Add three 15/0 galvanized aluminum beads to the thread and bring the needle around the outside edge of the bead (1A in image 8 in the diagram) and then up through the last bead in row two (2F in the diagram).
Keep adding rows of herringbone until the bracelet is the desired length. If you need to add thread at any point, make sure to take a look at our Starting, Ending and Adding Thread page for some helpful tips. Stitch the last two rows together in a square stitch to even them up.
With your thread exiting out of the first Miyuki Delica in the last row of your bracelet, add a gilt-lined turquoise opal TOHO to your thread, followed by an 8mm cabochette bead in Light turquoise and a 15/0 seed bead. Come back through the crystal and 8/0 TOHO and into the next Delica in the row. Loop through these beads several times to strengthen the button you just made. Repeat this step on the next set of Delicas in the same row.
On the other end of your bracelet, make sure your thread is exiting out of the first Miyuki Delica in the row. Add a gilt-lined turquoise opal TOHO to your thread, followed by 24 15/0 TOHOs. Bring your thread back through the gilt-lined turquoise opal TOHO and then through the next Delica in the row. Loop through these beads several times to strengthen the loop. Repeat this step on the next set of Delicas in the same row.
List of Components: TOHO Bead Round 8/0 Gilt-Lined Turquoise Opal (TBRD8-2104, qty 1) TOHO Bead Round 8/0 Color-Lined Light Green/Topaz (TBRD8-945, qty 1) Miyuki 8g 8/0 Metallic Rainbow Matte Turquoise/Light Green Delicas (DBL0324, qty 1) TOHO Bead Round 15/0 Galvanized Aluminum (TBRD15-558, qty 1) 5026 8mm Cabochette Bead Light Turquoise (5026-LTU8, qty 2)
Add all available items to your cart at once or edit the quantities below.
Any items with quantities lower than stated minimums will default to the minimum in your cart.
Nice choice! All or most of the products needed for this project are shown
below with quantities. Sometimes we sell out of components and aren’t able to order more from
the manufacturer (we know, it is very disappointing to us, too). Use the opportunity to mix up
the design and make it yours by substituting similar products or altering the entire color
scheme—it’s up to you!
Please wait while we add the products to your cart.
Herringbone River
Blue and Green Striped Herringbone Bracelet
designed byCheri Carlson
Skill LevelBeginner
TechniqueSeed-Beading
Time4-6 Hours
Approximate SizeWrist Size: 7 Inches
The silver seed beads that line the edges of this bracelet serve a duel purpose: they act as an embellishment and hide the outer edges of thread.
The herringbone stitch is what makes this bracelet so hypnotic. The turquoise beads at the center of the stitch look like a river flowing past tranquil green banks. This bracelet not only looks great, but feels great when wearing it Learn how to make this bracelet and add a Herringbone River to your style
Supplies
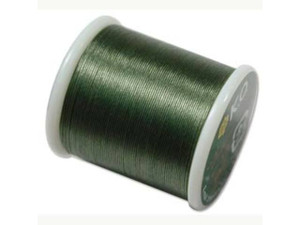
KO Nylon Japanese Beading Thread, Dark Olive (55-Yard Spool)
Code STRNG-0109
$6.81
$7.99
×1
The BeadSmith 10 Long English Beading Needles 4-Pack
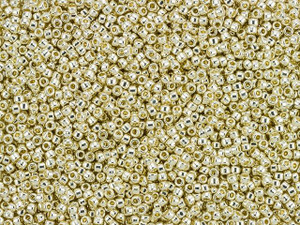
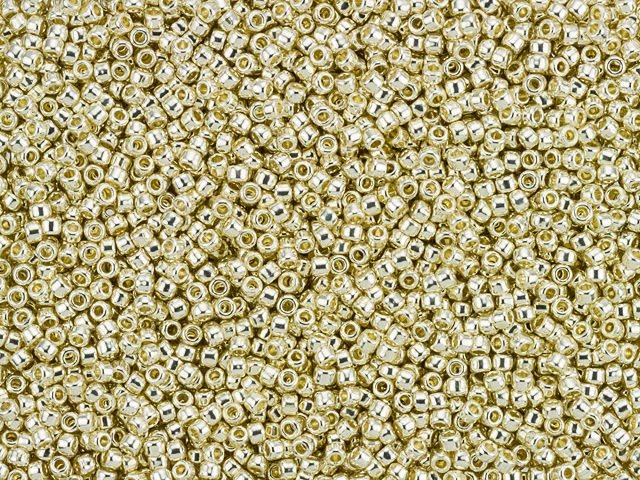
TOHO Bead Round 15/0 Galvanized Aluminum 2.5-Inch Tube
Code TBRD15-558
$2.65
$3.62
×1
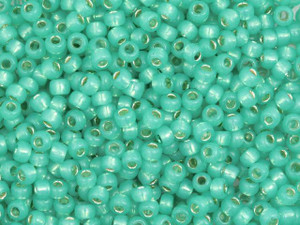
TOHO Bead Round 8/0 Gilt-Lined Turquoise Opal, 2.5-Inch Tube
Code TBRD8-2104
$1.85
$2.52
×1
Step-by-Step Instructions
Create a 10-bead ladder stitch for the first row of the bracelet. See Basic Herringbone Stitch PDF to help you get started. Your rows will be 10 beads wide. Here is the order of beads you should use in each row:
One TOHO bead round 8/0 in color-lined light green/topaz. Repeat once more.
One Miyuki 8/0 metallic rainbow matte turquoise/light green Delica. Repeat one more.
One TOHO bead round 8/0 gilt-lined turquoise opal. Repeat once more.
One Miyuki Delicas. Repeat.
One color-lined light green/topaz TOHO. Repeat.
Note: We find greater success achieving the V formation on the outside rows of the weave with this technique; however, it does leave thread showing on the outside edges. If you don't like the thread showing, use the TOHO 15/0 Bead Rounds in Galvanized Aluminum to cover the threads as we do in this design.
When you get to the end of the first row, the tails of the threads will be coming out of the bottom of the beads at both ends of the row. Flip the row so that the threads are exiting from the top of the beads.
The next row will begin the herringbone stitch. Add two color-lined light green/topaz TOHO beads to the thread and bring the needle down through the second to the last bead in row one, as shown in the PDF above. These two new beads will sit on top of the two beads below in row one. They will make a V shape as you pull the thread. Then bring the needle up through the bead to the left. Add two Miyuki Delica beads to the thread and bring the needle down through the fourth seed bead in row one. Come up through the next bead over, add two turquoise opal TOHO beads to the thread, then go down through the next bead over in row 1. Come up through the next bead over, add two Miyuki Delicas and go down through the next bead over in row 1. Come up through the next bead over, add two light green/topaz TOHO beads and go down through the next bead over in row 1.
Add three 15/0 galvanized aluminum beads to the thread and bring the needle around the outside edge of the bead (1A in image 8 in the diagram) and then up through the last bead in row two (2F in the diagram).
Keep adding rows of herringbone until the bracelet is the desired length. If you need to add thread at any point, make sure to take a look at our Starting, Ending and Adding Thread page for some helpful tips. Stitch the last two rows together in a square stitch to even them up.
With your thread exiting out of the first Miyuki Delica in the last row of your bracelet, add a gilt-lined turquoise opal TOHO to your thread, followed by an 8mm cabochette bead in Light turquoise and a 15/0 seed bead. Come back through the crystal and 8/0 TOHO and into the next Delica in the row. Loop through these beads several times to strengthen the button you just made. Repeat this step on the next set of Delicas in the same row.
On the other end of your bracelet, make sure your thread is exiting out of the first Miyuki Delica in the row. Add a gilt-lined turquoise opal TOHO to your thread, followed by 24 15/0 TOHOs. Bring your thread back through the gilt-lined turquoise opal TOHO and then through the next Delica in the row. Loop through these beads several times to strengthen the loop. Repeat this step on the next set of Delicas in the same row.
List of Components: TOHO Bead Round 8/0 Gilt-Lined Turquoise Opal (TBRD8-2104, qty 1) TOHO Bead Round 8/0 Color-Lined Light Green/Topaz (TBRD8-945, qty 1) Miyuki 8g 8/0 Metallic Rainbow Matte Turquoise/Light Green Delicas (DBL0324, qty 1) TOHO Bead Round 15/0 Galvanized Aluminum (TBRD15-558, qty 1) 5026 8mm Cabochette Bead Light Turquoise (5026-LTU8, qty 2)