Become a Maker Month - Designer Tips and Tricks
June continues as Become a Maker Month (BAMM)! Anyone can be a maker and this month we're showing you just how easy it is. If you missed our first blog post introducing Become a Maker Month, complete with kits, supplies, and tutorials for getting started, you can find that here. This week, our team of incredible designers are bringing you quick tips and tricks for making jewelry. Our designers Becky, Julie, Deb, Sara, and Andria have been creating jewelry for years, so they're full of excellent advice.
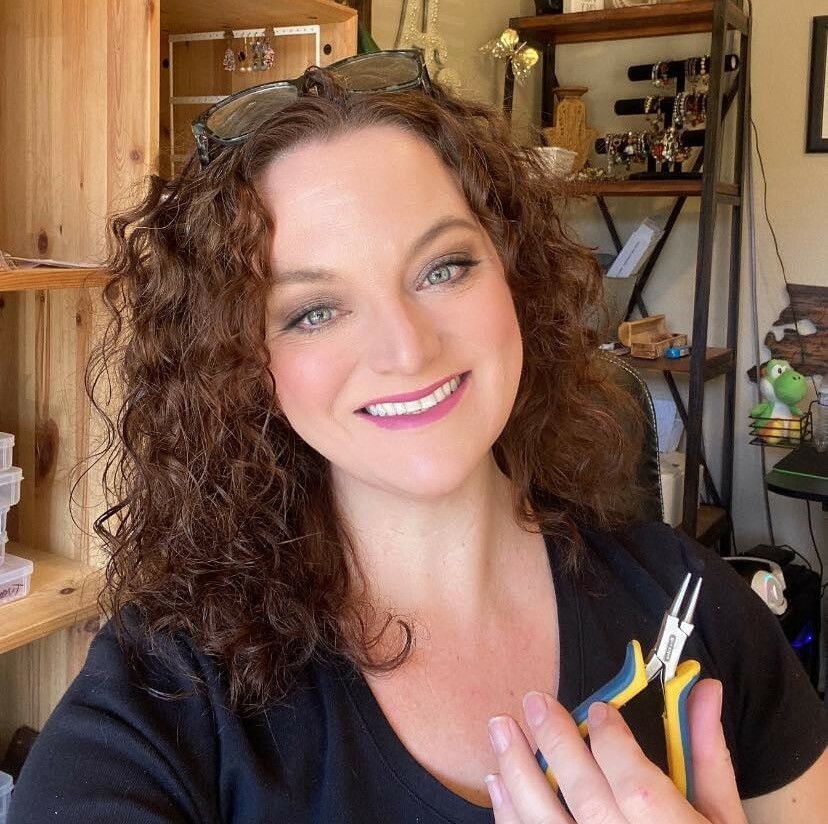
Andria Bieber
Andria has lots of great advice for crimping with wire guards, crimp beads, and crimp covers (an essential jewelry-making technique):
"Slide your beading wire through a wire guard on the right side. Loop the wire over the top of the wire guard and down through the other side and back through the crimp bead.
Tighten the wire and move the crimp bead below the wire guard. Leave a small space between the end of the wire guard and crimp so you have space to crimp with the crimp tool.
Next using a crimp tool, crimp the crimp bead with the larger opening closest to the top. Close gently around the crimp bead so it doesn’t split.
Next, rotate your crimp over and crimp closed with the tool, closing gently. The closed crimp bead will look like a fold.
I like crimp covers. But they can be a hassle sometimes. If you choose to use one over your crimp, slide it over your crimp and pinch close with your beading tools. You can use either a crimp tool or chain nose pliers."
If you need more help with crimping, check out our step-by-step tutorial for how to use a crimp tool. We also have a tutorial for using wire guards (also known as cable thimbles). You might also find our article all about stringing materials (including beading wire) helpful.
Julie Bean

Julie is sharing tips for making earrings, how to reuse scrap materials, and design advice:
"When making earrings, check how they hang and make sure that they are hanging with the front facing forward (if there is a front) and then adjust as needed by either adding a jump ring, adjusting the orientation of the earring hook, or adjusting your links/loops."
"Keep all of your scrap pieces of wire that are over an inch; you can always turn them into head pins or eye pins!"
"Don't be afraid to mix metal tones, they often add interest to a design and it makes it easier to work with 'what you have on hand' when designing."
Becky Dahl

Becky is sharing advice for easy ways to get started with making and her tips for getting creative:
"Stretch bracelets are a great place to start when making because they only require stretch cord, beads, and a strong knot! Plus, you can trade them with your friends or give them as gifts. They're so trendy right now."
"Don't be afraid to think out of the box and don't limit yourself. If you want to try something new don't ask permission - just go for it! Sometimes it will work and sometimes it won't - the beauty is in trying."
"Have a making party with your friends. Sometimes it helps to bounce ideas off each other for even more inspiration."
Deb Floros
Deb's sharing some advice for designing and finishing your jewelry projects:
"Before finishing a necklace, a bracelet or a pair of earrings….always do a 'quality check' to make sure your design has the right number of beads in the right places and it lays or hangs the way that you expect it too! This will cut down on re-work and wasted wire and crimps!"
"Use a beading awl, head pin, or piece of scrap wire to measure chain pieces before you cut! Just slide the awl/head pin/wire tip through the last link"
"When stringing teardrop beads, group them in three so that they create a fun cluster or picot pattern."
Sara Lovecraft

Sara's bringing tips for dreaming up your designs before you even start making:
"Use Pinterest! Create inspiration boards with color palettes that you love as well as photos that inspire you of people, places and landscapes."
"Hand sketching ideas is also a great way to help you visualize a design before you start to create."
That's just a handful of tips from our designers for starting your journey to become a maker! If you want more advice and want to see our designers in action, keep your eye on our live video page. Our designers go live nearly everyday with jewelry tutorials, shopping inspiration, and so much more.