This dream catcher looks like a snowy owl. It's perfect for decorating your home in the winter time and beyond.
Connect the hoops together side by side by coiling with a combination of 26 gauge silver wire and black wire.
Note: Please make sure to double check our list of components with what's actually in stock on the supplies tab. We've also added alternate supply codes to try if the original ones are not in stock.Sterling Silver Wire 26 Gauge Half Hard - Approx. 1/2 Troy Oz. (38ft) (SSWR26H25 , qty 1) (Or, try ADW0064)
Sterling Wire Round 16 Gauge Half Hard (Sold by the Foot) (SSWR16HHF , qty 1) (Or, try ADW0172)
TOHO Bead Bugle Hybrid 3mm Apollo 2.5-Inch Tube (TBBG3-Y851, qty 2) (Or,
shop all TOHO Bugle Beads)
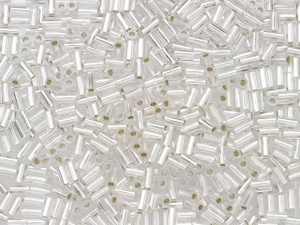
TOHO 3mm Bugle Beads Silver-Lined Frosted Crystal 2.5-Inch Tube (TBBGT3-21F, qty 2)
TOHO 3mm Bugle Beads Bronze 2.5-Inch Tube (TBBGT3-221, qty 2)
TOHO 9mm Bugle Beads Silver-Lined Crystal 2.5-Inch Tube (TBBGT9-21, qty 2)
TOHO Bead Bugle 9mm Opaque Shiny Jet Black, 2.5-Inch Tube (TBBG9-49, qty 1)
Beadalon 49 .015 30FT - Bright (B49-30F-015, qty 1)
Dakota Stones 12mm Druzy White Coin Bead (4pc Pack) (R1112, qty 1) (Or, try R0856)
Beadalon 7mm Silver-Plated Crimp Covers (144 Pcs) (FIND-2435, qty 1)
Silver-Filled 925/10 2-Inch Head Pin, 22 Gauge (FIND-0700, qty 50)
Beadalon Silver-Plated Jump Ring 8mm (JR-S08, qty 30)
Artbeads Designer Wire - Black Non-Tarnish 24 Gauge (60-foot spool) (ADW0038, qty 1)
PRESTIGE 5328 4mm Bicone Bead Crystal CAL (5328-CAL4, qty 10) (Or,
shop all 4mm PRESTIGE Bicones)
PRESTIGE 5328 4mm Bicone Bead Crystal (5328-CRYS4, qty 10)
PRESTIGE 5328 4mm Bicone Bead White Opal (5328-WHOP4, qty 25)
PRESTIGE 5328 6mm Bicone Bead White Opal (5328-WHOP6, qty 1)
PRESTIGE 5328 4mm Bicone Bead Jet (5328-JET4, qty 4)
PRESTIGE 5810 5mm Round Crystal Pearl White (5810-WHITE5, qty 16) (Or,
shop all 5mm PRESTIGE Bicones)
PRESTIGE 5810 6mm Round Crystal Pearl White (5810-WHITE6, qty 6) Or,
shop all 6mm PRESTIGE Bicones)
PRESTIGE 5328 4mm Bicone Bead Crystal Astral Pink (5328-API4, qty 8)
PRESTIGE 5328 6mm Bicone Bead Crystal Astral Pink (5328-API6, qty 8)
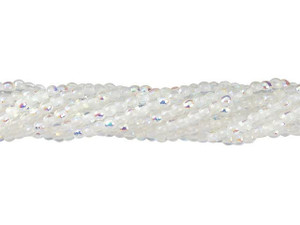
Czech Glass 2mm Crystal AB Round Bead Strand by Starman (SCR0214, qty 1)
Czech Glass 3mm Crystal AB English Cut Round Bead (50pc Strand) by Starman (BEADS-0006, qty 1)
Beadalon Silver-Plated Crimp Bead Variety Pack (600 pcs) (FIND-2527, qty 1)
PRESTIGE 5328 3mm Bicone Bead Topaz (5328-TO3, qty 10)
PRESTIGE 5328 4mm Bicone Bead Crystal Rose Gold (5328-CRG4, qty 4)
Czech Glass 4mm Copper Penny Fire-Polish Bead Strand by Starman (CFP-275-4, qty 1)