

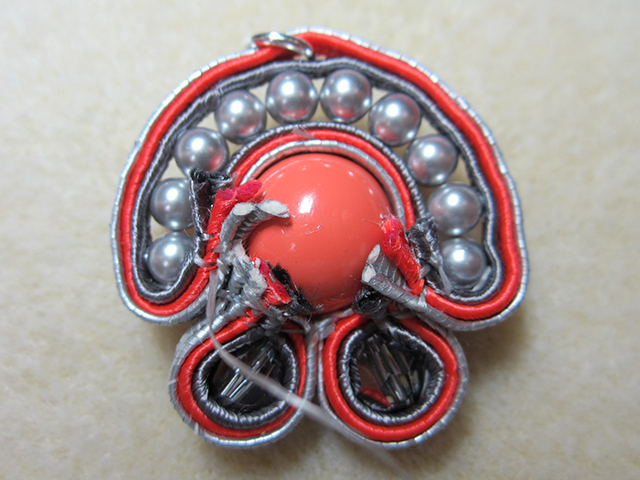
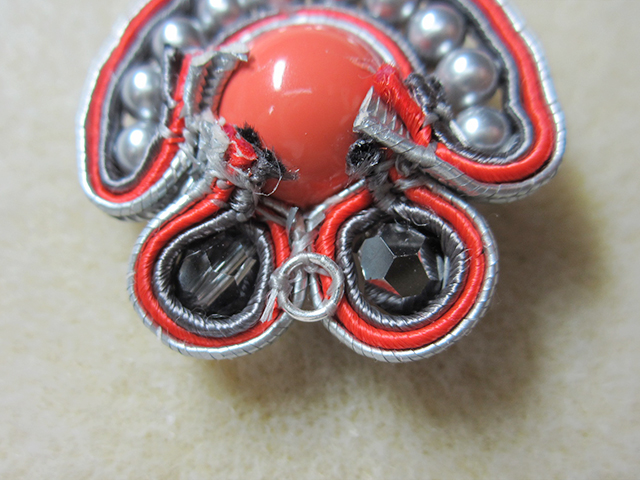
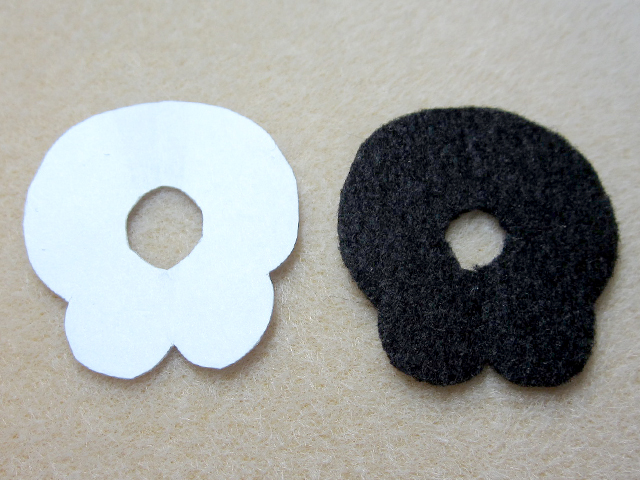
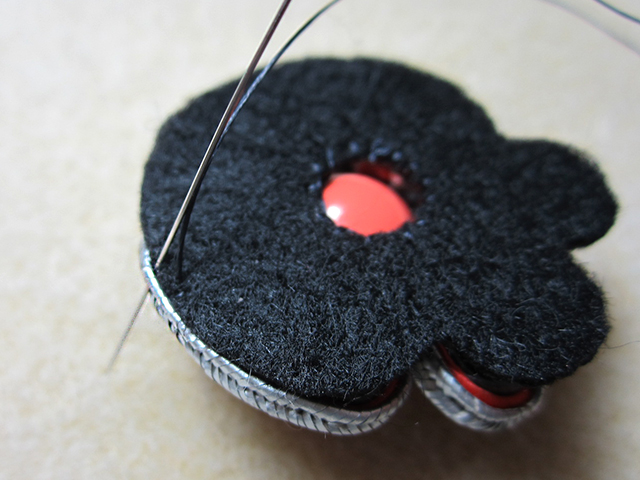
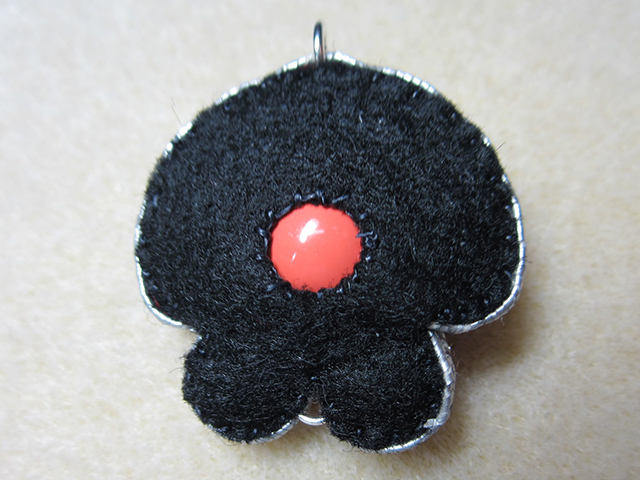
You've learned some essential techniques of working with soutache in our first soutache tutorial and now it's time to learn even more about working with this unique material. This Handy Tip will show you how to add even more beads and layers of soutache to projects, as well as how to add a backing to your finished piece. Soutache is a great way to add luxurious texture to your designs, so get started creating with this fabulous technique. This tutorial is here to help you along the way
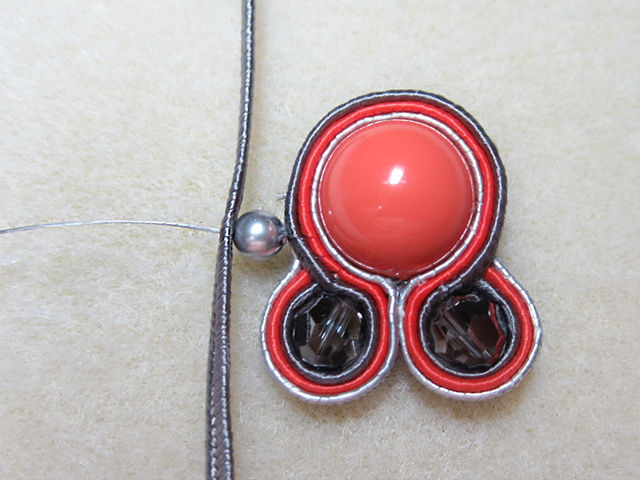
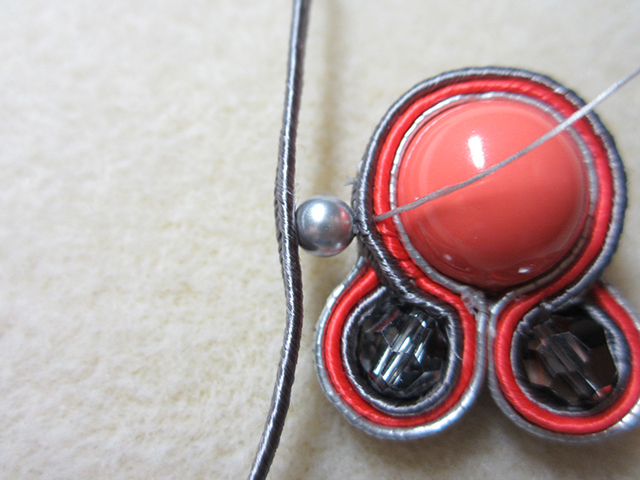
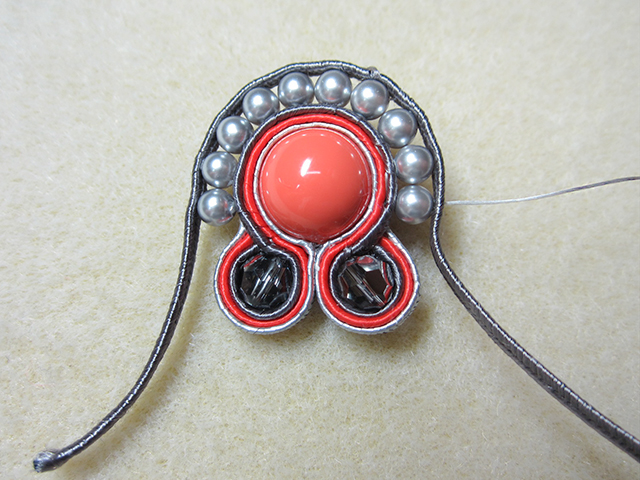
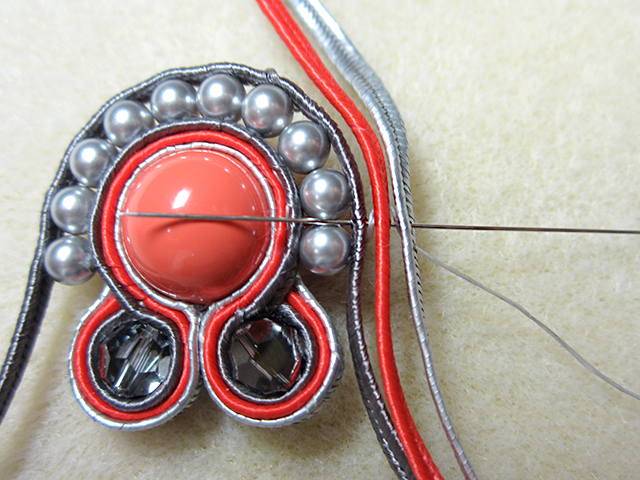
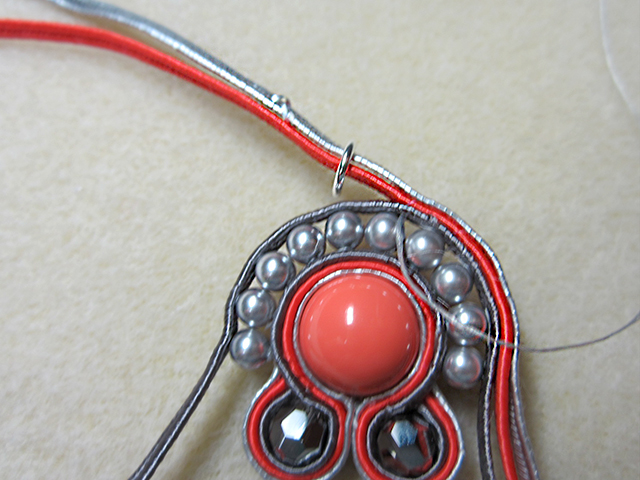
Move the needle to the next position in your design. Cut a section of soutache about six inches long. Thread the needle through a bead and then one layer of soutache.
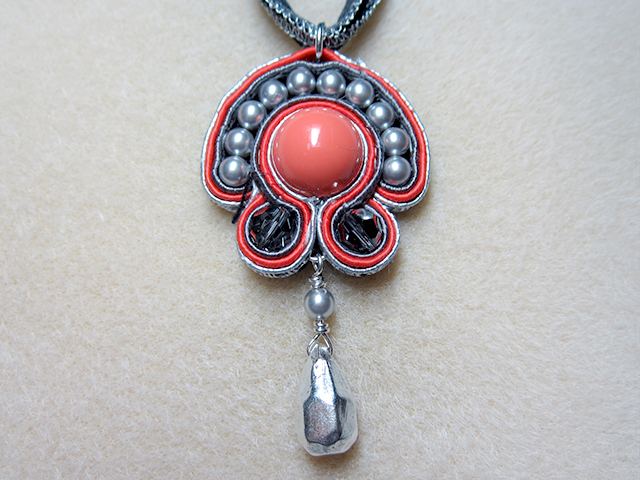
Nice choice! All or most of the products needed for this project are shown below with quantities. Sometimes we sell out of components and aren’t able to order more from the manufacturer (we know, it is very disappointing to us, too). Use the opportunity to mix up the design and make it yours by substituting similar products or altering the entire color scheme—it’s up to you!


You've learned some essential techniques of working with soutache in our first soutache tutorial and now it's time to learn even more about working with this unique material. This Handy Tip will show you how to add even more beads and layers of soutache to projects, as well as how to add a backing to your finished piece. Soutache is a great way to add luxurious texture to your designs, so get started creating with this fabulous technique. This tutorial is here to help you along the way


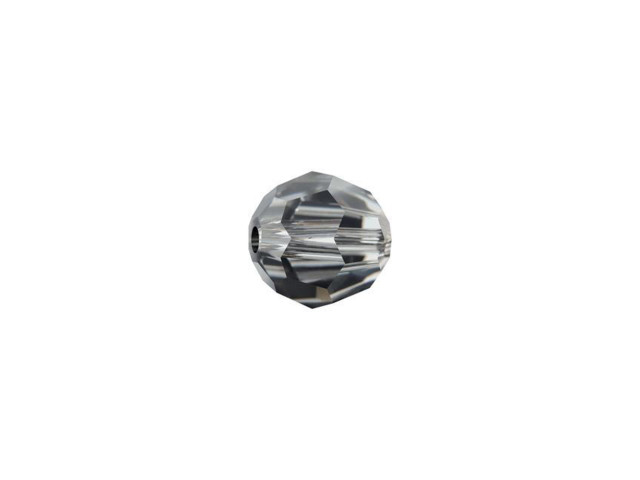


Move the needle to the next position in your design. Cut a section of soutache about six inches long. Thread the needle through a bead and then one layer of soutache.


