The barrel glue-in magnetic clasps are great for giving your designs continuous style. The magnets are glued into the clasp after you crimp your stringing material in place. This Handy Tip will show you how it's done
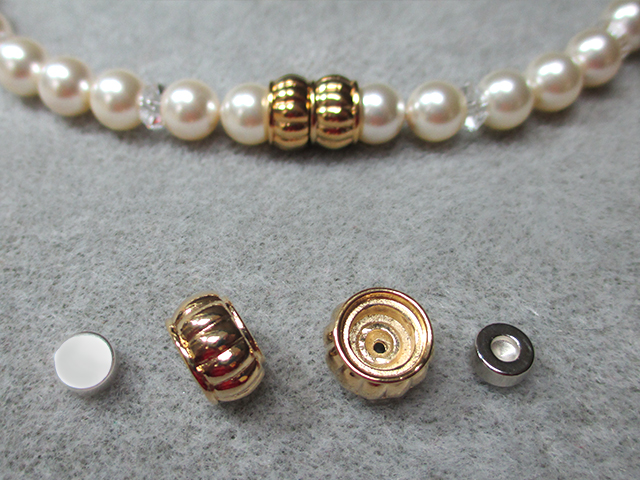
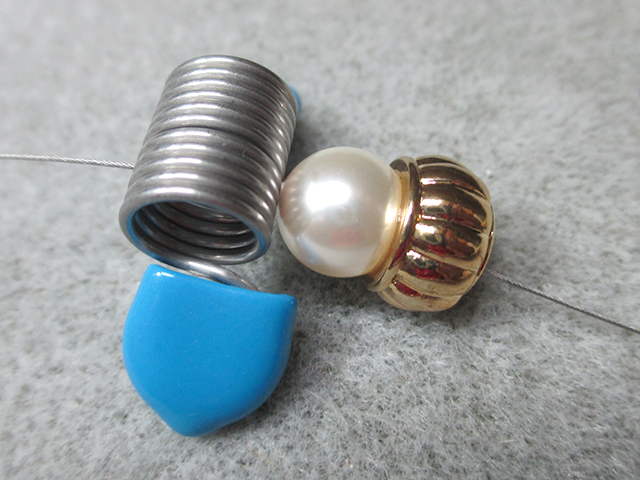
You will start with the Alacarte Glue-It-Yourself magnetic barrel clasp of your choice. The clasp set consists of four pieces: two clasp sections and two magnets.
One side of each of the clasp sections is convex to fit to beads. The other side is recessed to hold crimped wire and a magnet. Each of the magnets has a recess to hold the crimped wire. Use an emery board or some sandpaper to file the surface of the magnet that will be inserted into the clasp. This will allow the adhesive to bond to the magnet better.
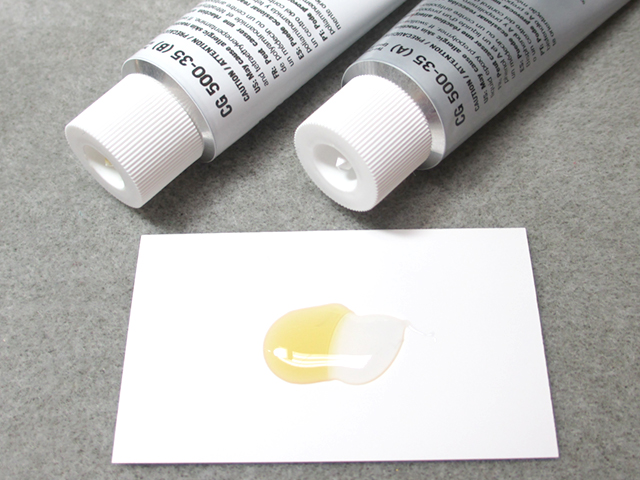
We used epoxy resin for our adhesive. Squeeze out equal amounts of the epoxy resin and the hardener that comes with it.
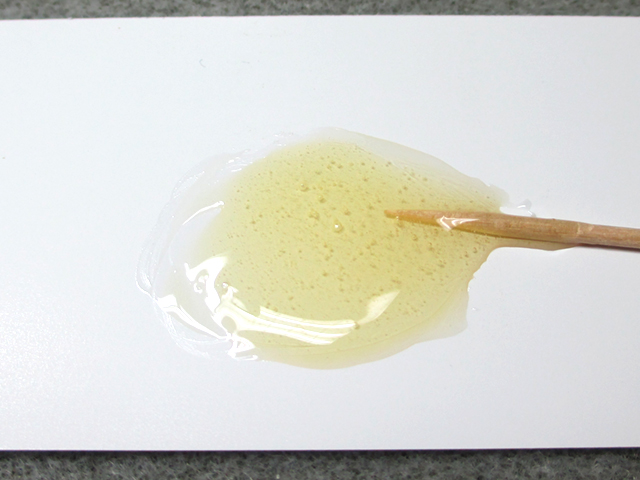
Mix the two parts together thoroughly.
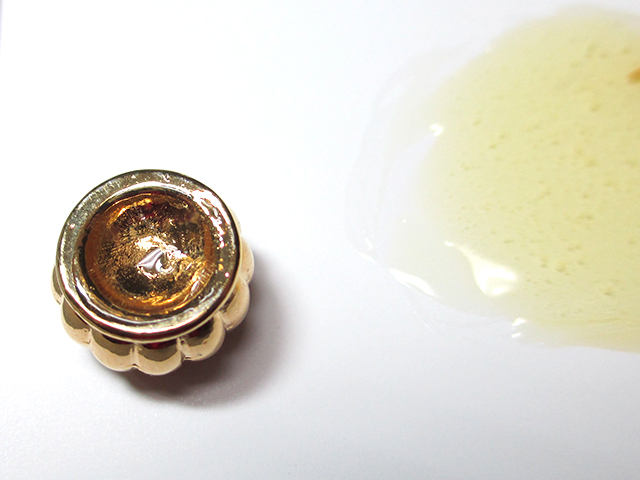
Apply some of the adhesive to the convexed side of the clasp.
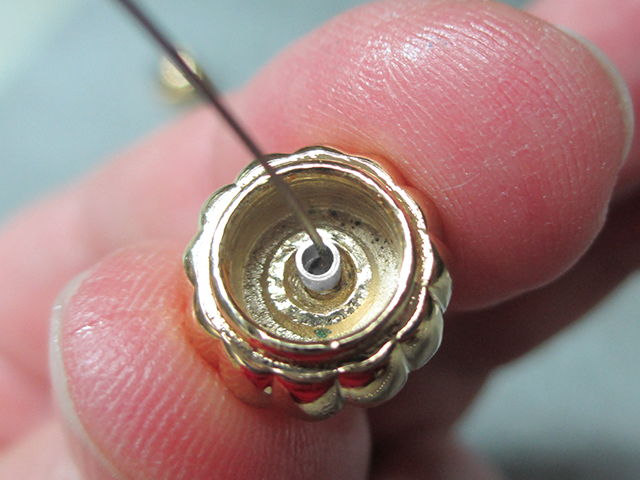
Thread your stringing wire through the hole in the clasp, with an inch or two of wire extending through the clasp on the side thatl will hold the magnet. Add a bead to the long end of the wire. For this project, we used a crystal pearl. Use a bead stopper to ensure the pearl is snug against the clasp.
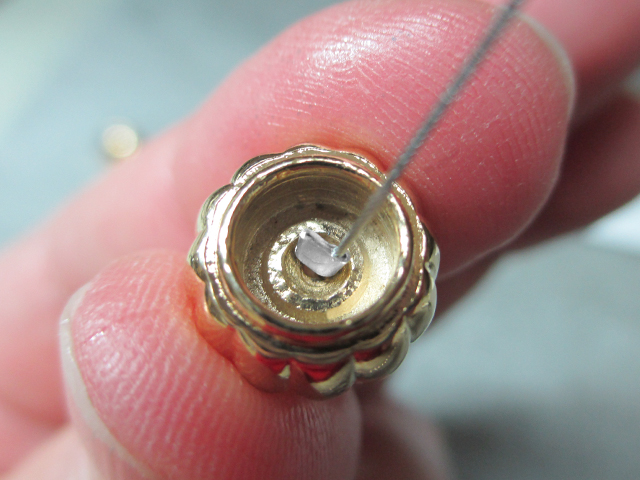
Slide a crimp tube onto the wire coming through the other side of the clasp. It should sit centered in the tiny recess of the clasp. Apply a liberal amount of adhesive to the inside of the clasp. Be sure to get adhesive under and inside the crimp tube. We left the adhesive out of this image so you can see the placement of the crimp tube.
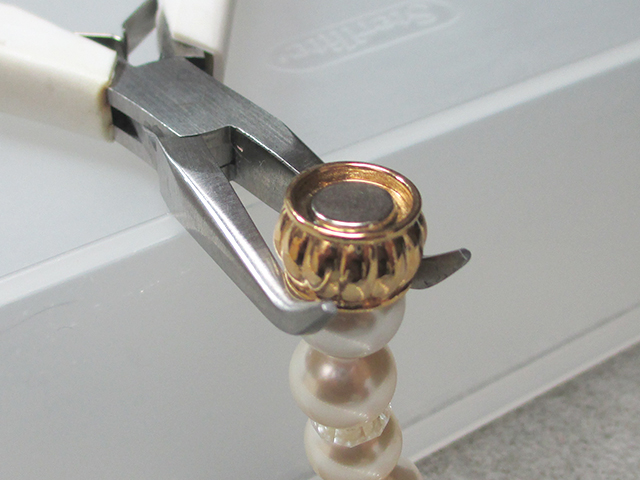
Flatten the crimp tube with a pair of chain nose or bent nose pliers and trim the end of the wire flush with the crimp.
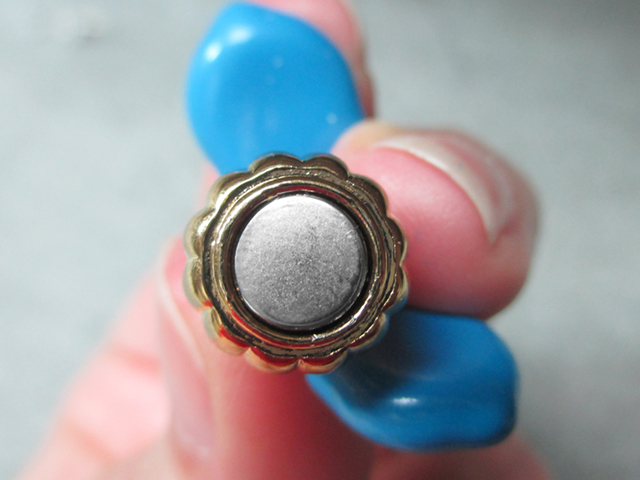
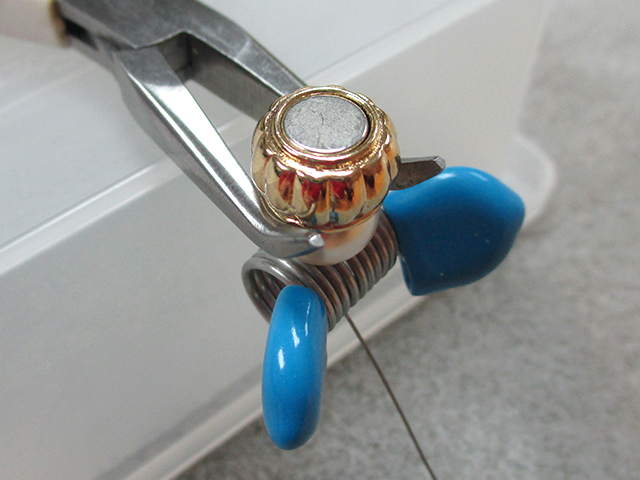
Insert the magnet into the recess of the clasp. It should fit over the crimp and sit flat within the clasp. If the magnet is crooked, it won't close securely.
Allow to dry thoroughly. Give it at least 24 hours of dry time. The pearl will dry in less time than the adhesive around the crimp and clasp. We suspended the clasp so that the magnet is upright to ensure the magnet stays level until dry.
Once the adhesive is dry, thread the rest of the beads for your design onto the wire and repeat these steps to add the second half of the clasp. Again, we suspended the clasp so the magnet would stay level. Allow to dry at least 24 hours once again to ensure the adhesive around the crimp and under the magnet is dry. Don't be tempted to close the clasp before it is dry, as this may pull the magnet out.
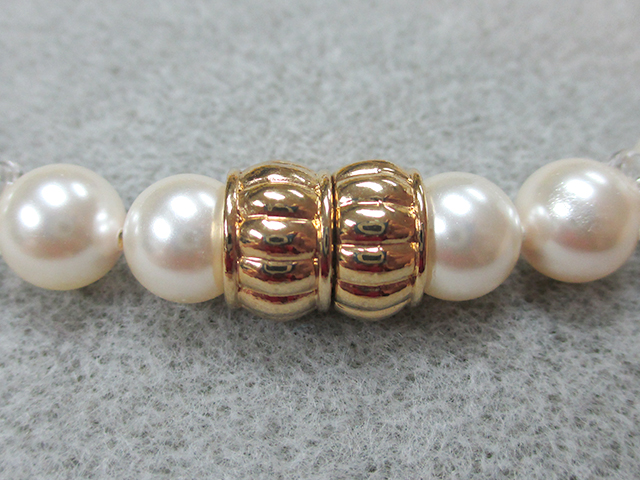
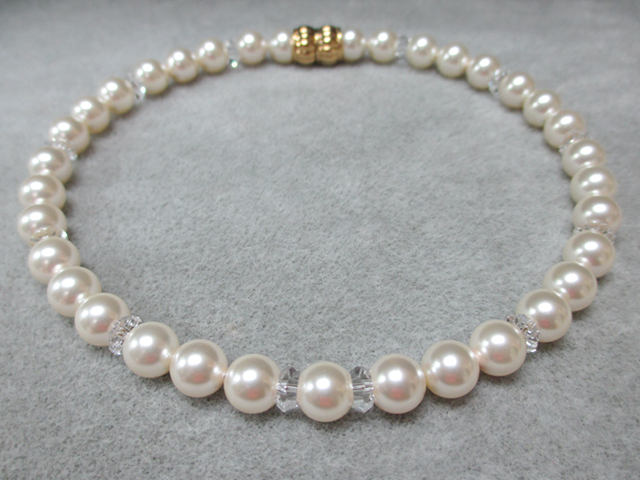
This is how the finished clasp will look in designs. It offers a seamless closure and works well with the beads.
You can learn how to make the necklace we made for this tutorial, as well as find a list of products used, by checking out the Champagne a la Mode design instructions.
Add all available items to your cart at once or edit the quantities below.
Any items with quantities lower than stated minimums will default to the minimum in your cart.
Nice choice! All or most of the products needed for this project are shown
below with quantities. Sometimes we sell out of components and aren’t able to order more from
the manufacturer (we know, it is very disappointing to us, too). Use the opportunity to mix up
the design and make it yours by substituting similar products or altering the entire color
scheme—it’s up to you!
Please wait while we add the products to your cart.
How to Use a Barrel Glue-In Magnetic Clasp
Add a Crimp and Glue-In the Magnet
designed byArtbeads
Skill LevelBeginner
Time1-3 Hours
The barrel glue-in magnetic clasps are great for giving your designs continuous style. The magnets are glued into the clasp after you crimp your stringing material in place. This Handy Tip will show you how it's done
You will start with the Alacarte Glue-It-Yourself magnetic barrel clasp of your choice. The clasp set consists of four pieces: two clasp sections and two magnets.
One side of each of the clasp sections is convex to fit to beads. The other side is recessed to hold crimped wire and a magnet. Each of the magnets has a recess to hold the crimped wire. Use an emery board or some sandpaper to file the surface of the magnet that will be inserted into the clasp. This will allow the adhesive to bond to the magnet better.
We used epoxy resin for our adhesive. Squeeze out equal amounts of the epoxy resin and the hardener that comes with it.
Mix the two parts together thoroughly.
Apply some of the adhesive to the convexed side of the clasp.
Thread your stringing wire through the hole in the clasp, with an inch or two of wire extending through the clasp on the side thatl will hold the magnet. Add a bead to the long end of the wire. For this project, we used a crystal pearl. Use a bead stopper to ensure the pearl is snug against the clasp.
Slide a crimp tube onto the wire coming through the other side of the clasp. It should sit centered in the tiny recess of the clasp. Apply a liberal amount of adhesive to the inside of the clasp. Be sure to get adhesive under and inside the crimp tube. We left the adhesive out of this image so you can see the placement of the crimp tube.
Flatten the crimp tube with a pair of chain nose or bent nose pliers and trim the end of the wire flush with the crimp.
Insert the magnet into the recess of the clasp. It should fit over the crimp and sit flat within the clasp. If the magnet is crooked, it won't close securely.
Allow to dry thoroughly. Give it at least 24 hours of dry time. The pearl will dry in less time than the adhesive around the crimp and clasp. We suspended the clasp so that the magnet is upright to ensure the magnet stays level until dry.
Once the adhesive is dry, thread the rest of the beads for your design onto the wire and repeat these steps to add the second half of the clasp. Again, we suspended the clasp so the magnet would stay level. Allow to dry at least 24 hours once again to ensure the adhesive around the crimp and under the magnet is dry. Don't be tempted to close the clasp before it is dry, as this may pull the magnet out.
This is how the finished clasp will look in designs. It offers a seamless closure and works well with the beads.
You can learn how to make the necklace we made for this tutorial, as well as find a list of products used, by checking out the Champagne a la Mode design instructions.