

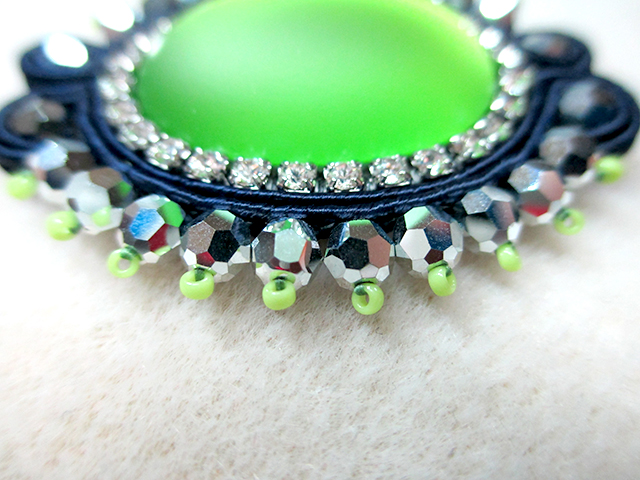
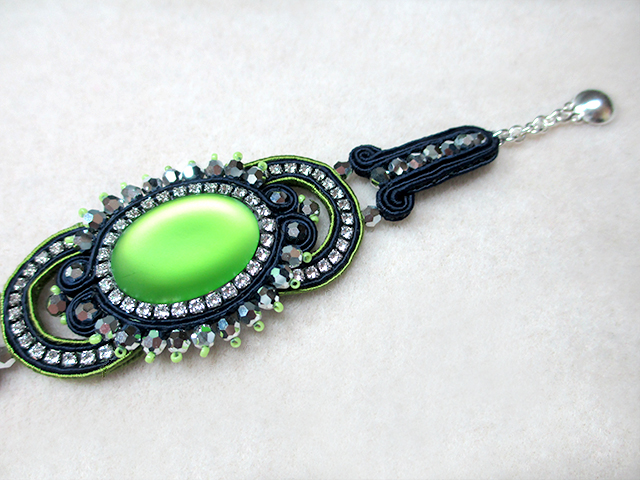
You can make your soutache designs really pop with a beaded edge You may find that once you've added all of your layers of soutache, you still want more. A beaded edge can give you more shine and color. Learn the basics of soutache with our Part 1 and Part 2 tutorials and then read this tutorial to start adding beads in new ways. Find all of the products featured in this tutorial in our Bijou Bracelet Instructions.
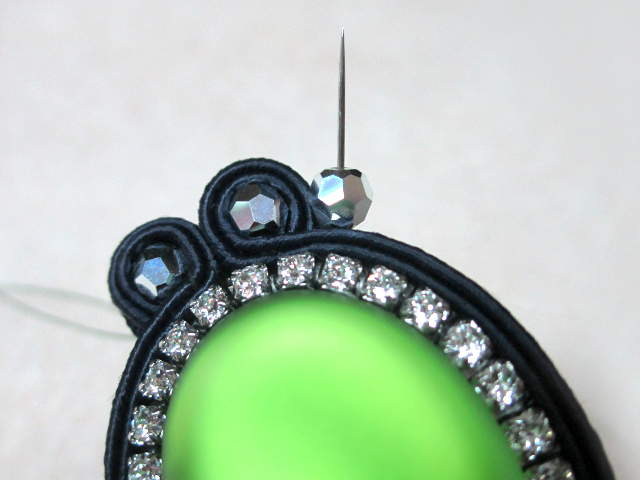
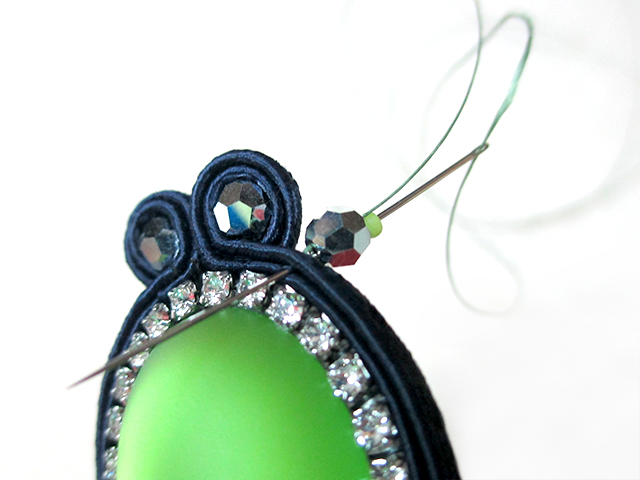
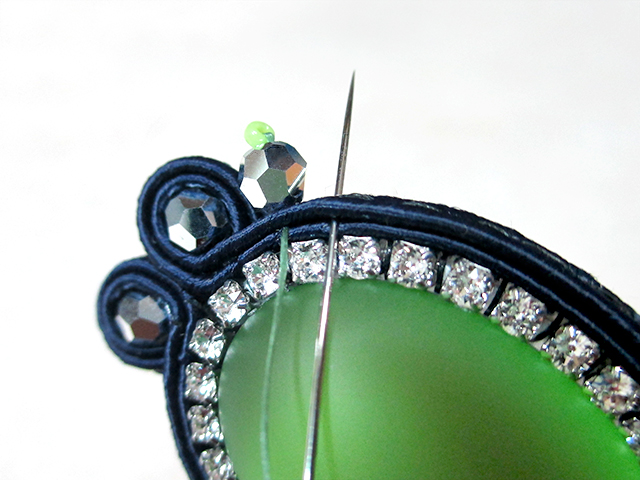
Knot your thread to the bead backing. Bring the needle up between the cupchain and the inside layer of soutache. Then, take your needle through layers at the groove. Here's a trick to get the spacing of your beads just right: leave the needle in the soutache and place your bead on it to see if the spacing is going to be how you like it. Once you've got the spacing just right, continue on...
Nice choice! All or most of the products needed for this project are shown below with quantities. Sometimes we sell out of components and aren’t able to order more from the manufacturer (we know, it is very disappointing to us, too). Use the opportunity to mix up the design and make it yours by substituting similar products or altering the entire color scheme—it’s up to you!


You can make your soutache designs really pop with a beaded edge You may find that once you've added all of your layers of soutache, you still want more. A beaded edge can give you more shine and color. Learn the basics of soutache with our Part 1 and Part 2 tutorials and then read this tutorial to start adding beads in new ways. Find all of the products featured in this tutorial in our Bijou Bracelet Instructions.


Knot your thread to the bead backing. Bring the needle up between the cupchain and the inside layer of soutache. Then, take your needle through layers at the groove. Here's a trick to get the spacing of your beads just right: leave the needle in the soutache and place your bead on it to see if the spacing is going to be how you like it. Once you've got the spacing just right, continue on...


