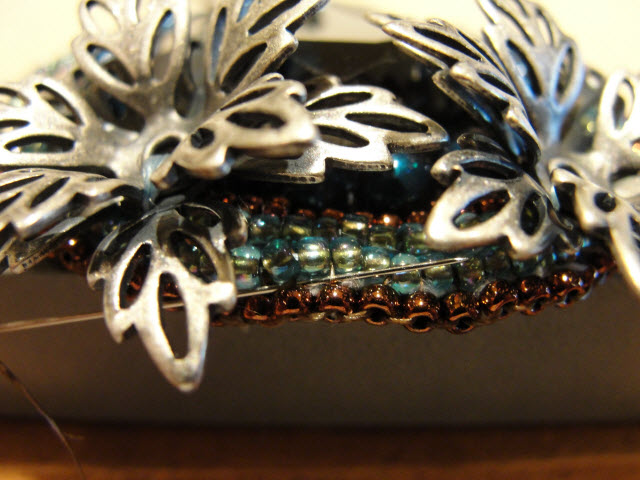
Creating a unique pendant helps personalize your jewelry for a special touch, but oftentimes it's hard to find a bail to fit it. Beaded bails allow you to make just the right size and use the colors you need to match the pendant. In no time you can make a beaded bail for your idea, like we did for our Daybreak Frost necklace idea. First, you will need to create a brick stitch edge around the edge of your pendant.
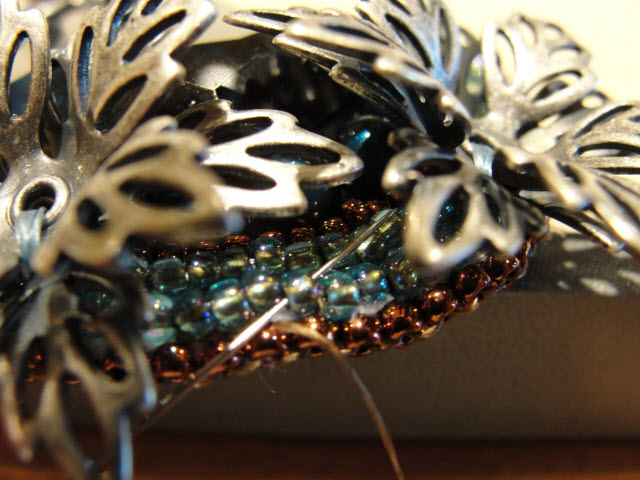
Thread one beading needle with approximately an arm's length of thread and tie a knot at the end. Bring the needle in between the sunshine edge and the nearest row of aqua blue rainbow TOHOs. Pull the needle through to hide the knot. We will refer to the beads in the sunshine edge as edge beads and the row of aqua blue seed beads as the outer row.
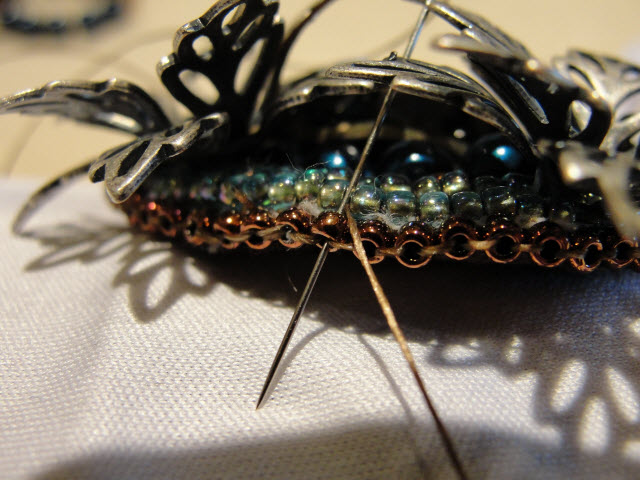
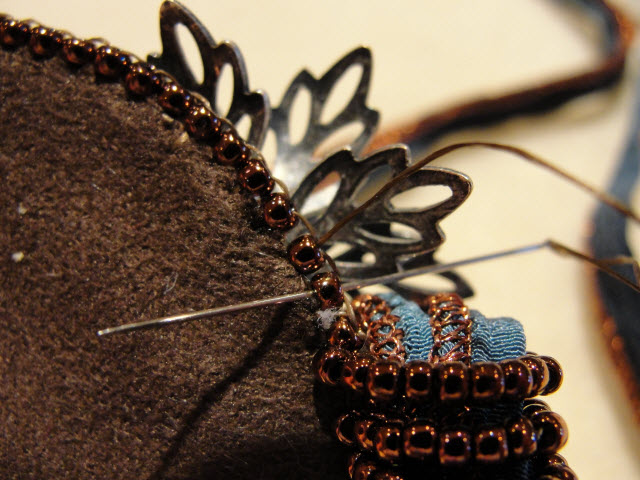
From the left, bring the needle up through the nearest bead on the outer row.
Bring the needle down through the nearest edge bead. This will be your entry bead.
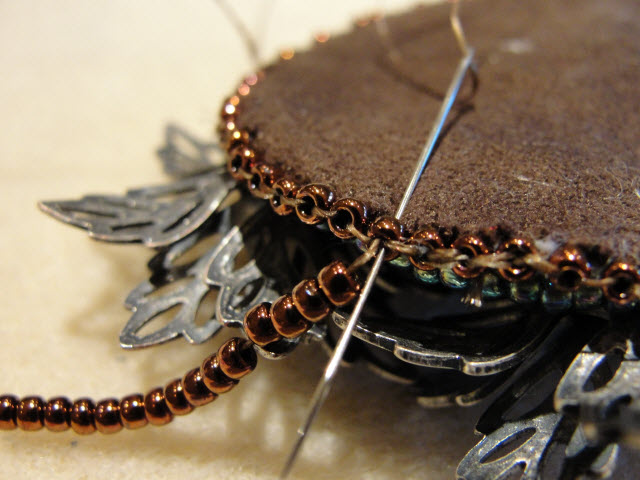
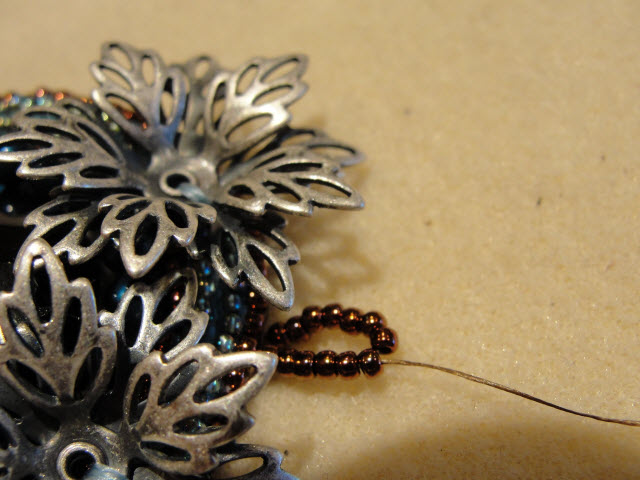
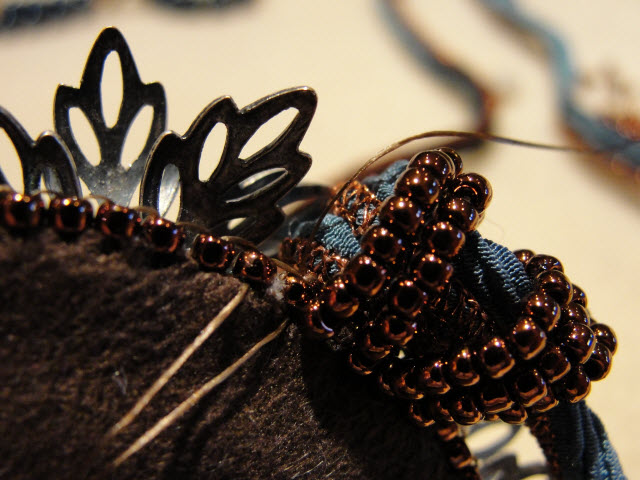
Thread fifteen bead rounds in metallic dark copper onto the needle, and then pass the needle back around through the entry bead to form a loop.
Bring the needle through all fifteen bead rounds once more to secure the loop.
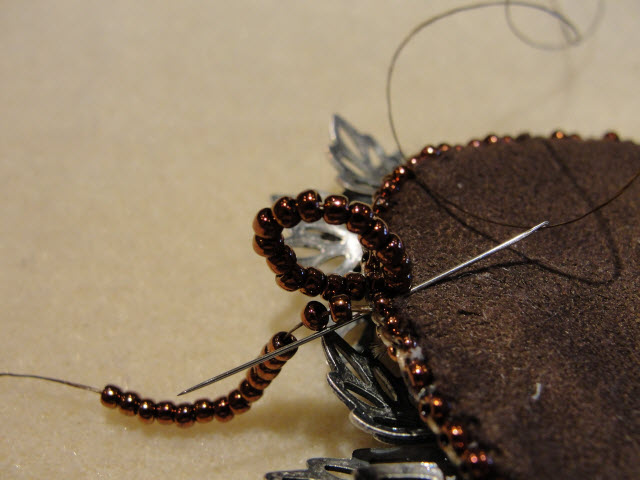
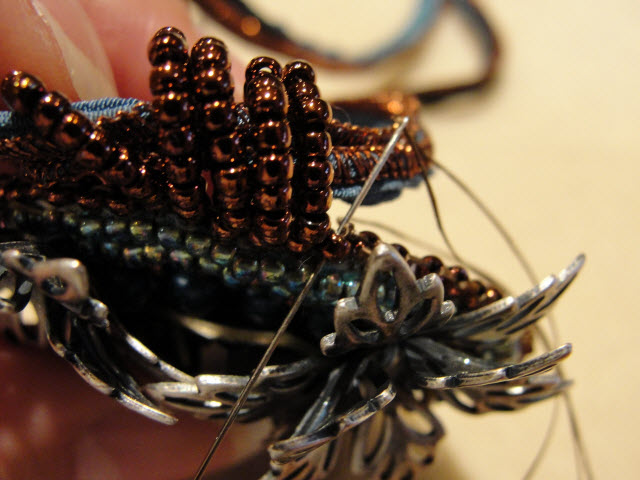
Bring the needle through the edge bead closest to the loop and thread fifteen more dark copper rounds. This edge bead becomes the second entry bead. Then, bring the needle back through this second entry bead to make a second loop. Center the strands of the ribbon and chain inside the first loop to make sure it fits.
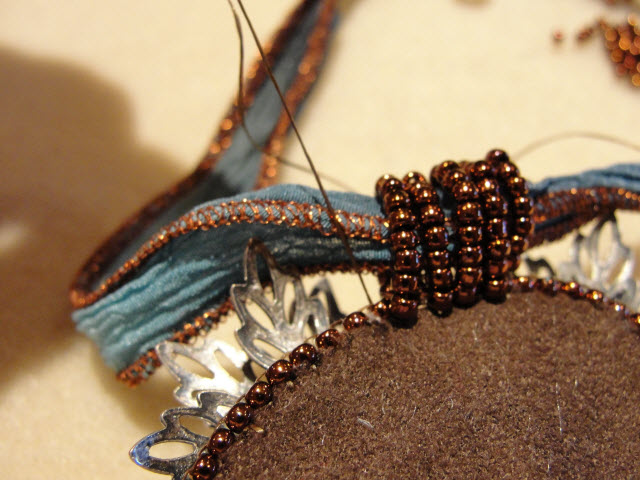
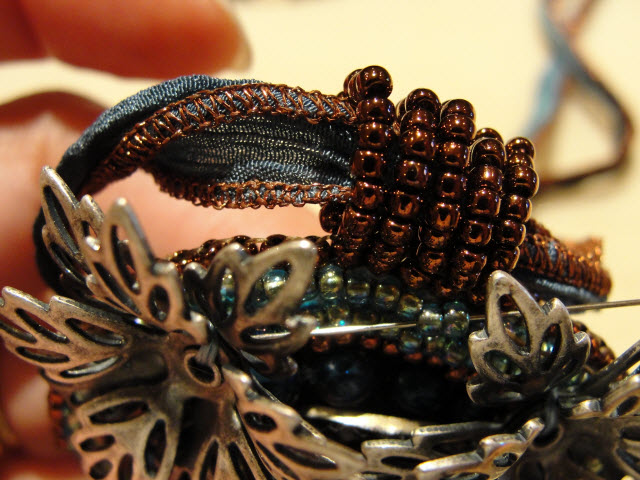
Repeat step six as many times as you like for the desired number of loops. At this point you may choose to work around the ribbon and chain, or thread them through when the bail is completed.
When you have reached your desired number of loops, bring the needle through one new edge bead.
Bring the needle through an edge bead just to the left of the previous edge bead from Step eight.
Thread the needle back through the first entry bead.
Create a knot by pulling the needle through the thread line formed around the first entry bead. This will form a loop using the thread behind the needle. Bring the needle back through this loop and pull tight.
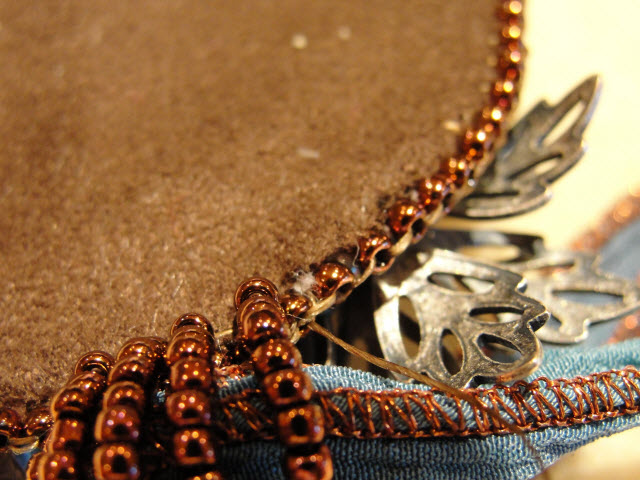
To hide the thread, bring the needle back down through the stitches between the beads.
Pull the needle through the two nearest beads in the outer row. Trim any excess thread.
Add all available items to your cart at once or edit the quantities below.
Any items with quantities lower than stated minimums will default to the minimum in your cart.
Nice choice! All or most of the products needed for this project are shown
below with quantities. Sometimes we sell out of components and aren’t able to order more from
the manufacturer (we know, it is very disappointing to us, too). Use the opportunity to mix up
the design and make it yours by substituting similar products or altering the entire color
scheme—it’s up to you!
Please wait while we add the products to your cart.
Beaded Bail on Brick Stitch Edge
Adding a Bail to Sunshine Edge or Brick Stitch Edge
designed byArtbeads
Skill LevelBeginner
TechniqueSeed-Beading
Time1-3 Hours
Creating a unique pendant helps personalize your jewelry for a special touch, but oftentimes it's hard to find a bail to fit it. Beaded bails allow you to make just the right size and use the colors you need to match the pendant. In no time you can make a beaded bail for your idea, like we did for our Daybreak Frost necklace idea. First, you will need to create a brick stitch edge around the edge of your pendant.
Supplies
TOHO Bead Round 11/0 Metallic Dark Copper, 2.5-Inch Tube
Code TBRD11-222
$3.16
$3.95
×1
The BeadSmith 11 Short Beading Needles 12-Pack
Code NEED-10
$4.27
$5.59
×1
Step-by-Step Instructions
Thread one beading needle with approximately an arm's length of thread and tie a knot at the end. Bring the needle in between the sunshine edge and the nearest row of aqua blue rainbow TOHOs. Pull the needle through to hide the knot. We will refer to the beads in the sunshine edge as edge beads and the row of aqua blue seed beads as the outer row.
From the left, bring the needle up through the nearest bead on the outer row.
Bring the needle down through the nearest edge bead. This will be your entry bead.
Thread fifteen bead rounds in metallic dark copper onto the needle, and then pass the needle back around through the entry bead to form a loop.
Bring the needle through all fifteen bead rounds once more to secure the loop.
Bring the needle through the edge bead closest to the loop and thread fifteen more dark copper rounds. This edge bead becomes the second entry bead. Then, bring the needle back through this second entry bead to make a second loop. Center the strands of the ribbon and chain inside the first loop to make sure it fits.
Repeat step six as many times as you like for the desired number of loops. At this point you may choose to work around the ribbon and chain, or thread them through when the bail is completed.
When you have reached your desired number of loops, bring the needle through one new edge bead.
Bring the needle through an edge bead just to the left of the previous edge bead from Step eight.
Thread the needle back through the first entry bead.
Create a knot by pulling the needle through the thread line formed around the first entry bead. This will form a loop using the thread behind the needle. Bring the needle back through this loop and pull tight.
To hide the thread, bring the needle back down through the stitches between the beads.
Pull the needle through the two nearest beads in the outer row. Trim any excess thread.