This fun project uses felt or bead backing foundation as a base to glue Crystal Lane Flat Back Crystals into any shape and design! The finished design is then embellished into a gorgeous piece of jewelry by first brick-stitching around the border of the design, and then attaching an ear wire. The possibilities to make this design your own are limitless!
Arrange and plan your selection of Flatback Crystals onto a piece of felt or bead backing large enough for your finished design. Allow for margin on all sides of 2mm or more. Rounded shapes will be easier to brick stitch around later.
Drop a small amount of glue onto a piece of plastic or silicon mat. Using a toothpick, apply a small amount of glue to the felt under each flatback, then place the flatback back down on top of the glue. Press down gently for a few seconds and arrange if necessary, then leave in place. Repeat this step for each flatback.
Allow glue to cure overnight, or per the glue manufacturer's recommendation.
Cut around the shape of your design. Be sure to leave a margin of 2mm around the flatbacks. It can help to use sharp scissors, such as those used for sewing.
Tip: Use a beading thread that matches the color of your felt or bead backing. Cut a length of beading thread that is comfortable for you. For the earrings, 50” (127 cm) should be enough. Quick Start Brick Stitch: Leaving a 7" (18 cm) tail, string a stop bead. String an 8/0 seed bead. Go through the felt from back to front on the edge of the felt approximately 1.5mm in from the edge.
Come up through the 8/0 bead. The 8/0 bead will sit on the edge of the felt. The stop bead will sit on top of the 8/0 bead. Leave the stop bead in place for now.
Build a border of brick stitch around the piece by picking up a new 8/0 bead, going through the felt from back to front, then coming up through the 8/0 bead just added.
When you have stitched all the way around and reach the first bead added, go back down through the first 8/0 bead. Go through the felt from back to front, then come up through the 8/0 bead.
Remove the stop bead. Gently tie a double knot with the working and tail threads.
Use brick stitch technique to embellish your earrings design. The sample shown uses a row of 11/0 to create a second row and loop for the ear wire. A row above is added that alternates 11/0 and 6/0 beads. A row of 11/0 is brick stitched on top. Weave in and trim thread.
Open the loop of an earwire and attach to the beaded loop at the top of the earring. Close the loop.
Repeat these steps to make the other earring.
The BeadSmith 4.25x5.5-Inch Black Bead Backing (EMB-0016, qty 1) The Beadsmith Black Fireline - 50 Yards (8-Pound Test) (STRNG-0431, qty 1) Tulip Beading Needle No 11 (4 pack) (NEED-20, qty 1) Gem-Tac Permanent Adhesive 4 fl oz. (GEMTAC, qty 1) Crystal Lane SS30 Flat Back Light Rose (72pcs) (CRL-1004-10, qty 1) Crystal Lane SS20 Flat Back Light Colorado Topaz (144pcs) (CRL-1003-02, qty 1) Crystal Lane SS16 Flat Back Light Sapphire (288pcs) (CRL-1002-23, qty 1) TOHO Bead Round 8/0 Olympic Bronze 2.5-Inch Tube (TBRD8-224, qty 1) Matubo 11/0 Czech Glass Luster Transparent Blue Seed Bead 2.5-Inch Tube (BEAD4904, qty 1) Matubo 11/0 Czech Glass Luster Transparent Rosaline Seed Bead 2.5-Inch Tube (BEAD4905, qty 1) Czech Glass Faceted Seed Bead 6/0 (4 x 3mm) Sapphire Blue Transparent with Bronze Finish Bead Strand by Raven's Journey (BEADS7664, qty 1) Vintaj Natural Brass Round Loop Earwire (Pair) (EAR-0236, qty 1) Toothpicks to place glue Plastic or paper card to hold glue
Add all available items to your cart at once or edit the quantities below.
Any items with quantities lower than stated minimums will default to the minimum in your cart.
Nice choice! All or most of the products needed for this project are shown
below with quantities. Sometimes we sell out of components and aren’t able to order more from
the manufacturer (we know, it is very disappointing to us, too). Use the opportunity to mix up
the design and make it yours by substituting similar products or altering the entire color
scheme—it’s up to you!
Please wait while we add the products to your cart.
Beaded Blossoms
Circular Brick Stitch Beaded Earrings with Crystal Lane Flat Backs
designed byDanielle Wickes
Skill LevelIntermediate
TechniqueSeed-Beading
Time1-3 Hours
Approximate Size2 Inches
Time to add some sparkle to your style!
This fun project uses felt or bead backing foundation as a base to glue Crystal Lane Flat Back Crystals into any shape and design! The finished design is then embellished into a gorgeous piece of jewelry by first brick-stitching around the border of the design, and then attaching an ear wire. The possibilities to make this design your own are limitless!
Supplies
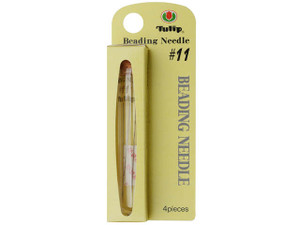
Tulip Beading Needle No 11, 4pc Pack
Code NEED-20
$8.79
$10.99
×1
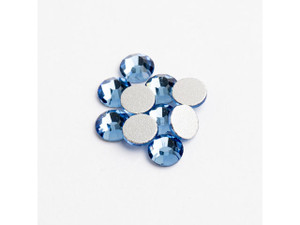
Crystal Lane SS16 Flat Back Light Sapphire (288pcs)
Code CRL-1002-23
$3.62
$4.81
×1
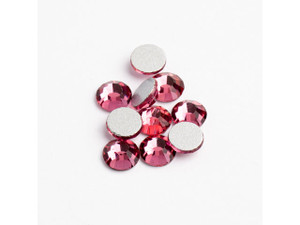
Clearance - Was $11.99 - Crystal Lane SS30 Flat Back Light Rose (72pcs)
Code CRL-1004-10
$8.14
$11.99
×1
TOHO Bead Round 8/0 Olympic Bronze 2.5-Inch Tube
Code TBRD8-224
$2.72
$3.62
×1
Step-by-Step Instructions
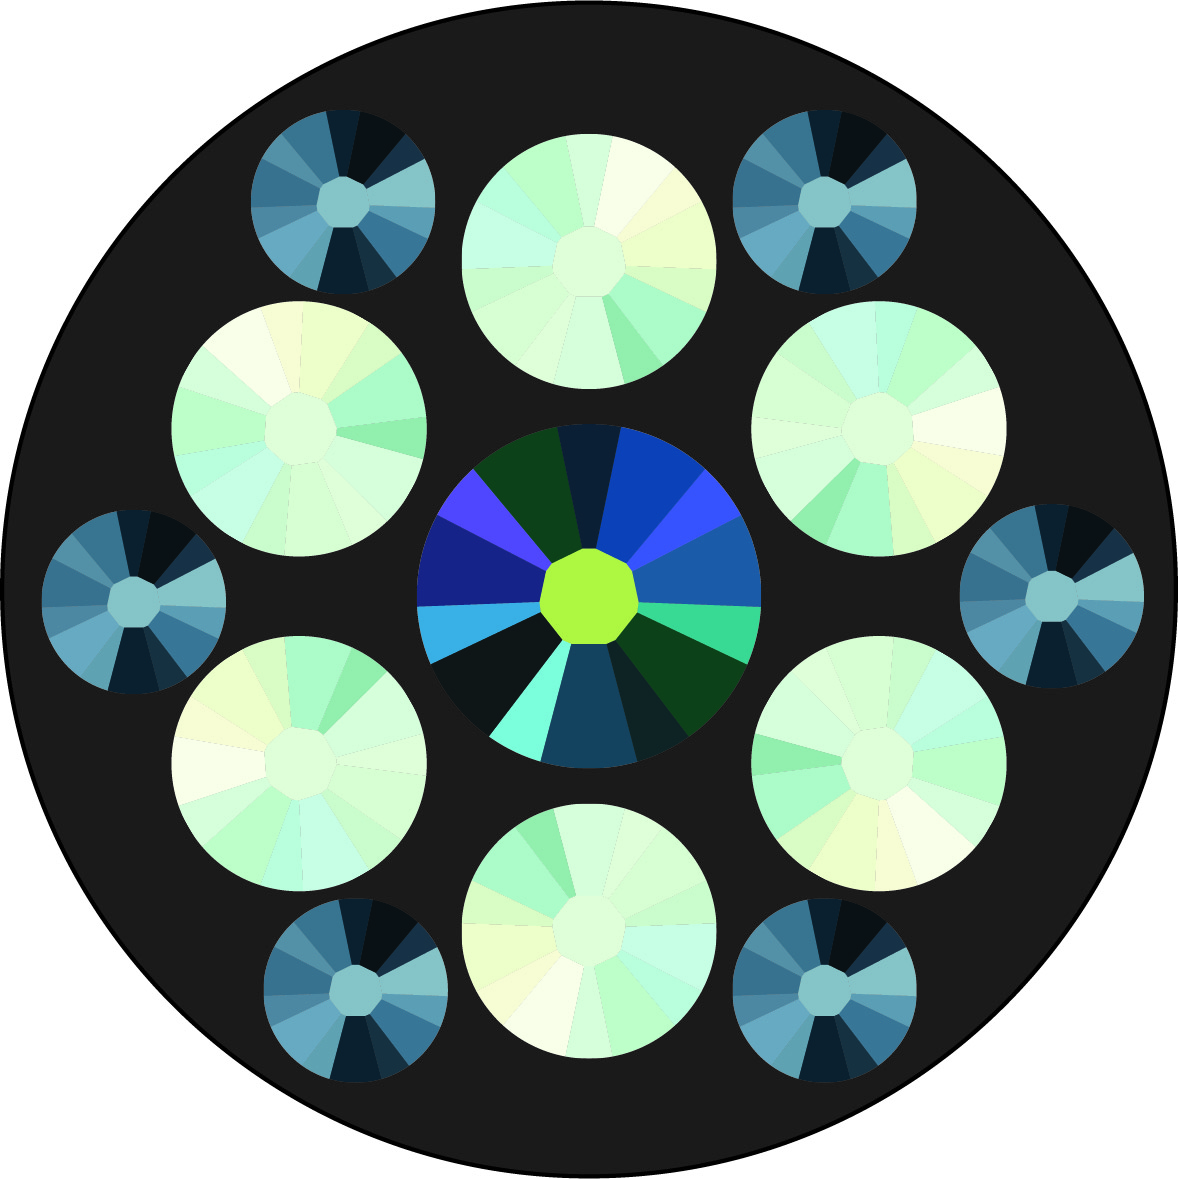
Arrange and plan your selection of Flatback Crystals onto a piece of felt or bead backing large enough for your finished design. Allow for margin on all sides of 2mm or more. Rounded shapes will be easier to brick stitch around later.
Drop a small amount of glue onto a piece of plastic or silicon mat. Using a toothpick, apply a small amount of glue to the felt under each flatback, then place the flatback back down on top of the glue. Press down gently for a few seconds and arrange if necessary, then leave in place. Repeat this step for each flatback.
Allow glue to cure overnight, or per the glue manufacturer's recommendation.
Cut around the shape of your design. Be sure to leave a margin of 2mm around the flatbacks. It can help to use sharp scissors, such as those used for sewing.
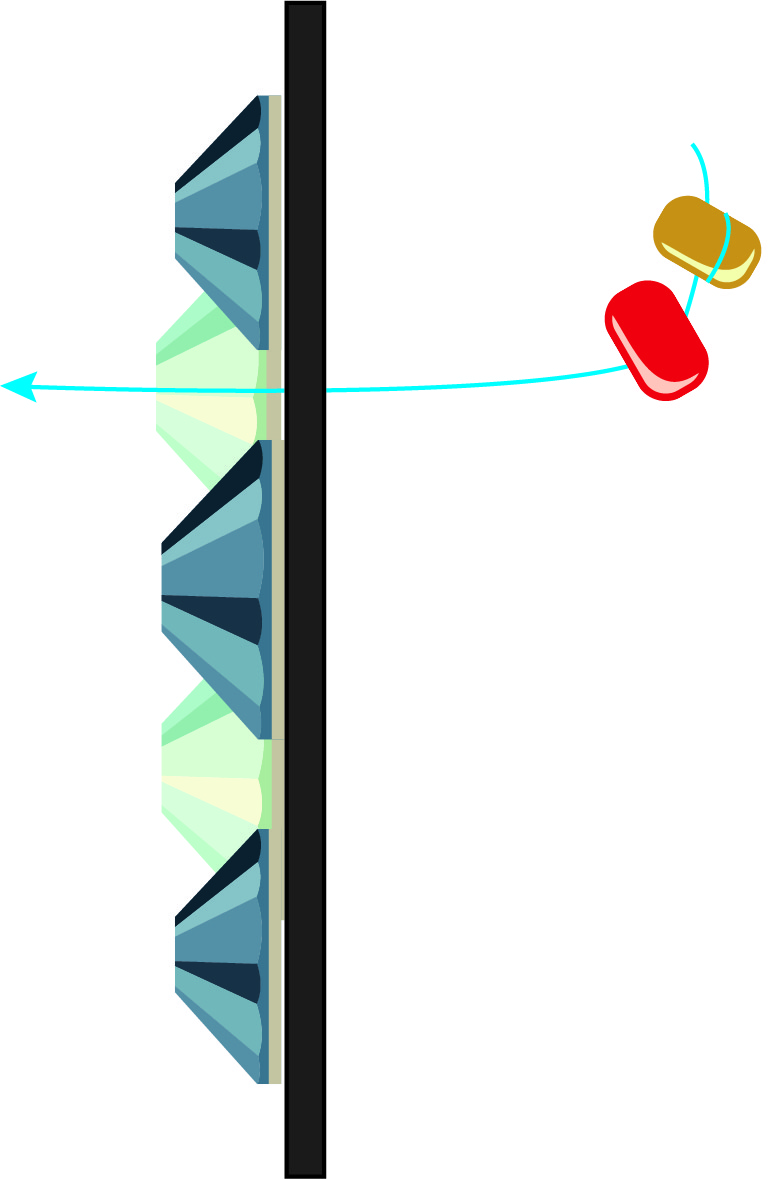
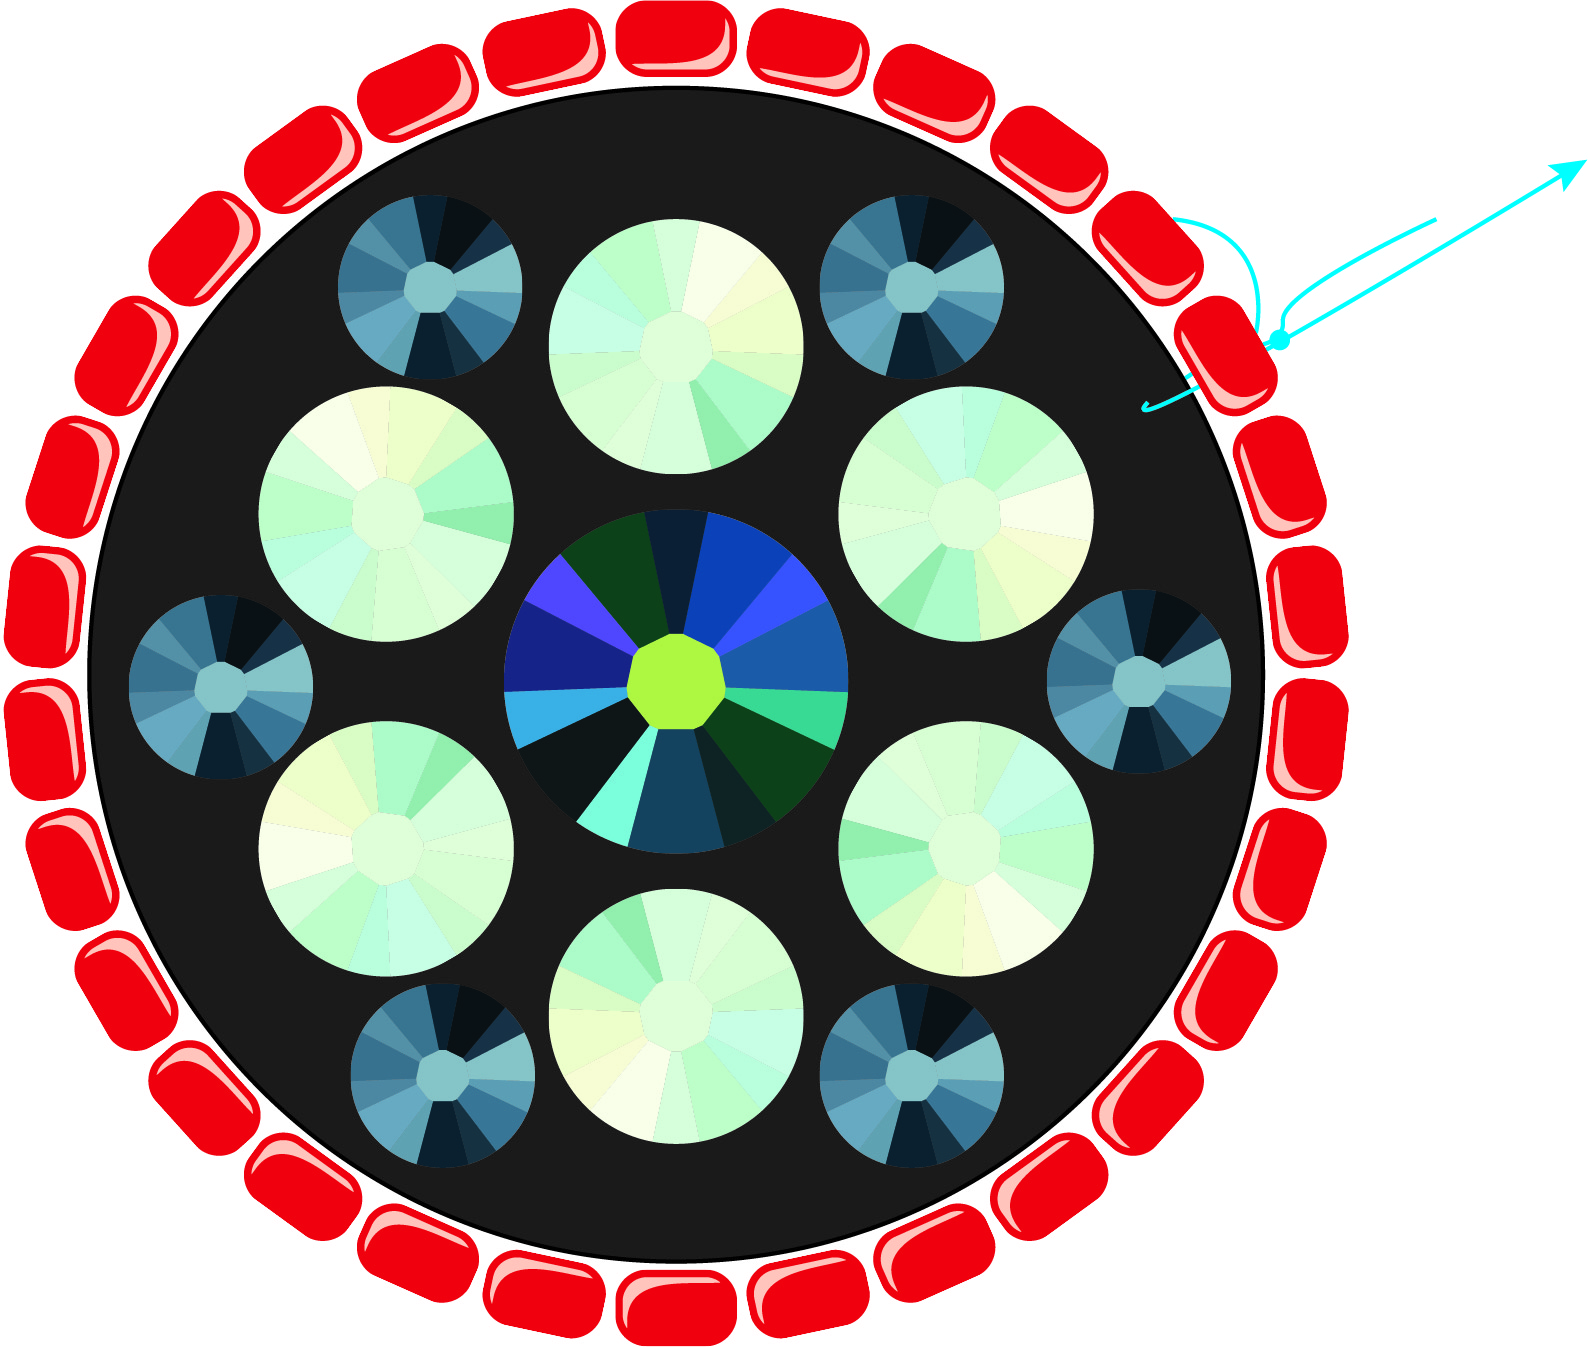
Tip: Use a beading thread that matches the color of your felt or bead backing. Cut a length of beading thread that is comfortable for you. For the earrings, 50” (127 cm) should be enough. Quick Start Brick Stitch: Leaving a 7" (18 cm) tail, string a stop bead. String an 8/0 seed bead. Go through the felt from back to front on the edge of the felt approximately 1.5mm in from the edge.
Come up through the 8/0 bead. The 8/0 bead will sit on the edge of the felt. The stop bead will sit on top of the 8/0 bead. Leave the stop bead in place for now.
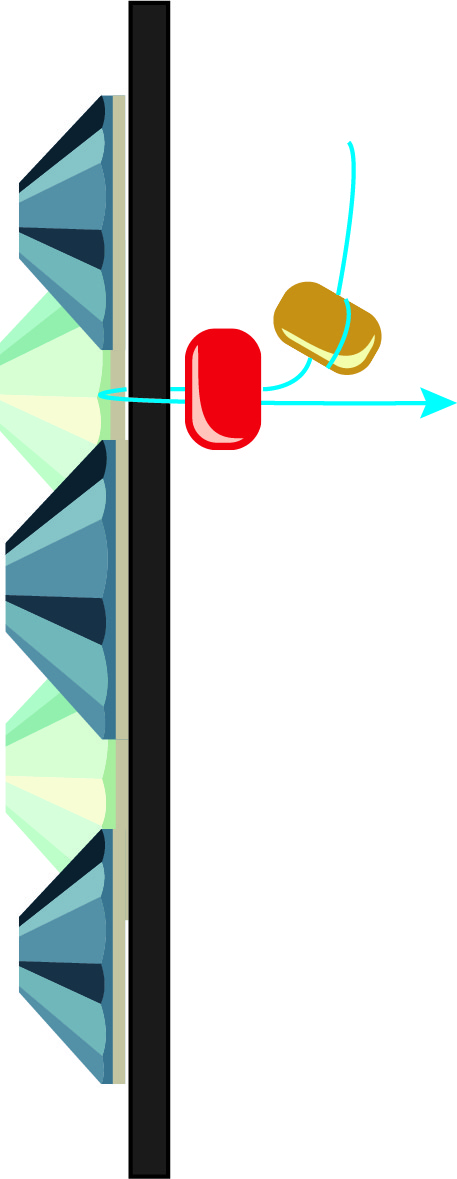
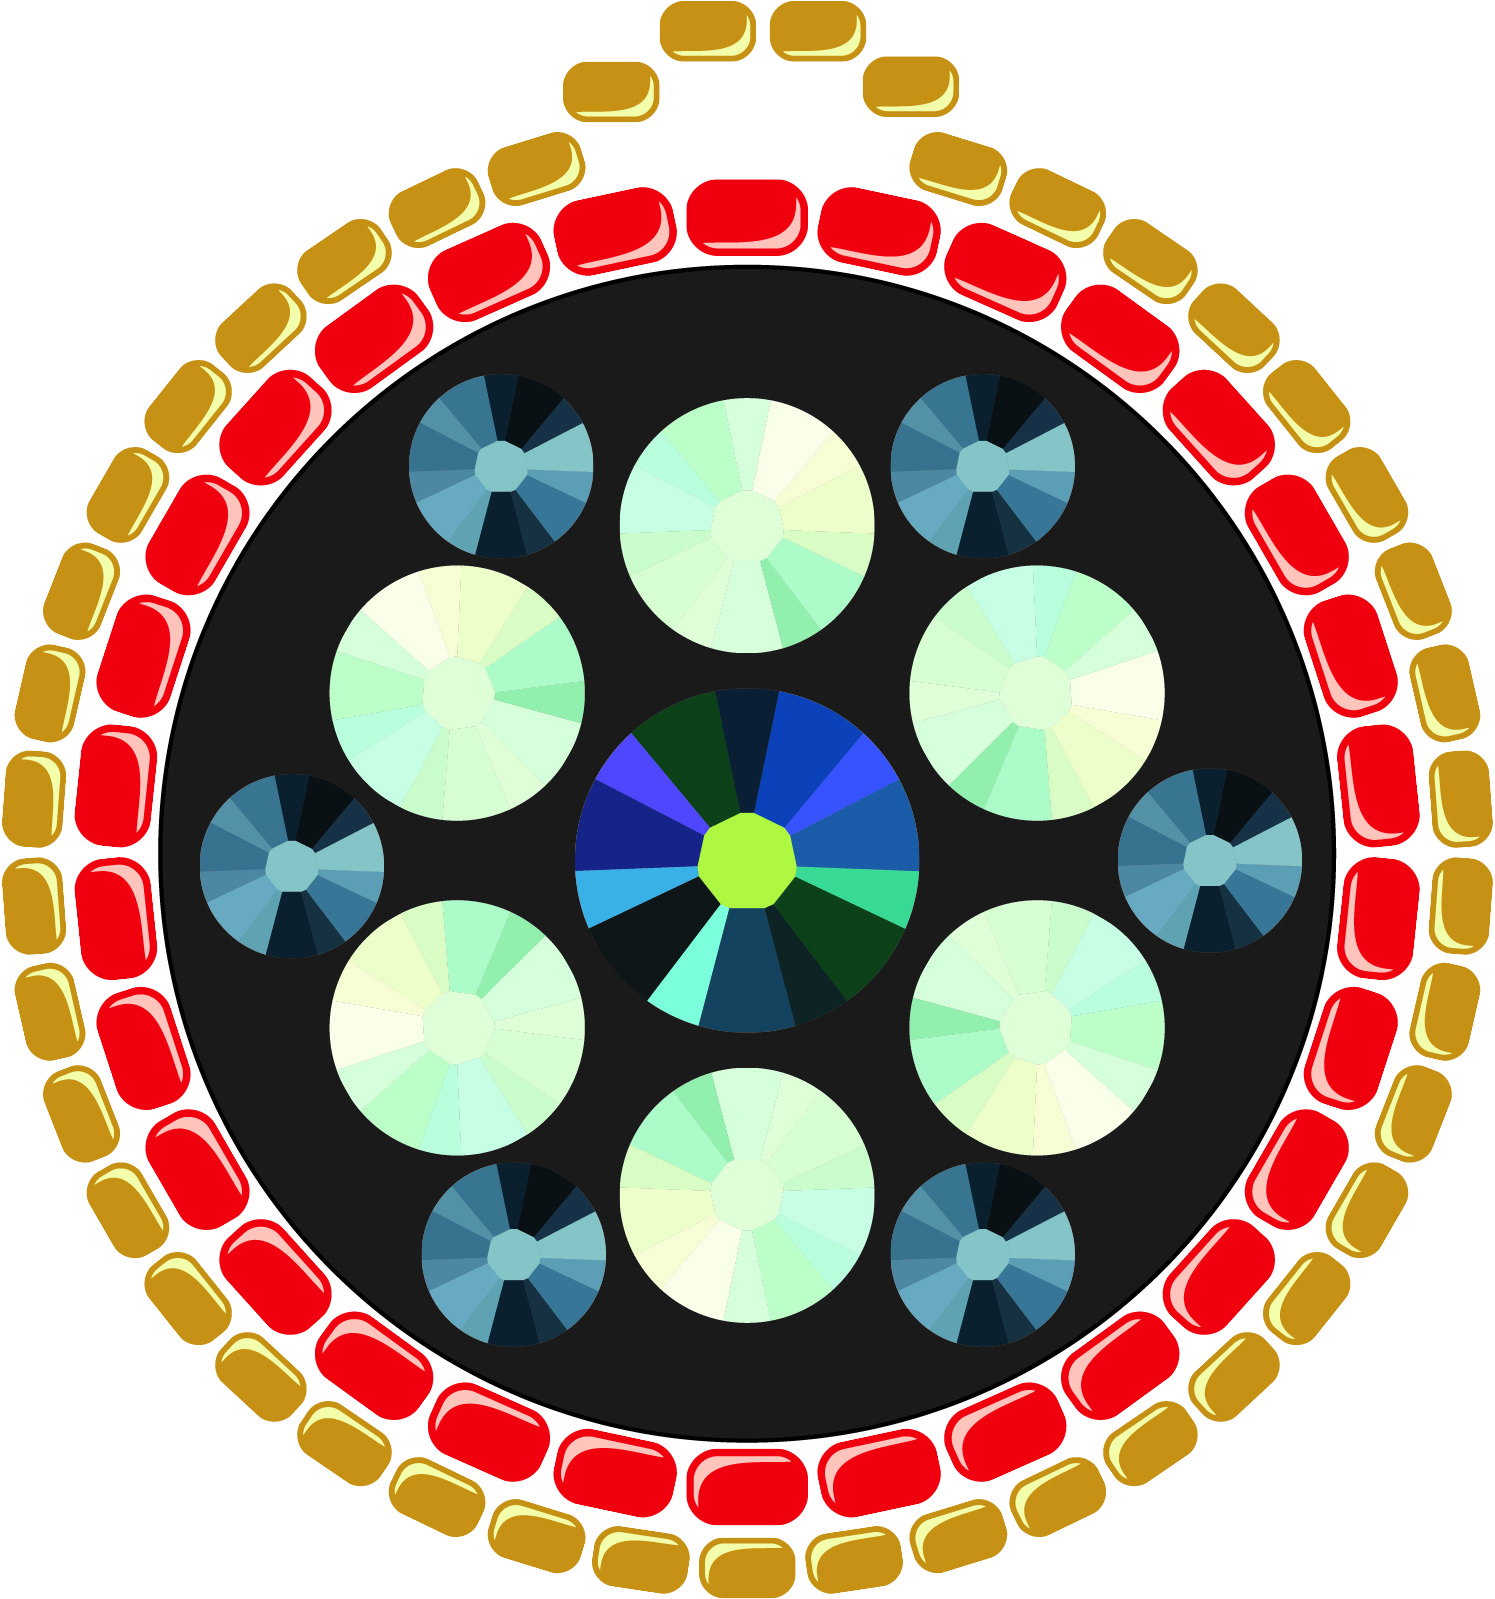
Build a border of brick stitch around the piece by picking up a new 8/0 bead, going through the felt from back to front, then coming up through the 8/0 bead just added.
When you have stitched all the way around and reach the first bead added, go back down through the first 8/0 bead. Go through the felt from back to front, then come up through the 8/0 bead.
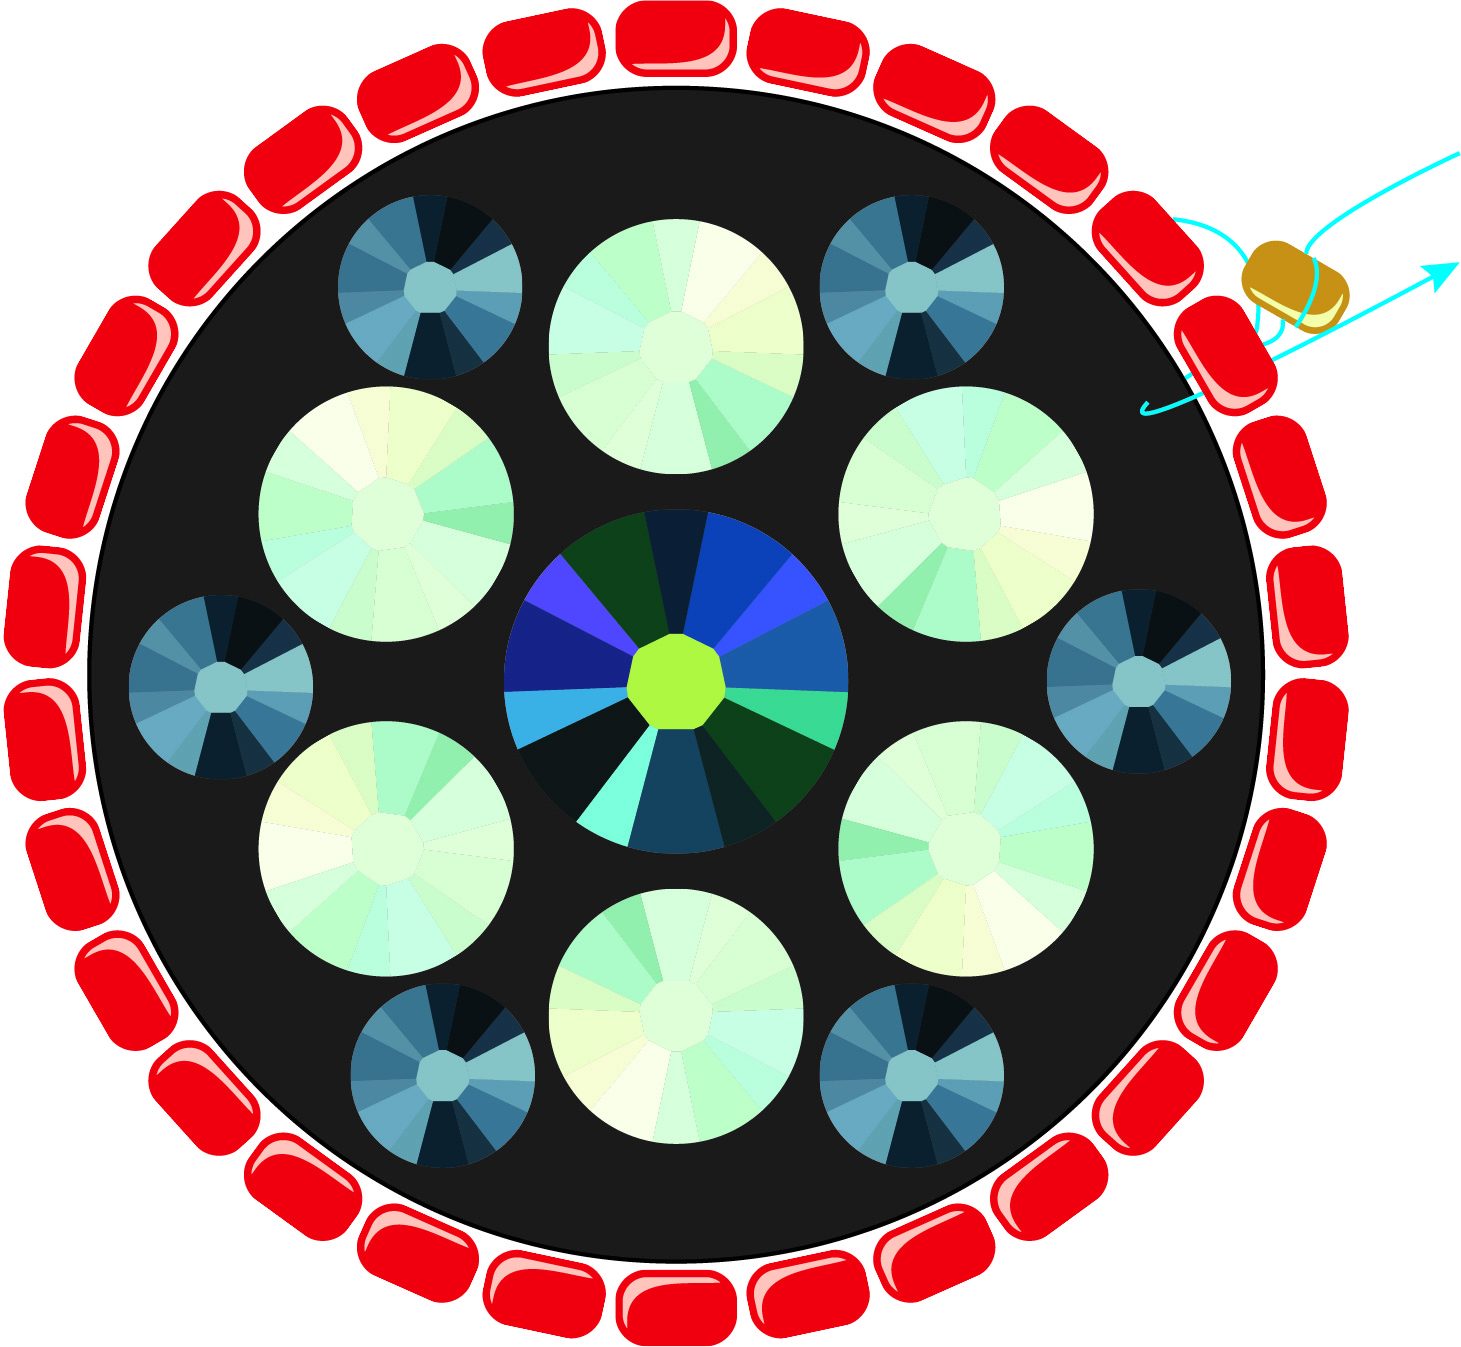
Remove the stop bead. Gently tie a double knot with the working and tail threads.
Use brick stitch technique to embellish your earrings design. The sample shown uses a row of 11/0 to create a second row and loop for the ear wire. A row above is added that alternates 11/0 and 6/0 beads. A row of 11/0 is brick stitched on top. Weave in and trim thread.
Open the loop of an earwire and attach to the beaded loop at the top of the earring. Close the loop.
Repeat these steps to make the other earring.
The BeadSmith 4.25x5.5-Inch Black Bead Backing (EMB-0016, qty 1) The Beadsmith Black Fireline - 50 Yards (8-Pound Test) (STRNG-0431, qty 1) Tulip Beading Needle No 11 (4 pack) (NEED-20, qty 1) Gem-Tac Permanent Adhesive 4 fl oz. (GEMTAC, qty 1) Crystal Lane SS30 Flat Back Light Rose (72pcs) (CRL-1004-10, qty 1) Crystal Lane SS20 Flat Back Light Colorado Topaz (144pcs) (CRL-1003-02, qty 1) Crystal Lane SS16 Flat Back Light Sapphire (288pcs) (CRL-1002-23, qty 1) TOHO Bead Round 8/0 Olympic Bronze 2.5-Inch Tube (TBRD8-224, qty 1) Matubo 11/0 Czech Glass Luster Transparent Blue Seed Bead 2.5-Inch Tube (BEAD4904, qty 1) Matubo 11/0 Czech Glass Luster Transparent Rosaline Seed Bead 2.5-Inch Tube (BEAD4905, qty 1) Czech Glass Faceted Seed Bead 6/0 (4 x 3mm) Sapphire Blue Transparent with Bronze Finish Bead Strand by Raven's Journey (BEADS7664, qty 1) Vintaj Natural Brass Round Loop Earwire (Pair) (EAR-0236, qty 1) Toothpicks to place glue Plastic or paper card to hold glue