How to Make Nunn Design Wire-Wrapped Pearl Earrings
You will soon be mastering the art of wire wrapping with a little practice. What we love about wire wrapping is that you can use all sorts of seed beads, beads, and gemstones to create a unique look to your own style.
Let’s get started with this jewelry-making tutorial for wire-wrapped pearl earrings from Nunn Design!

Fast Tutorial Video:
Watch this Fast Video for a quick overview of the process and then read the full tutorial below!
Learn How!
Supplies:
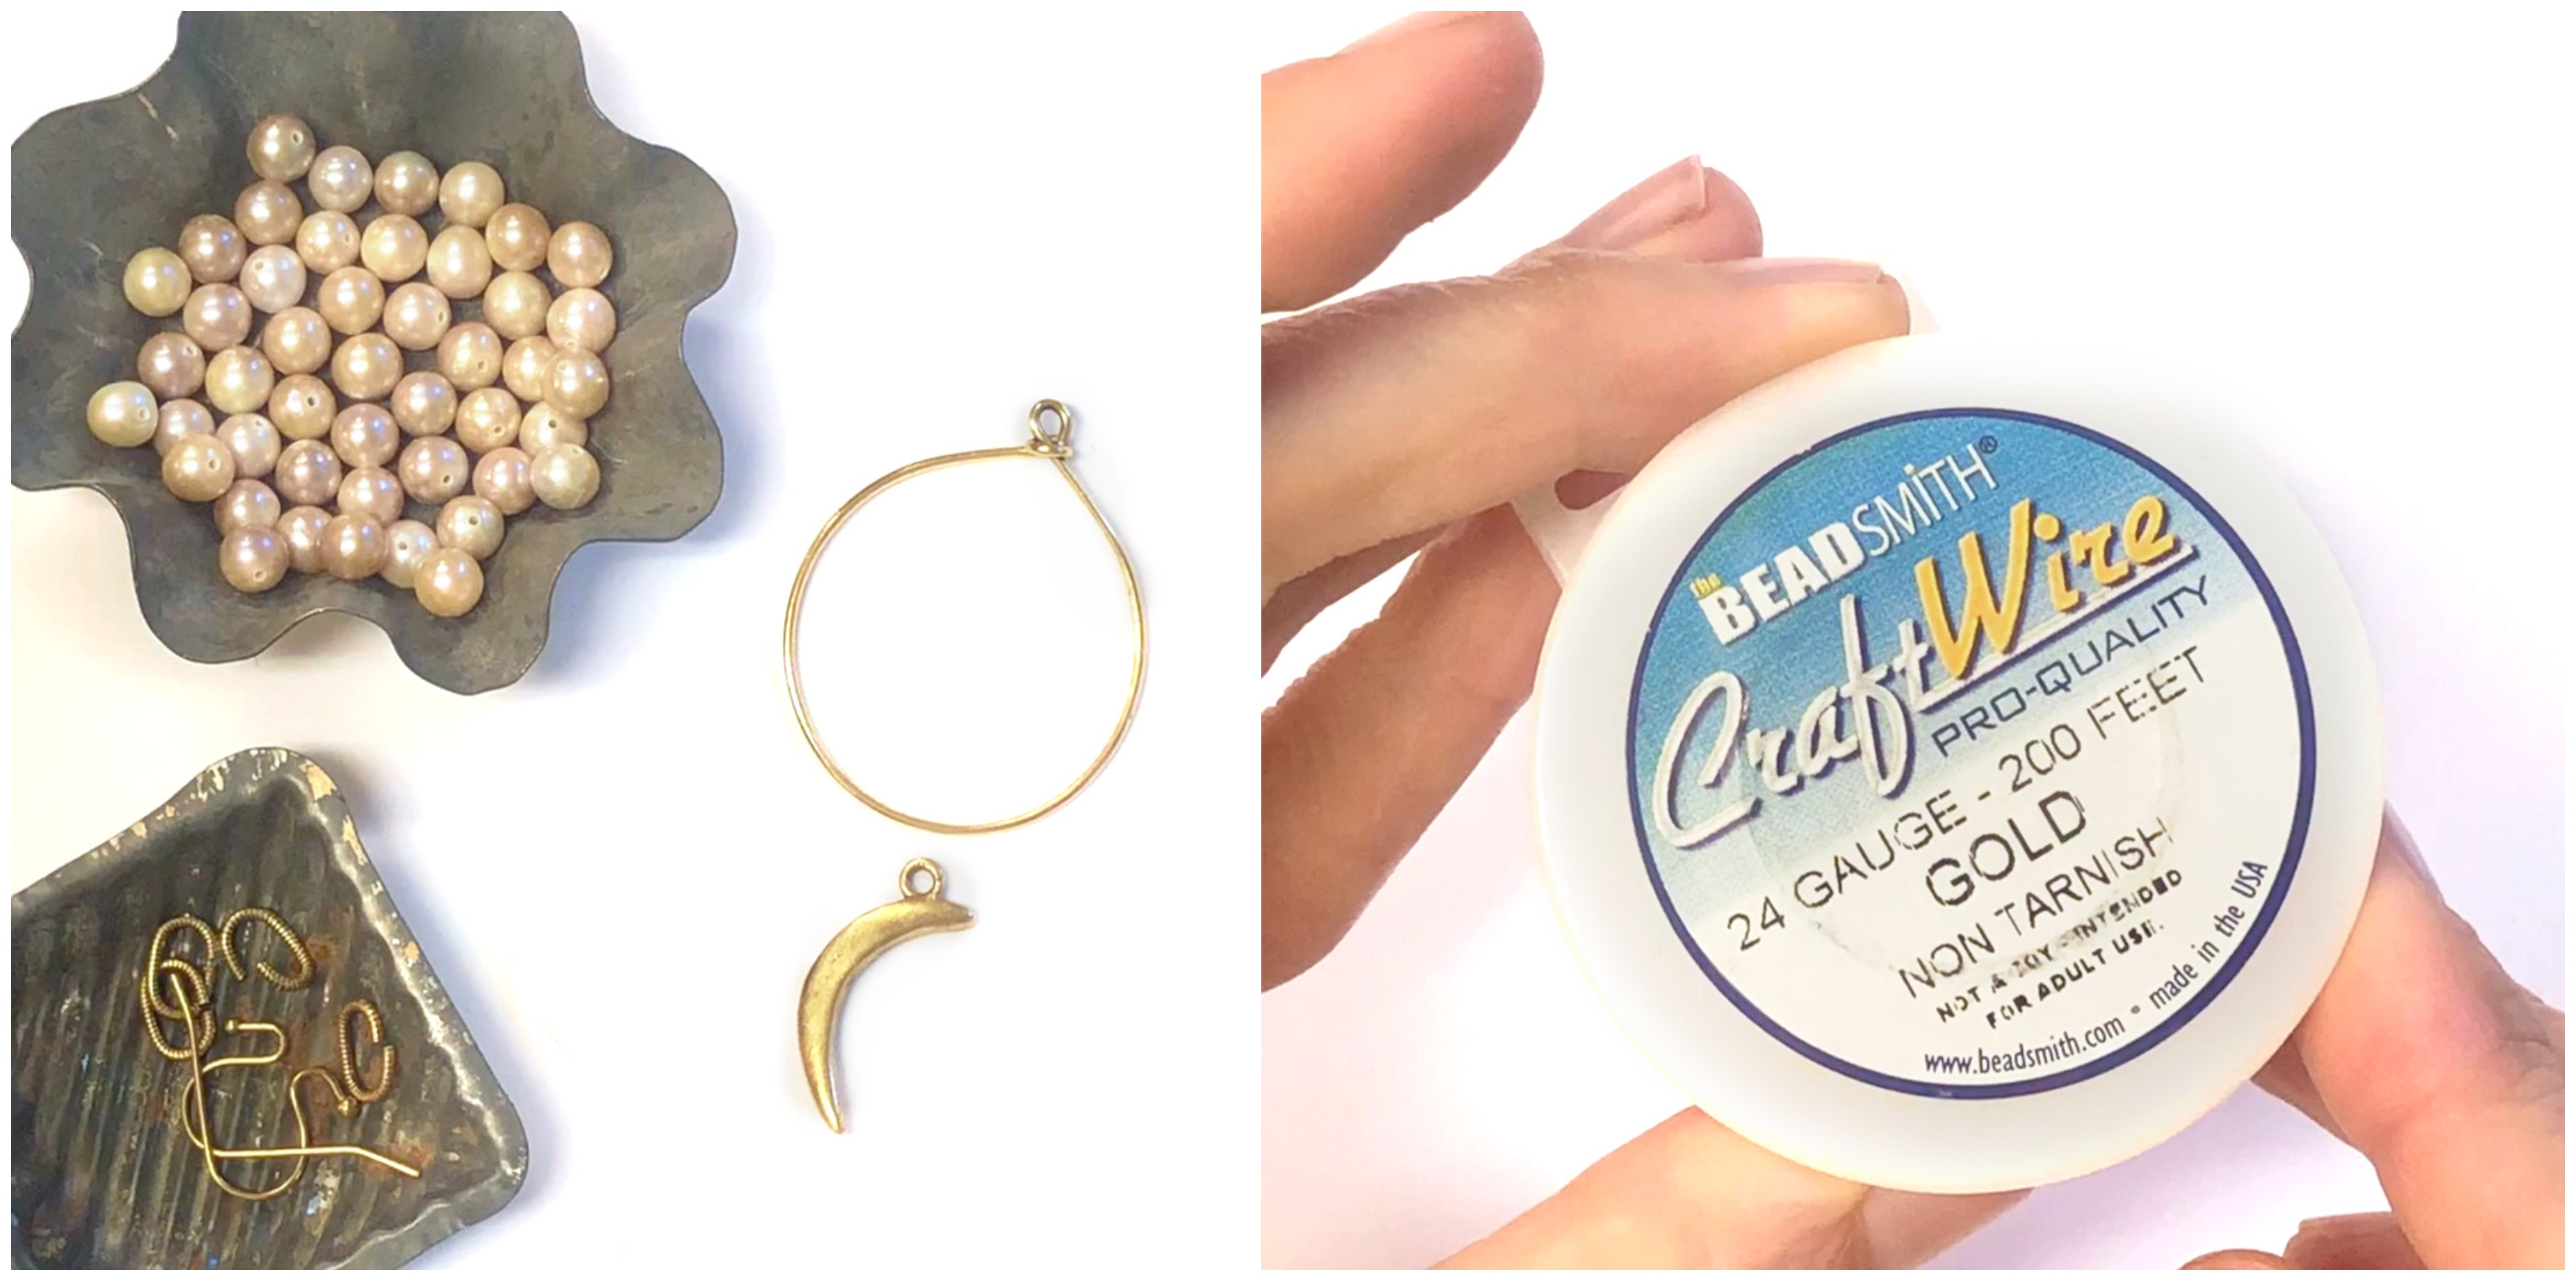
24-gauge gold wire (Try Artbeads Designer Wire)
12 8mm Round Pearl Beads (Try 8mm Mother of Pearl Beads)
2 Nunn Design Wire Frame Large Hoops
2 Nunn Design Jump ring 9mm Textured Ovals (Also try Nunn Design mini rope jump rings)
2 Nunn Design Charm Primitive Crescent Moons
1 pair Nunn Design Ear Wire Ball (Try this earwire)
Tools Needed:
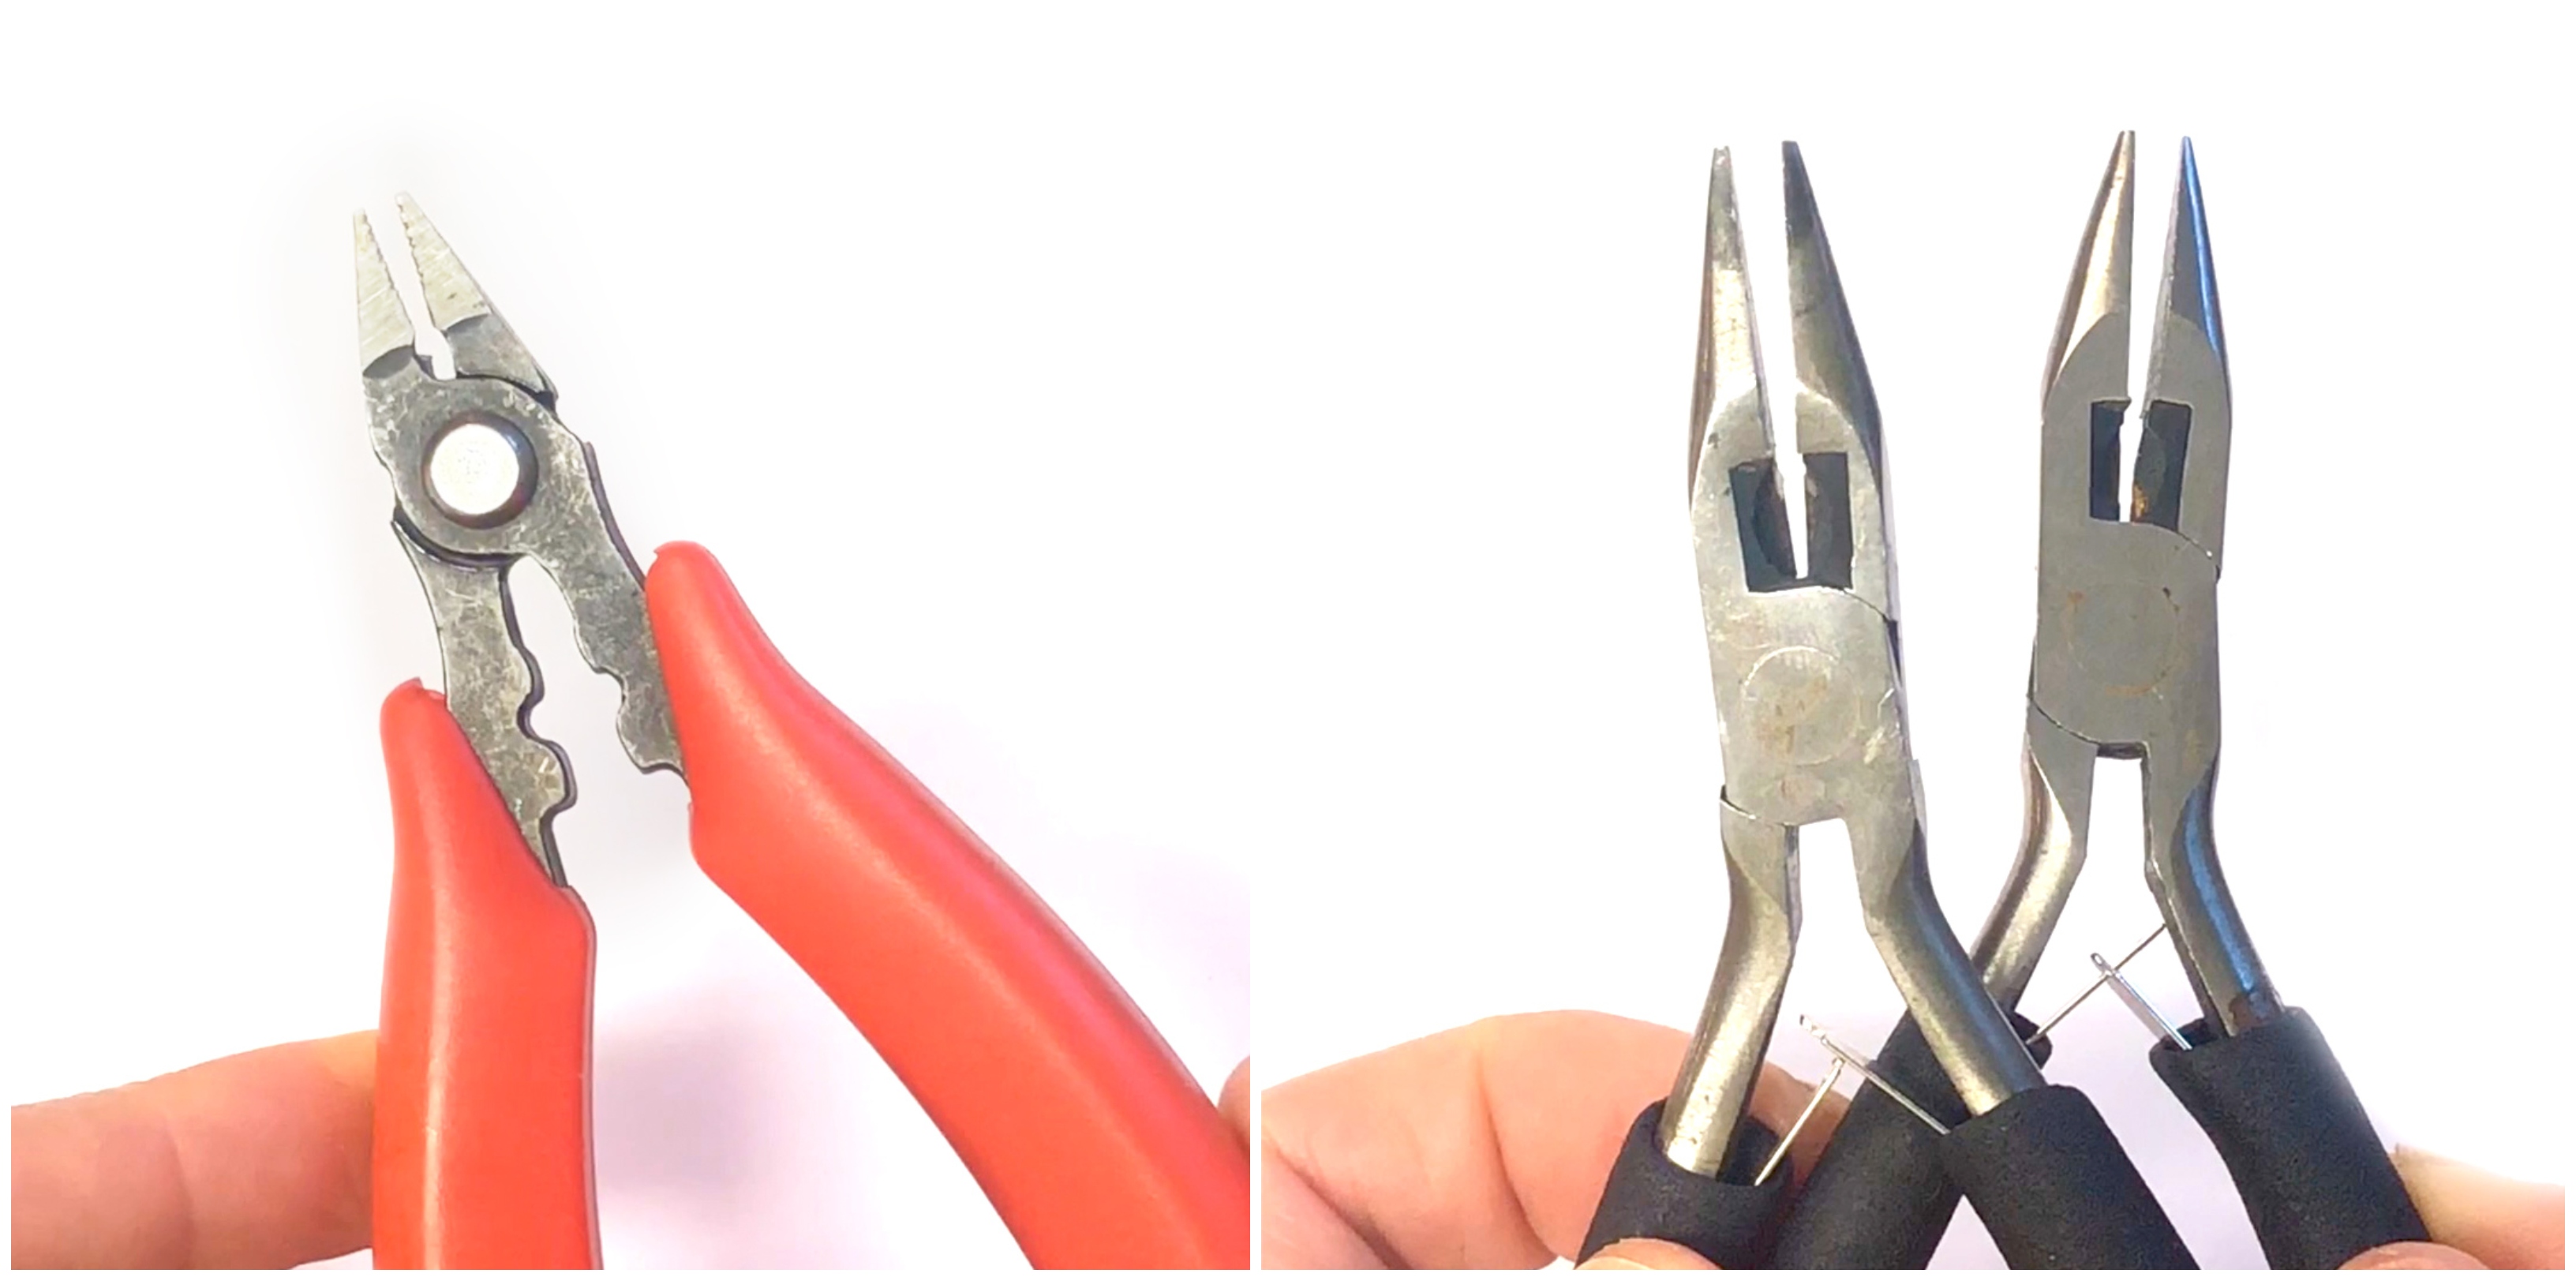
1 pair of Shear Flush Cutters
2 pair of Needle Nose Pliers
Step 1:
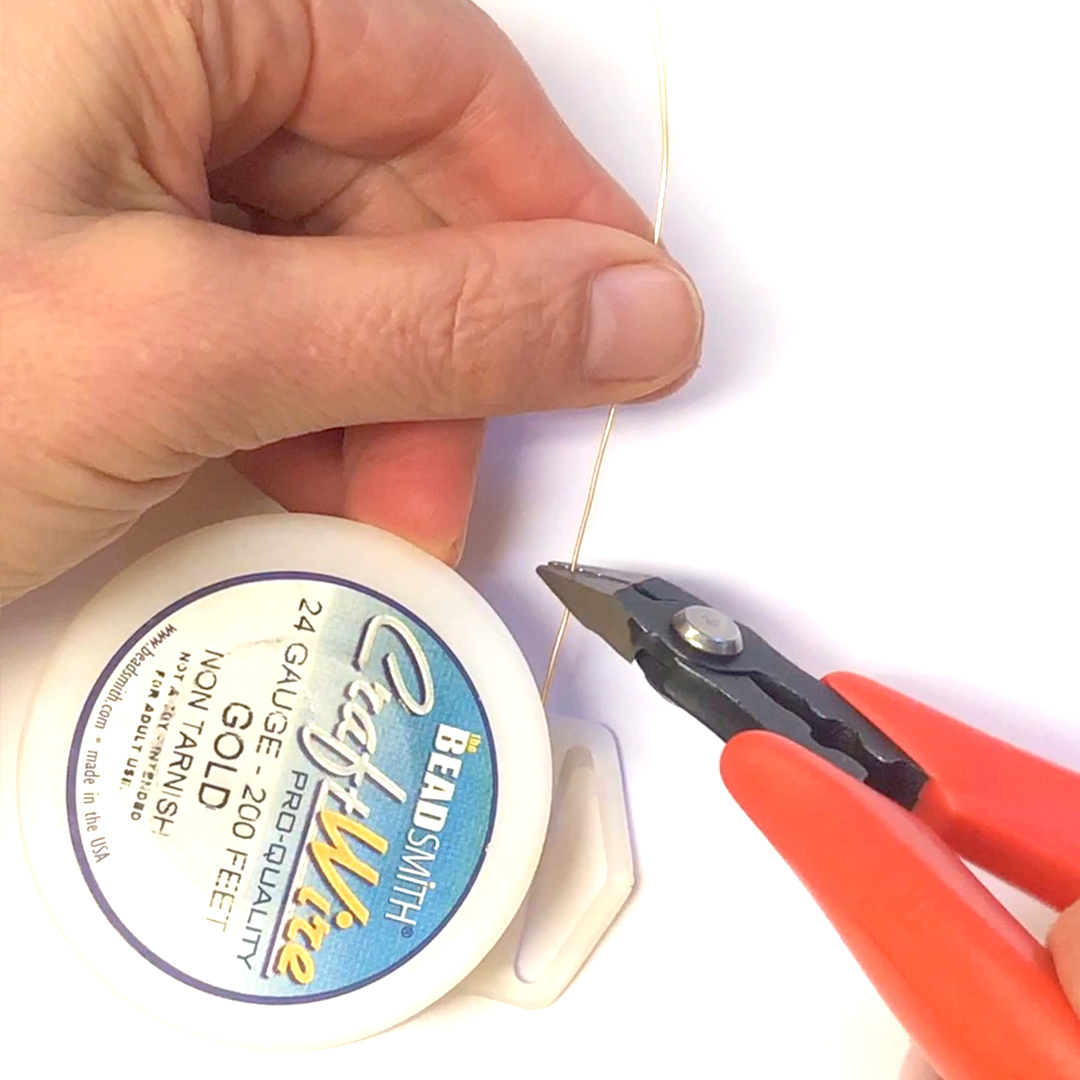
Using your Flush Cutters, cut the 2’ of 24 gauge wire. You more than likely will not use all the wire, but in the beginning, it might be stressful to not have enough wire.
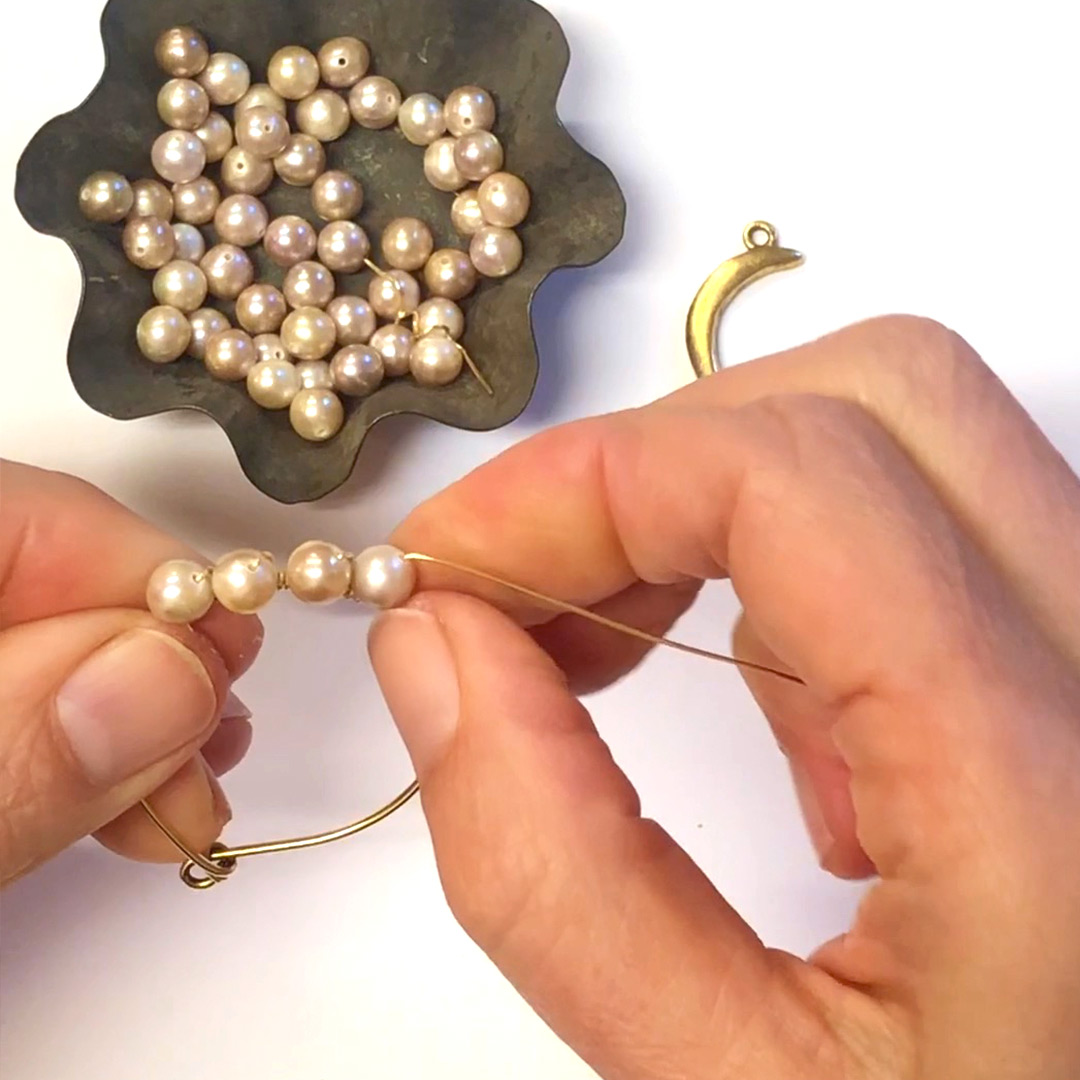
Step 2:
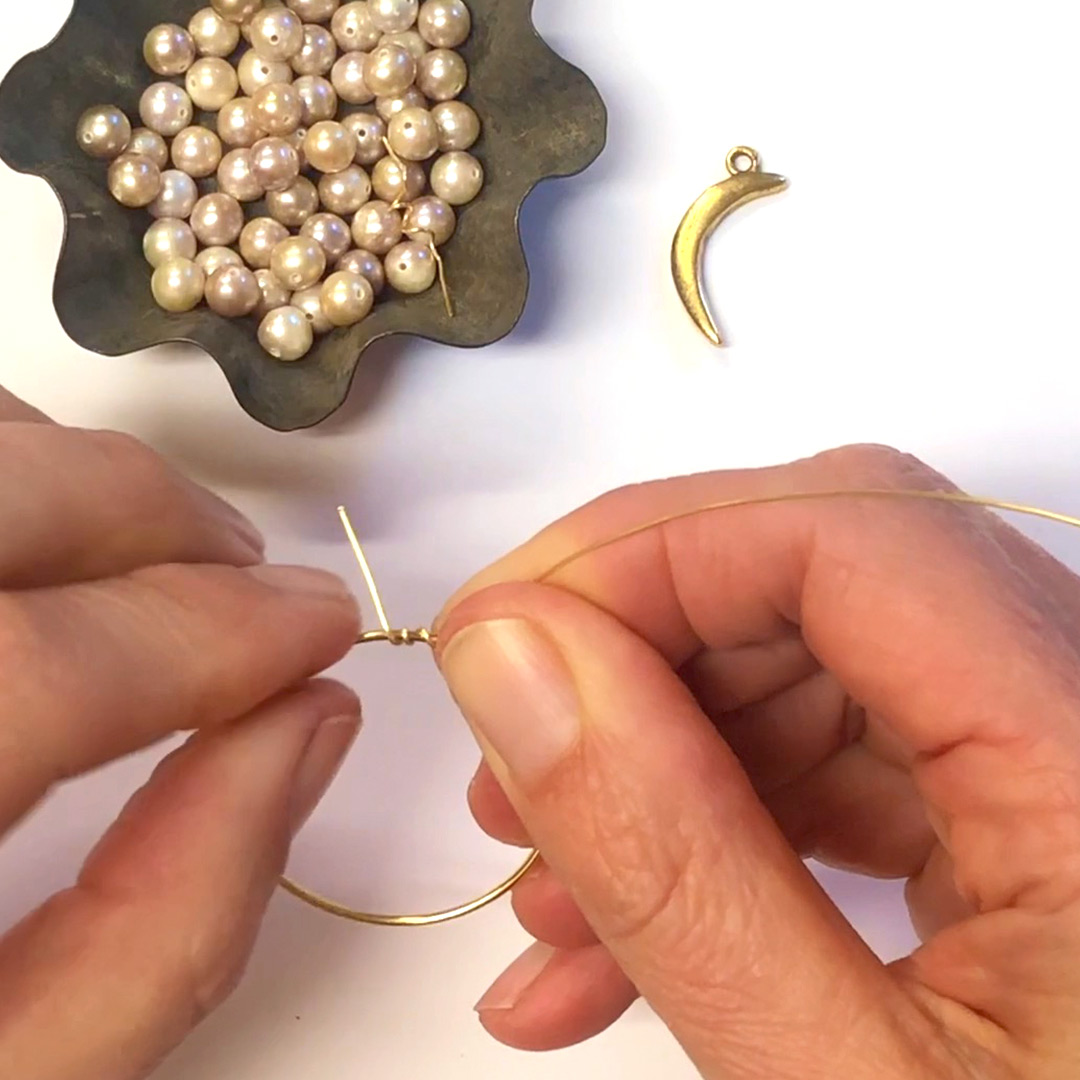
Start to wrap the wire three times around the Nunn Design Wire Frame Large Hoop. For this project, we only have the pearls down at the bottom, so we started to wrap the wire around 4 o’clock.
Because the gauge of wire is thicker, we didn’t tuck it under or secure it when we started the wire wrapping. In the end, we will cut the wire ends and crimp them down, but for now, just leave the “tail” of the wire alone.
Step 3:

Thread on the first of your beads. To prevent the wire from showing from the “front” of the Wire Frame, wire wrap the next three wraps by going under the Wire Frame first. Wrap the wire around the Wire Frame three times.
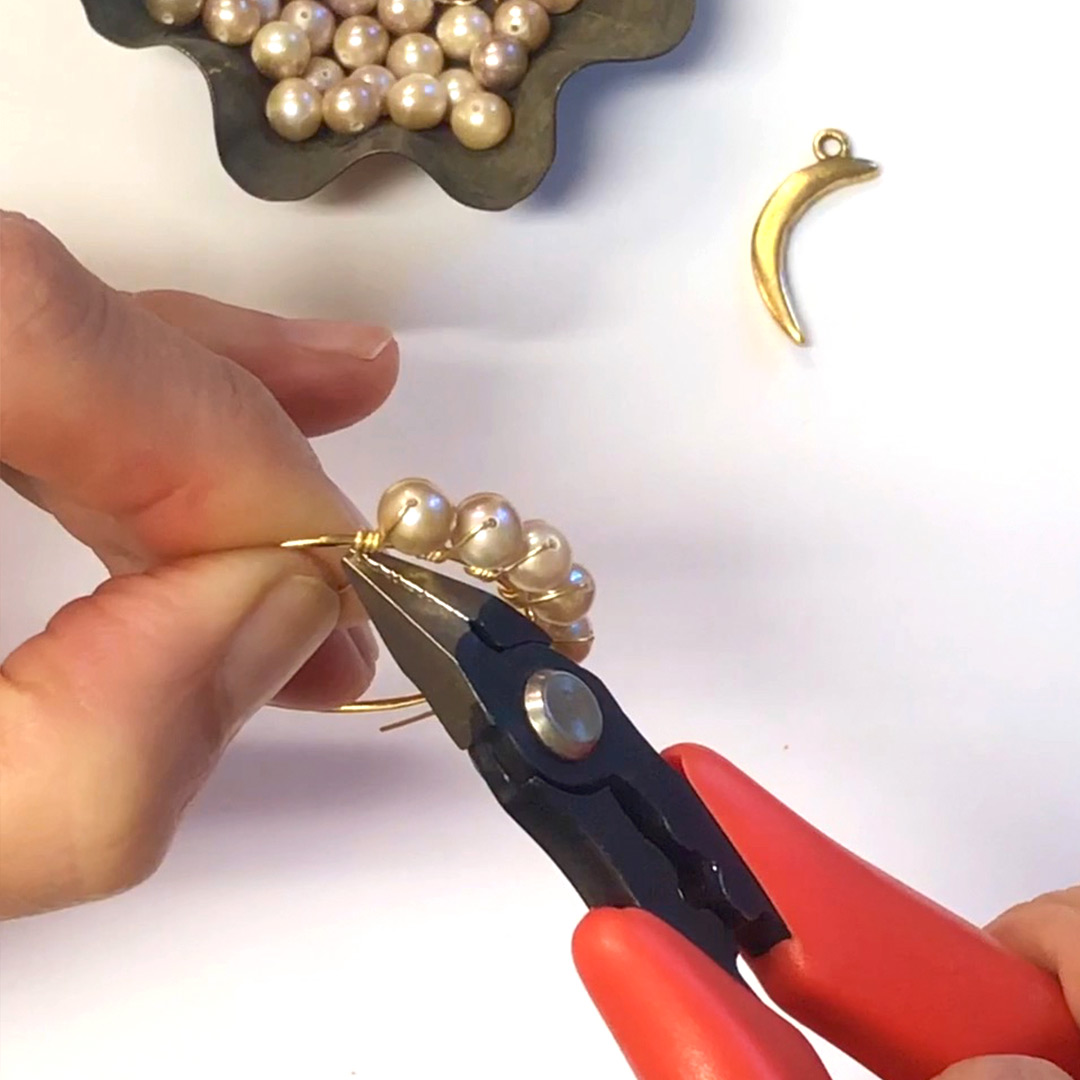
Step 4:
Continue to thread on beads and wire wrap 3 times in between each of the beads. Use your fingers to “squish” the beads together, keeping them tight. You can also use a pair of needle nose pliers to “squish” together the wire if your wrapping isn’t as tight together as you would like.
Step 5:
After you have threaded on your final bead and have wrapped the wire around your final 3 times, use a pair of flush cutters to trim away the excess wire. I like to cut the wire on the inside of the hoop, to prevent the end from snagging on a surface or being rough to the touch.
Step 6:
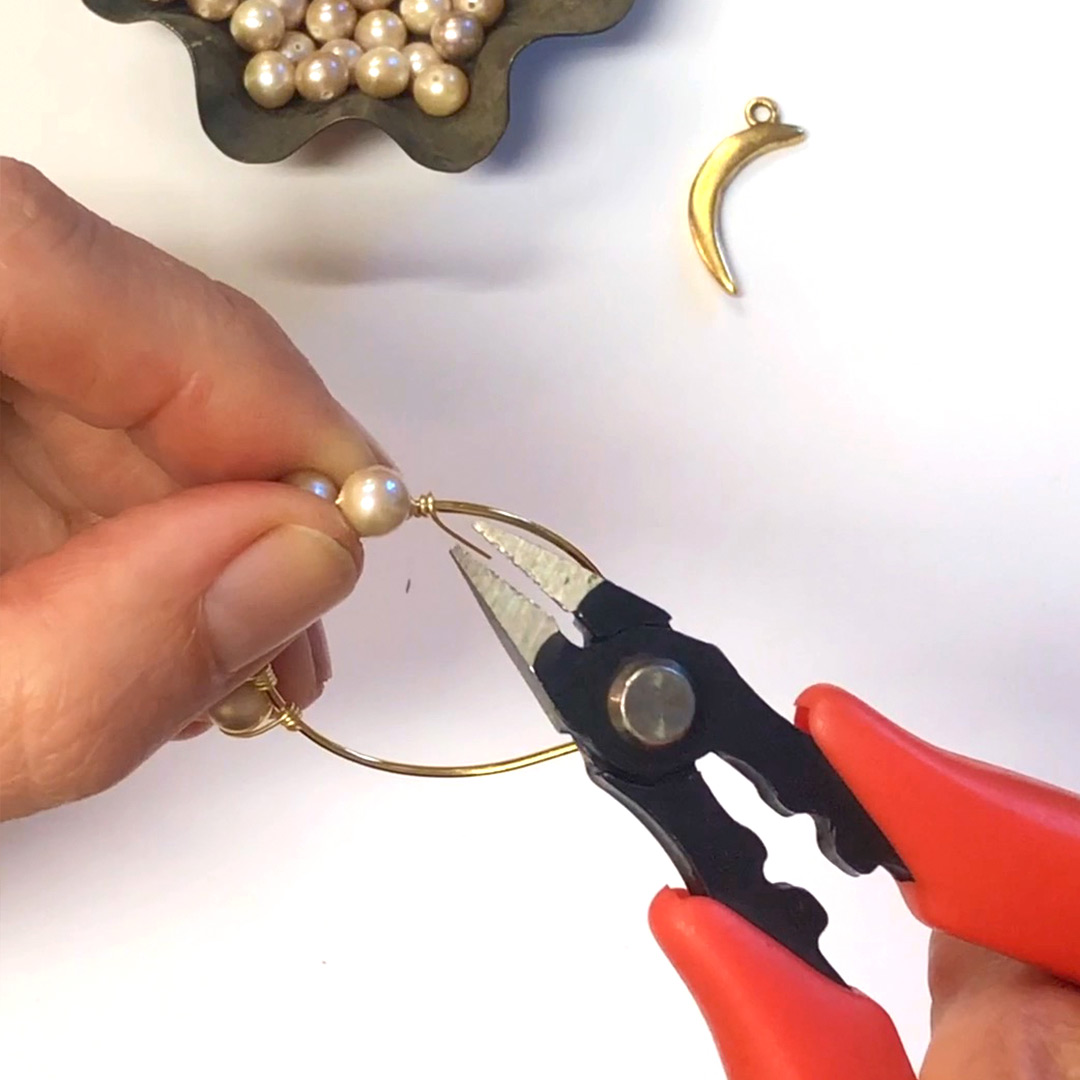
Using flush cutters, trim away the “tail” of the wire from where you started.
Step 7:
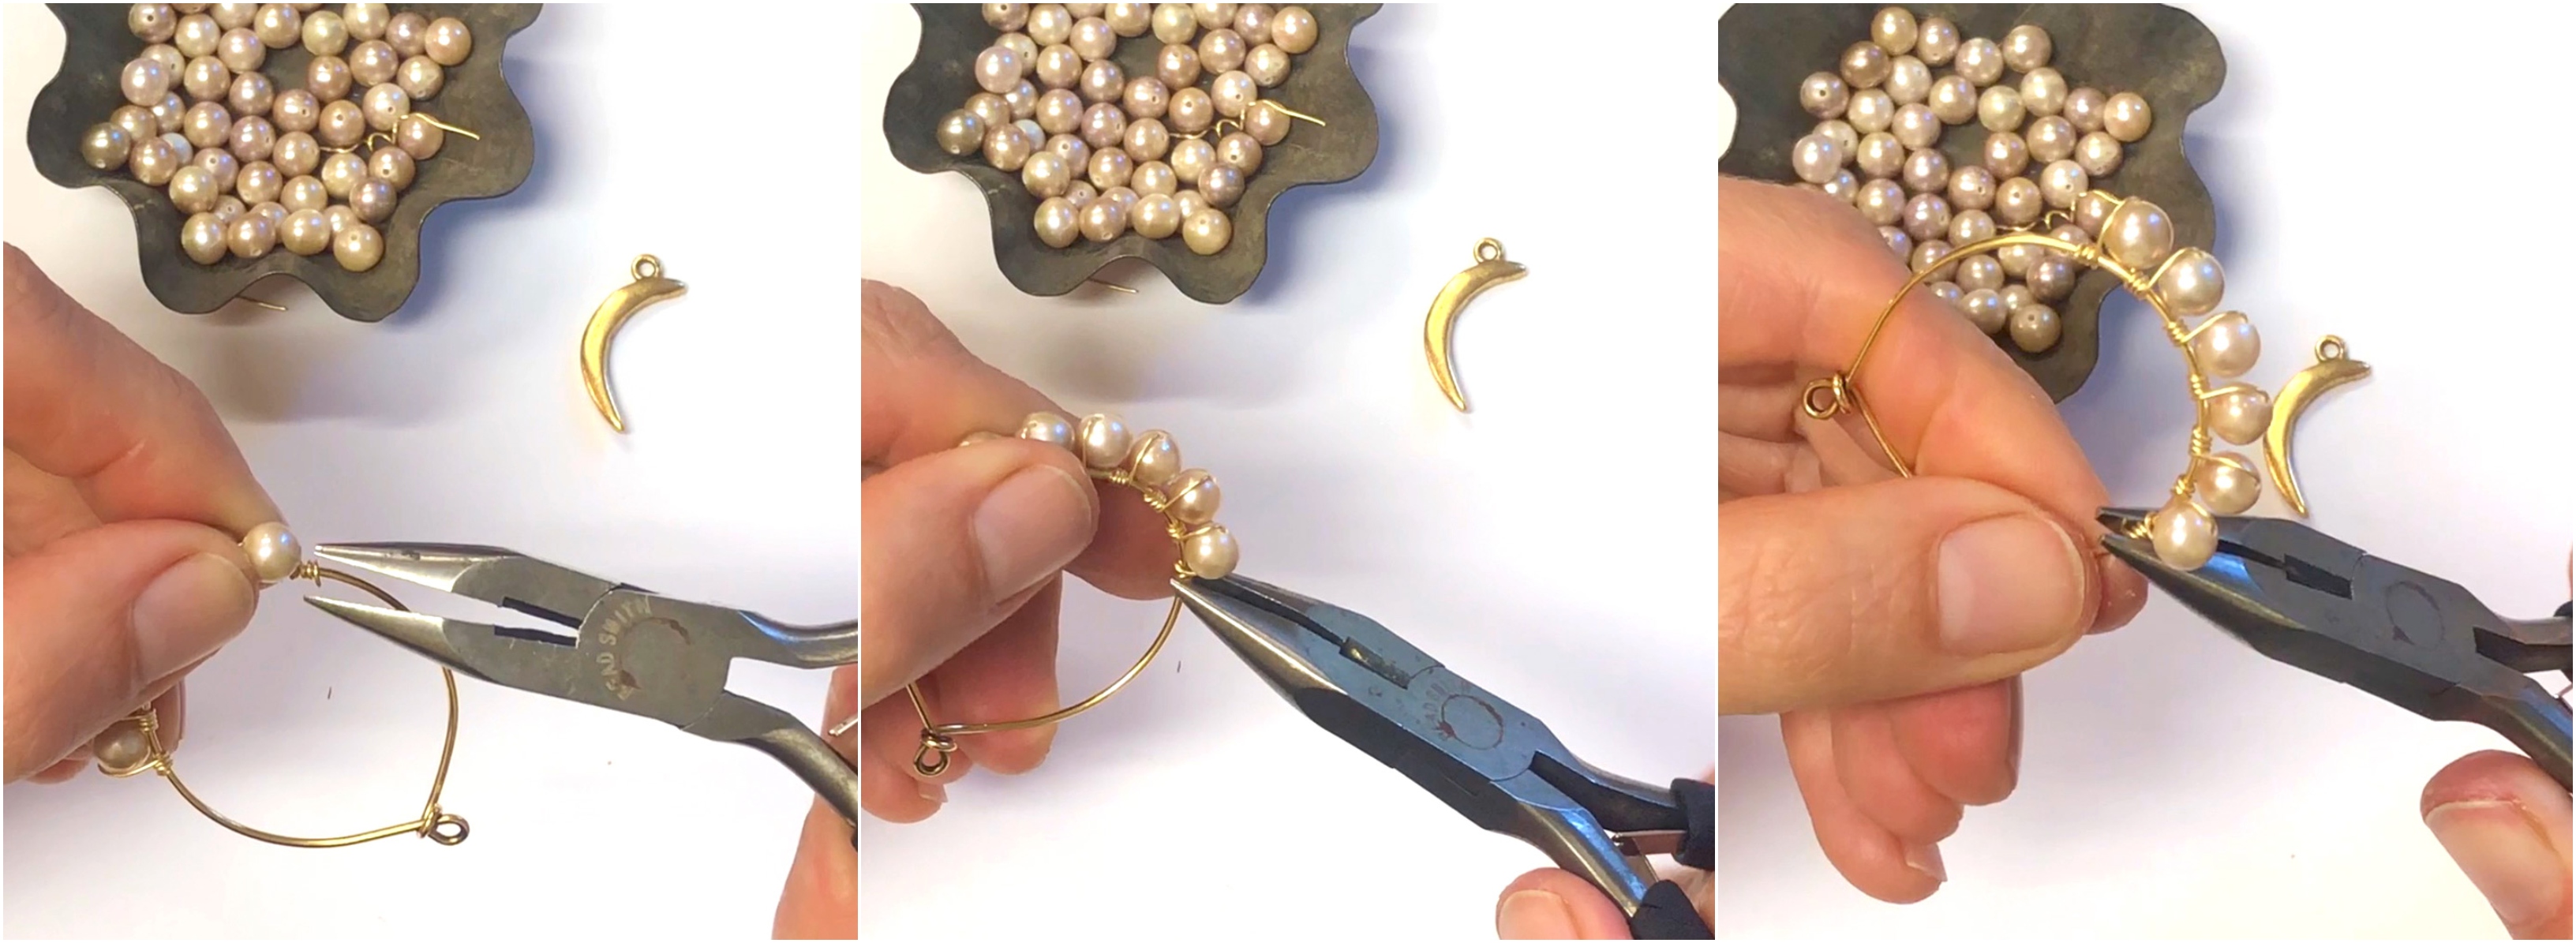
Use a pair of needle nose pliers to crimp down the wire.
Step 8:

Use 2 pairs of needle nose pliers to open one of the Nunn Design jump ring 9mm Textured Ovals. We like to hold the jump ring at 3 and 9 o’clock with the needle nose pliers.
Step 9:
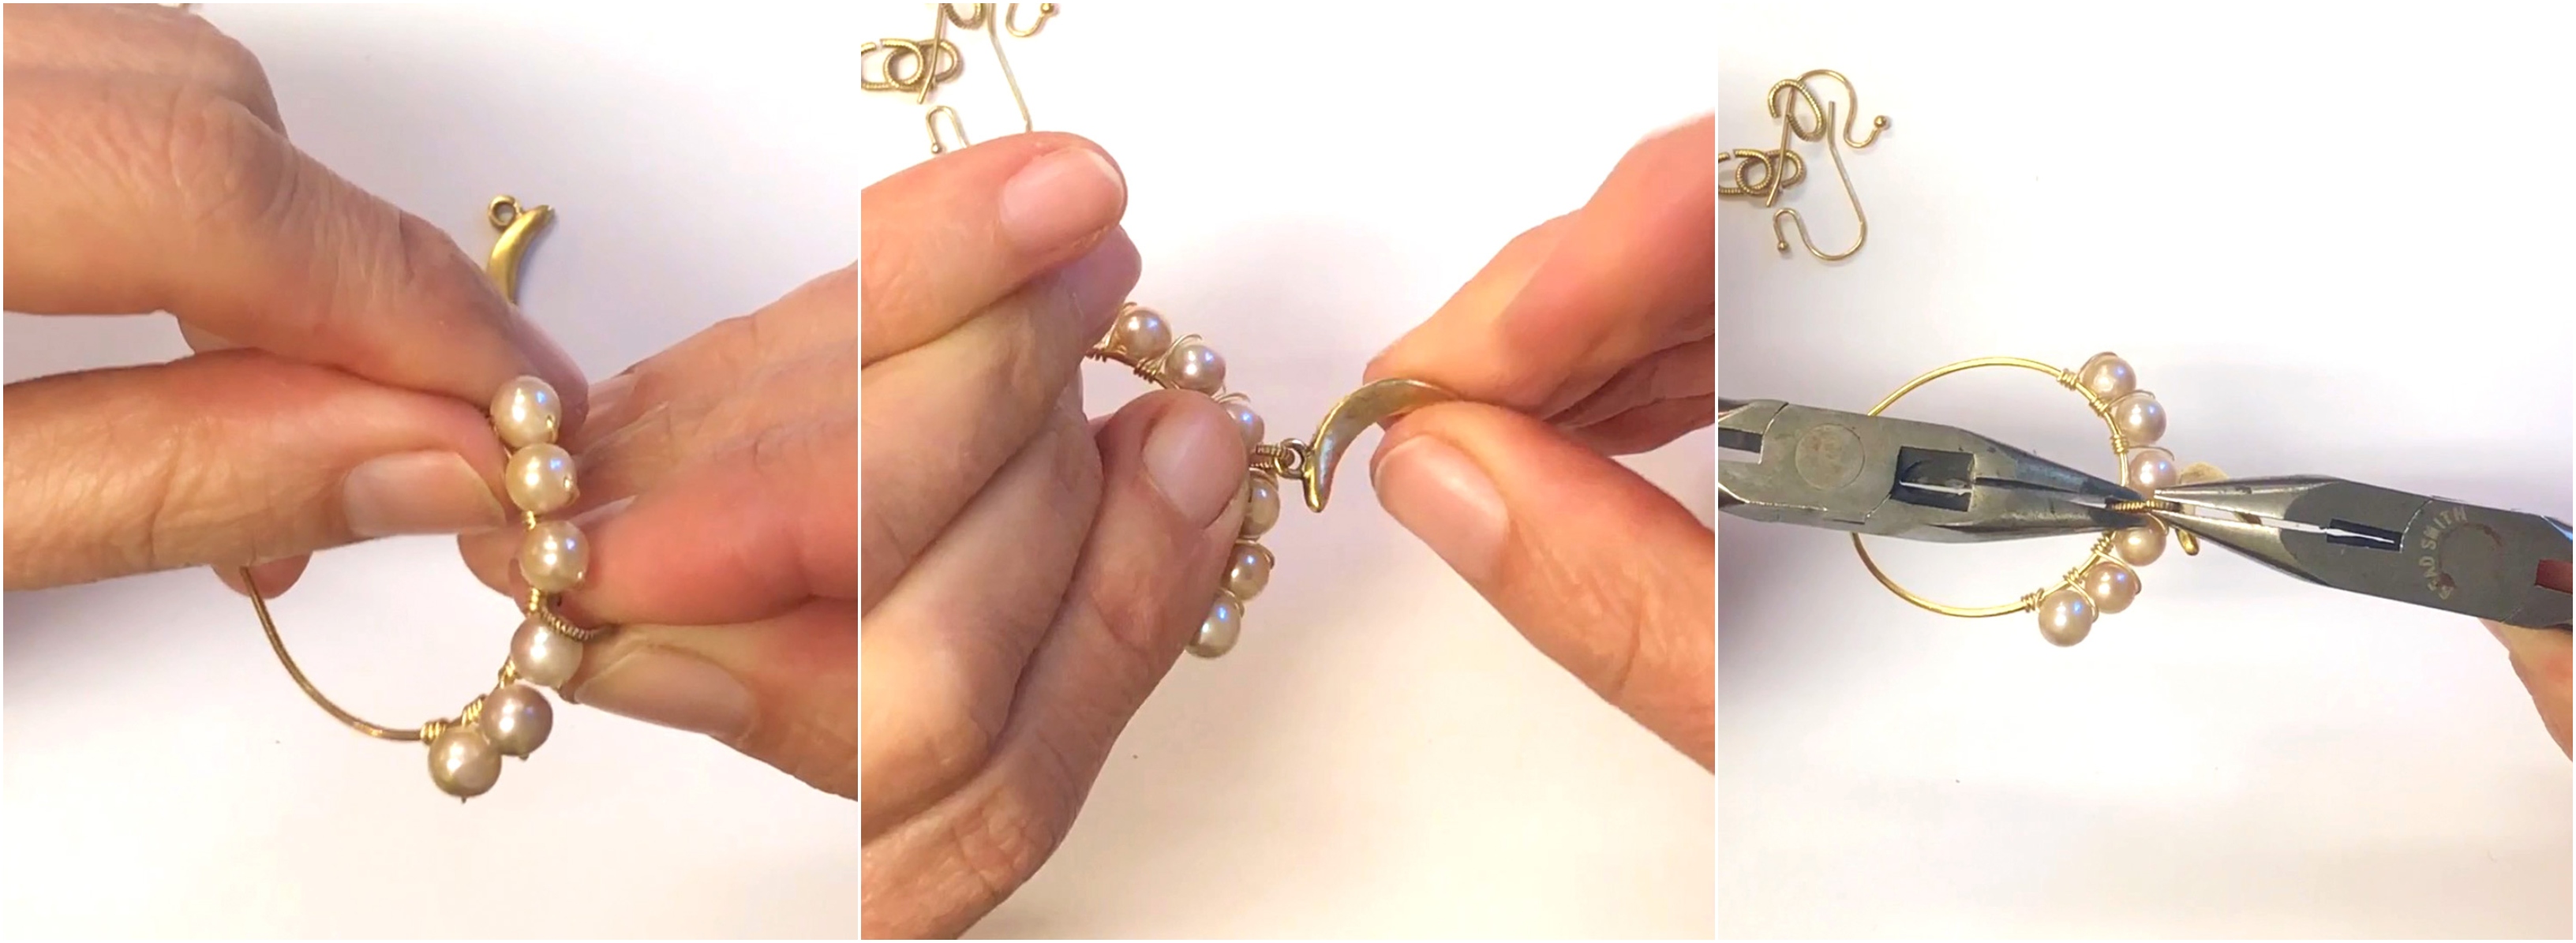
Thread the Nunn Design jump ring 9mm Textured Ovals in the middle of the pearls. Thread on one of the Nunn Design Charm Primitive Crescent Moons. Close the jump ring until flushed together.
Step 10:
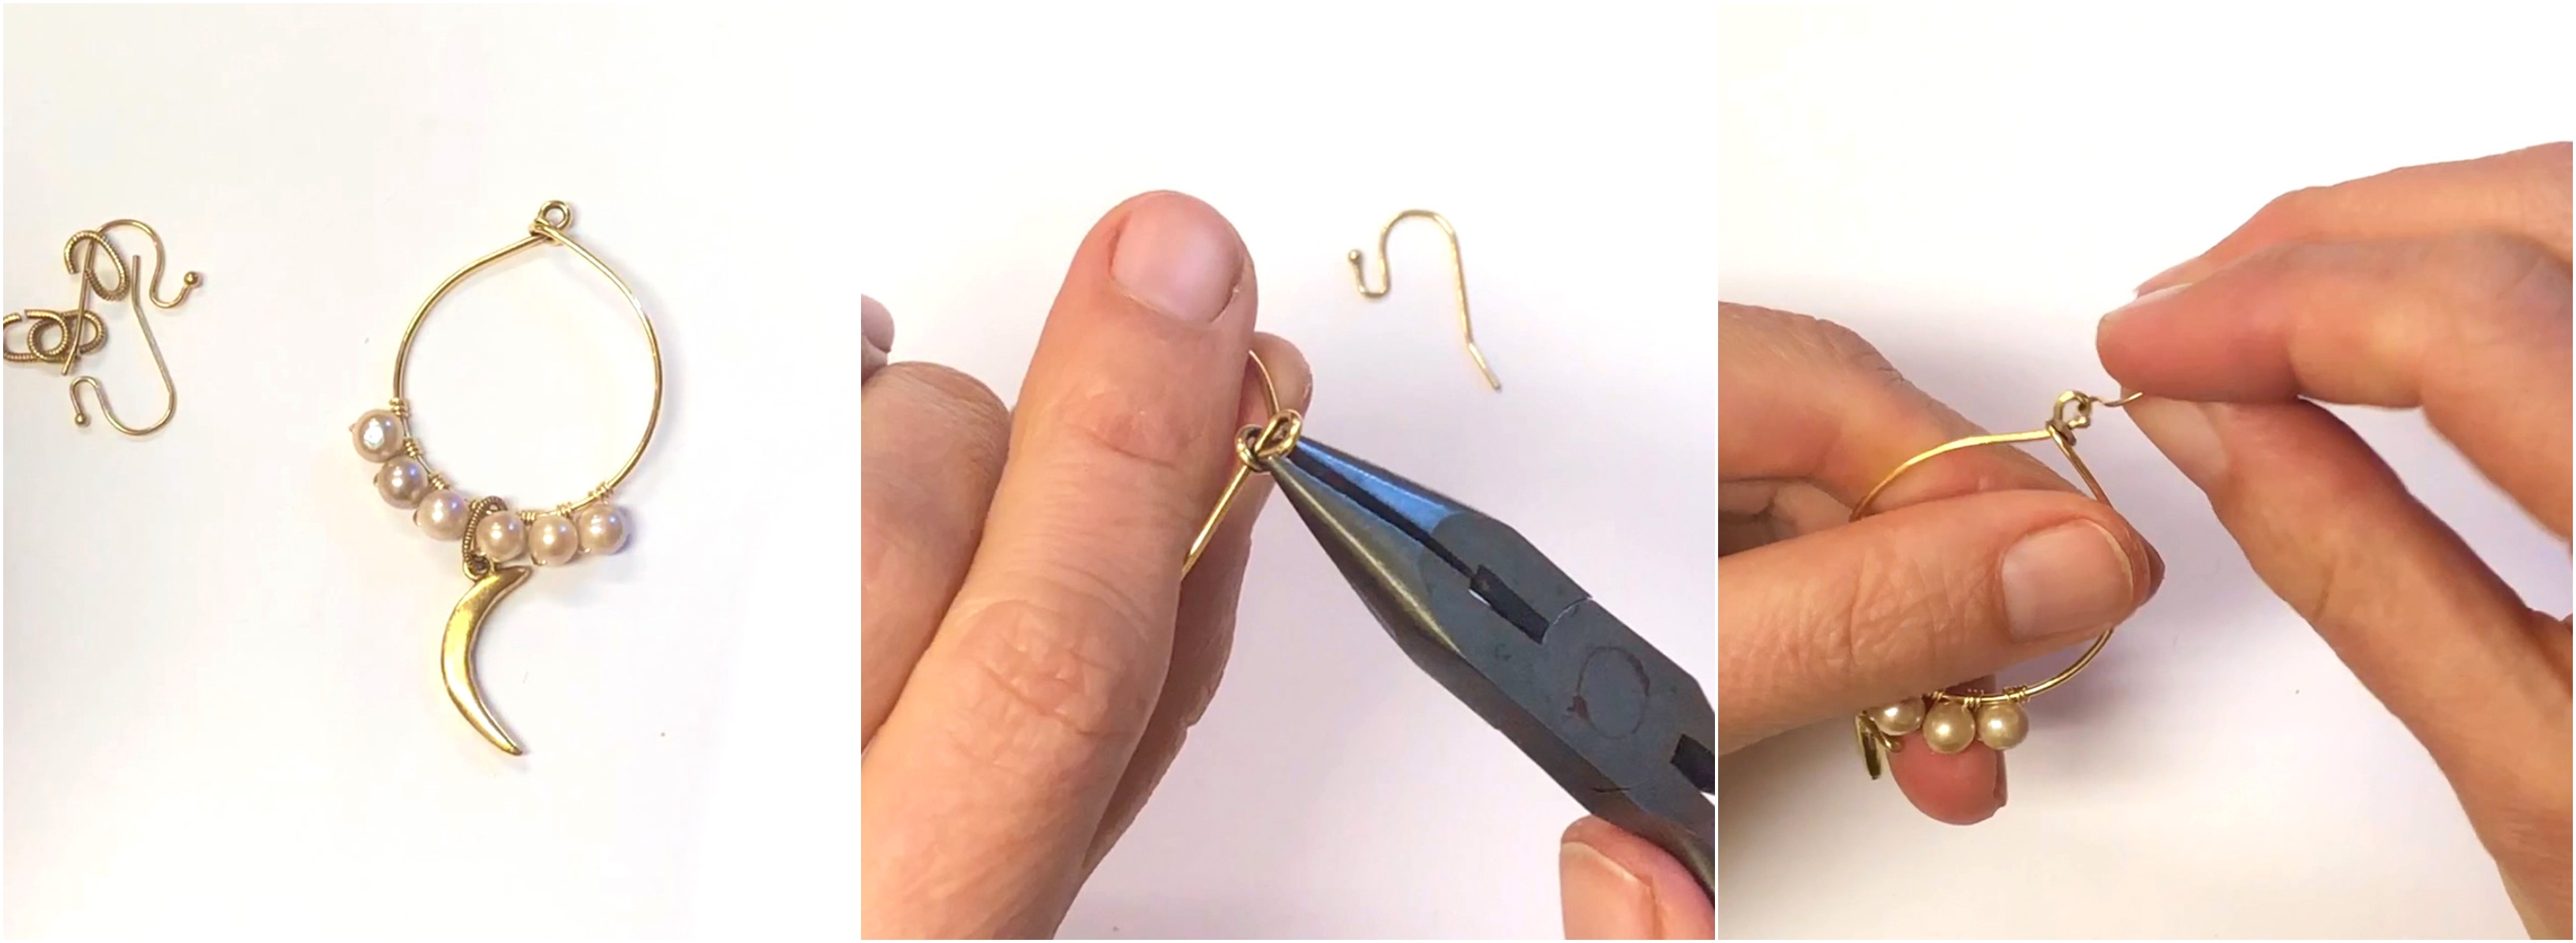
Using a pair of needle nose pliers, bend back the ball part of the earwire. To allow for the Wire Frame to hand correctly, adjust the loop of the frame if needed. Thread on the earwire. Close back the ball, securing the earwire onto the Wire Frame.
Step 11:
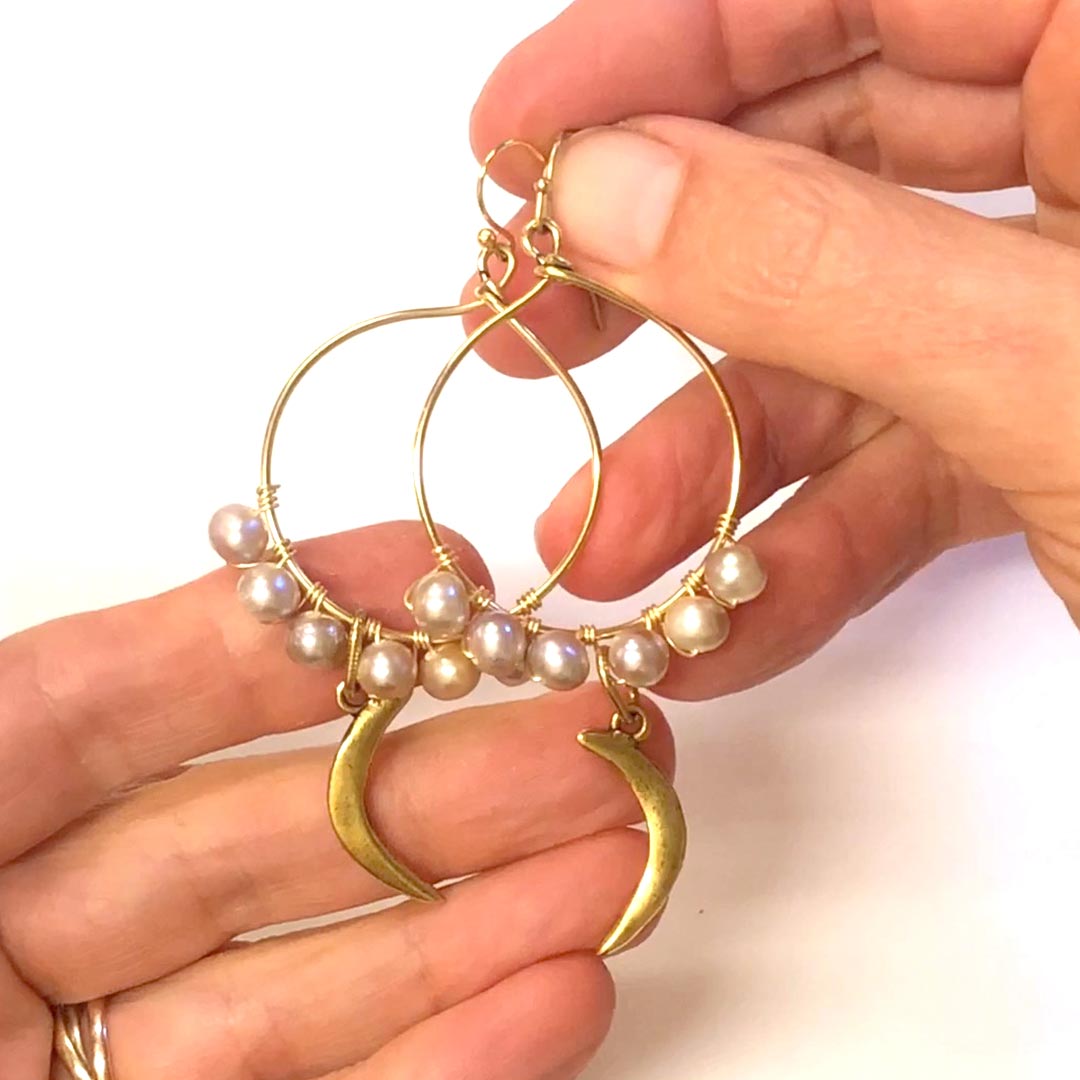
Repeat the steps to create the pair!
Be Inspired!

There are several shapes in the Nunn Design Collection of Wire Frames. Enjoy creating a collection of your own!