Use these tips to create your very own wrap style bracelet designs.
These wrap bracelets continue to be popular. You can make them as long as you like or just one wrap around the wrist. You can use chain instead of beads for a different look or try bigger beads for a quick project. Find fun wrap bracelet inspiration in our Learning Center, like our Gaelic Weave Bracelet or Mommy and Me project, Dragonfly Roundup.
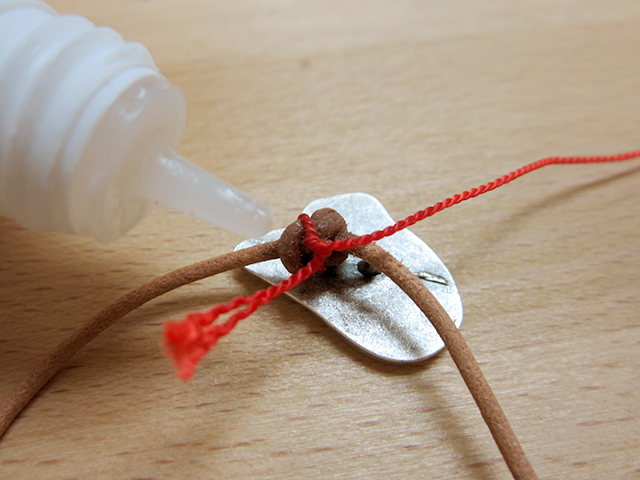
To secure the knot several adhesives work well. Hypo cement, BeadFix, or any quick drying thin adhesive is what you need. Or, patience.
Depending on the desired finished length of the bracelet, you may find it easier to hold it in your hand while wrapping. By holding the bead in place with one hand it becomes easier to pass through with the very long stringing material.
By having the ends of the cording free, problems like tangles and mistakes are much easier to fix. Many times the silk gets twisted to the point you can't pull it into position, gently remove the cord from the loop, un-twist the silk and tuck the loose end back into place.
If you are making a very long bracelet, try clipping one end to a clipboard or securing it in some way. We've taped it to the table in the past.
,
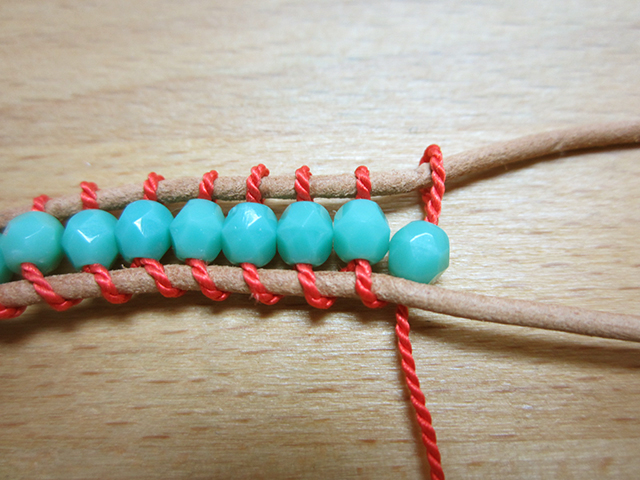
It's important to have even tension or you'll see a curl develop. As you work, if the stringing material is too tight on the upper cord, simply spread the cords to loosen.
We're using Griffin Silk size 6 here because it doesn't slip on the cord and has the handy built-in needle. While working with it, the wire needle will bend and get kinks in it. It is recommended to keep nylon jaw pliers handy to straighten the needle if needed.
If you are working with beading thread and come up short, you will need to add additional thread. Finish off the first piece by knotting it to the thread between the bead that you just passed through and the cording. Pull the new length of thread through the same bead and knot the tail to the existing thread between the bead and cord. Carefully trim the tails. Continue wrapping. You may secure these knots with adhesive if you like.
Add all available items to your cart at once or edit the quantities below.
Any items with quantities lower than stated minimums will default to the minimum in your cart.
Nice choice! All or most of the products needed for this project are shown
below with quantities. Sometimes we sell out of components and aren’t able to order more from
the manufacturer (we know, it is very disappointing to us, too). Use the opportunity to mix up
the design and make it yours by substituting similar products or altering the entire color
scheme—it’s up to you!
Please wait while we add the products to your cart.
Tips on Creating Wrap Style Bracelets
Learn the Proper Technique
designed byArtbeads
Skill LevelBeginner
TechniqueLeather-Working
Time1-3 Hours
Use these tips to create your very own wrap style bracelet designs.
These wrap bracelets continue to be popular. You can make them as long as you like or just one wrap around the wrist. You can use chain instead of beads for a different look or try bigger beads for a quick project. Find fun wrap bracelet inspiration in our Learning Center, like our Gaelic Weave Bracelet or Mommy and Me project, Dragonfly Roundup.
Supplies
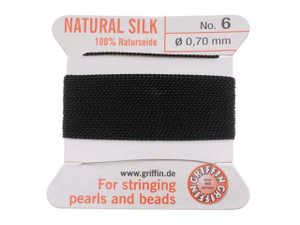
Griffin Bead Cord 100% Silk - No. 6 (0.70mm) Black
Code GSILK6BK
$2.89
×1
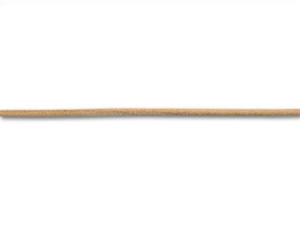
Clearance - Was $0.90 - 1.5mm Natural Round Leather by the Foot - Min Qty 2
Code LF-NAT1
$0.60
$0.90
×2
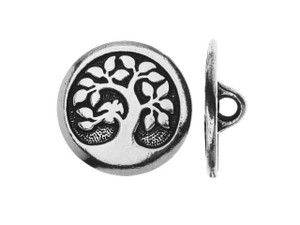
TierraCast Antique Silver-Plated Pewter Tree of Life Button
Code SA-6577
$2.49
×1
Czech Fire-Polish Bead 6mm Orchid Luster (25pc Strand) by Starman
Code FPS-LS-ORC6
$2.69
×1
Step-by-Step Instructions
To secure the knot several adhesives work well. Hypo cement, BeadFix, or any quick drying thin adhesive is what you need. Or, patience.
Depending on the desired finished length of the bracelet, you may find it easier to hold it in your hand while wrapping. By holding the bead in place with one hand it becomes easier to pass through with the very long stringing material.
By having the ends of the cording free, problems like tangles and mistakes are much easier to fix. Many times the silk gets twisted to the point you can't pull it into position, gently remove the cord from the loop, un-twist the silk and tuck the loose end back into place.
If you are making a very long bracelet, try clipping one end to a clipboard or securing it in some way. We've taped it to the table in the past.
,
It's important to have even tension or you'll see a curl develop. As you work, if the stringing material is too tight on the upper cord, simply spread the cords to loosen.
We're using Griffin Silk size 6 here because it doesn't slip on the cord and has the handy built-in needle. While working with it, the wire needle will bend and get kinks in it. It is recommended to keep nylon jaw pliers handy to straighten the needle if needed.
If you are working with beading thread and come up short, you will need to add additional thread. Finish off the first piece by knotting it to the thread between the bead that you just passed through and the cording. Pull the new length of thread through the same bead and knot the tail to the existing thread between the bead and cord. Carefully trim the tails. Continue wrapping. You may secure these knots with adhesive if you like.