Ribbon bezels offer a decorative way to create settings for stones and cabochons. The ends can be soldered together or wire wrapped together to form the settings. The instructions below describe how to wire wrap the ribbon bezel to form a setting. Follow these helpful instructions to use brass ribbon settings to add a touch of beautiful class to your designs.
To get a an accurate measurement for the bezel, cut a small strip of paper. Wrap the stone with the strip and with a pencil mark the strip where the end overlaps.

Unroll the ribbon bezel and lay it flat. Use your paper strip to measure the length of ribbon. Keep in mind that you will want to add approximately 1/8th of an inch to each end to create your bail and you will need a good place to insert the wire to wrap the ends together, so it is best to cut the ribbon at a place where the ribbon has an opening or loop at each end. Also try to keep in mind where the prongs will end up after the stone is wrapped.
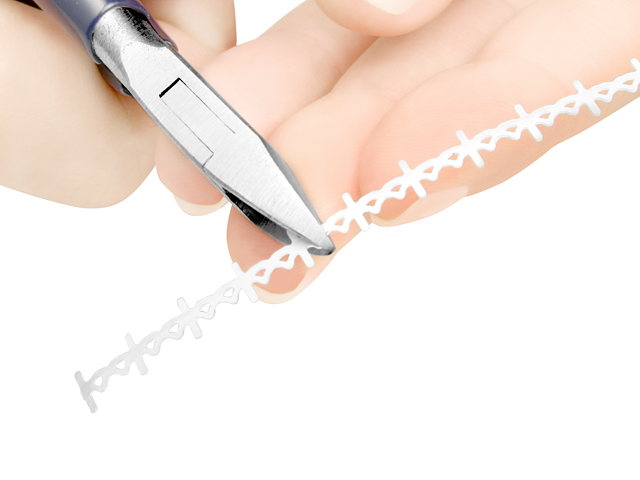
Cut the ribbon with a pair of side cutters to the appropriate length.
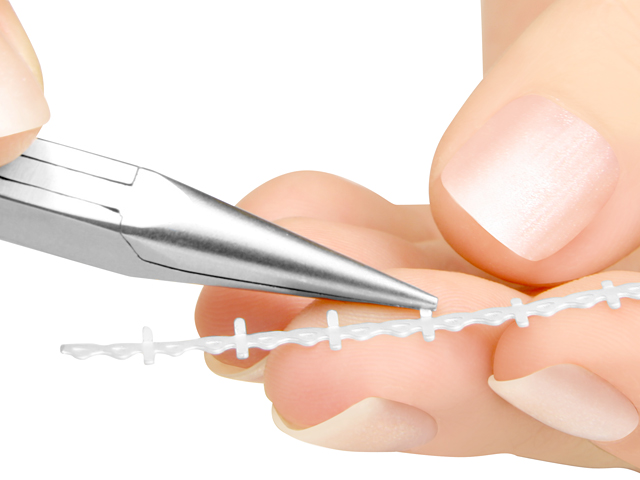
Bend the lower teeth of the ribbon to a 90 degree angle with a pair of chain nose pliers to create a seat for your stone.
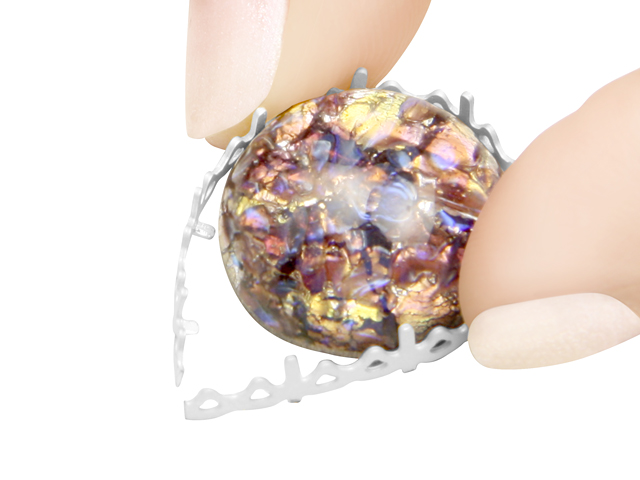
Encircle the stone with the ribbon, pressing it snug to the stone with your fingers. Note that approximately 1/8th of an inch on each end of the ribbon will become your bail so it will be a little longer where the ends meet.
With a pair of chain nose pliers make a 90 degree bend approximately 1/8th of an inch from each end to create the bail. When doing this be sure that your stone fits snugly in the bezel. You can do this by pinching the ends together with a pair of nylon jaw pliers. Adjust the bend, if necessary, till you have a tight fit.
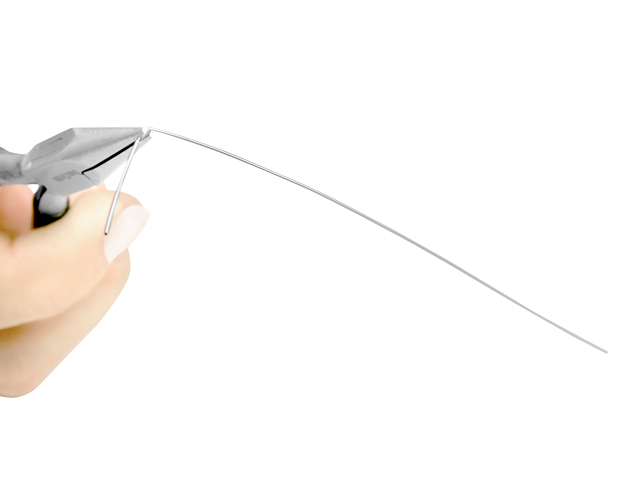
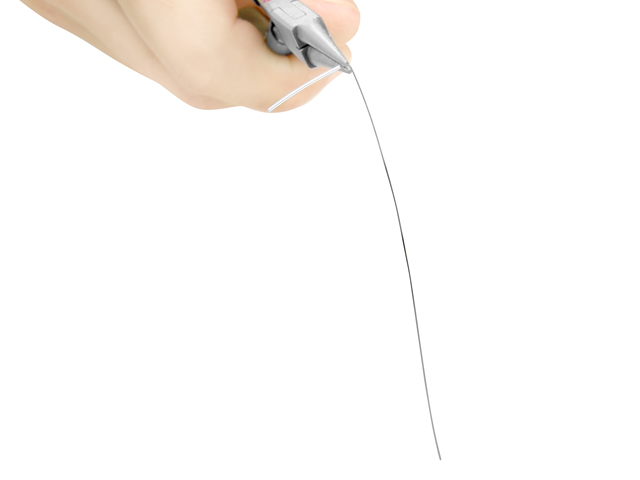
Cut a 3 to 4 inch length of wire. Twenty to twenty-two gauge works best. Make a 90 degree bend about 1/2 of an inch from one end of the wire.
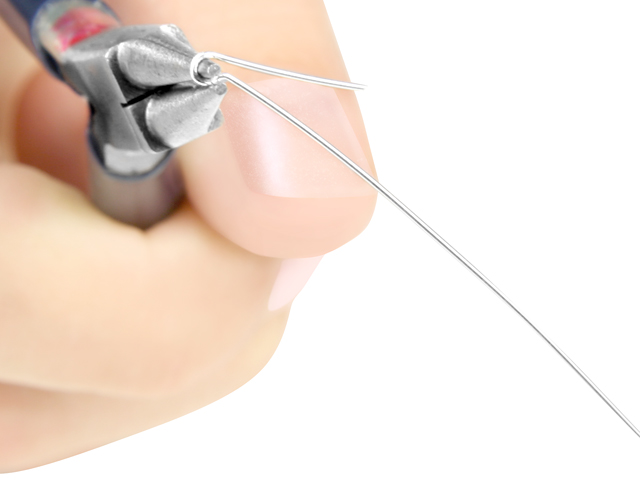
With a pair of round nose pliers, grip the wire at the bend, using the smallest end of the pliers. You will want to hold your pliers in a vertical position so that one barrel of the pliers is above the wire and one is below the wire.
With your fingers push the shorter portion of wire up and over the top barrel of the pliers until it is facing downward.
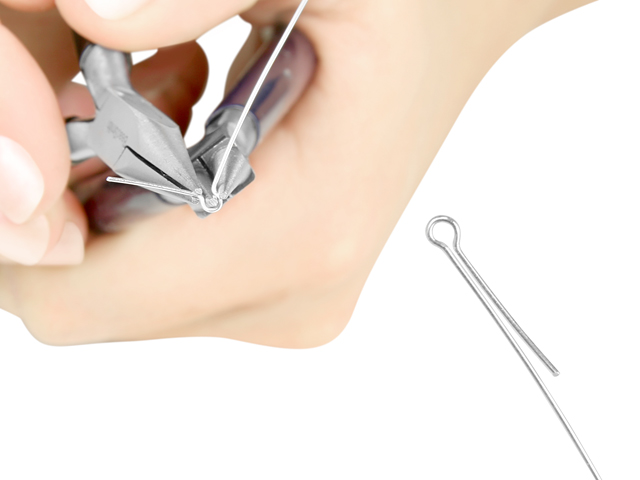
At this point, you may want to switch hands. With a pair of chain nose pliers you will want to grip the shorter wire where it meets with the round nose pliers and make a bend to match the other side.
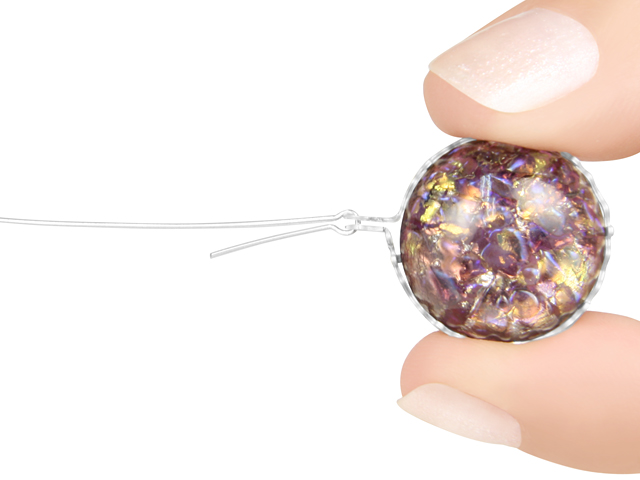
Thread the shorter end of the wire through the loops at the ends of the ribbon where you want your bail.
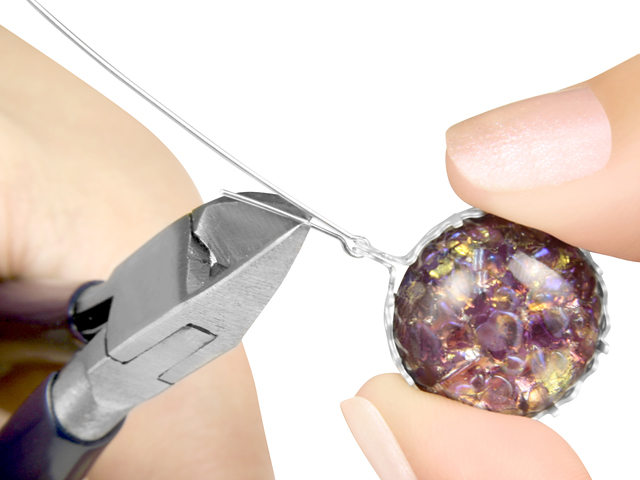
With a pair of nylon jaw pliers squeeze the two wire ends together as close as possible. Trim the shorter wire end to approximately 1/8th of an inch or to whatever length you want your bail to be.
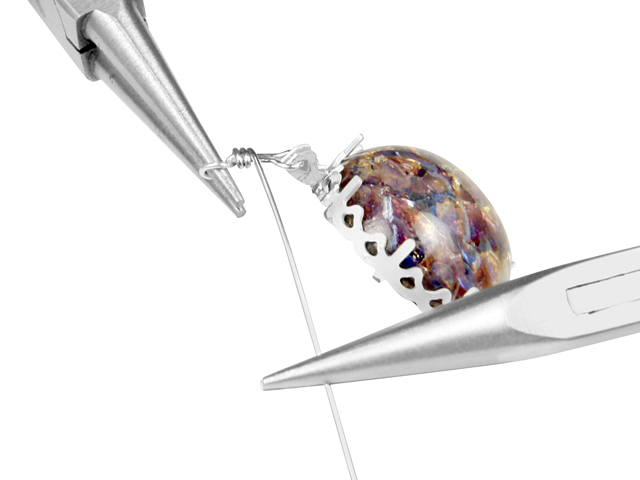
Finish making the bail with a wrapped loop making sure to include the shorter wire end under your wraps. Trim the excess wire with a pair of side cutters and tuck in the tail.
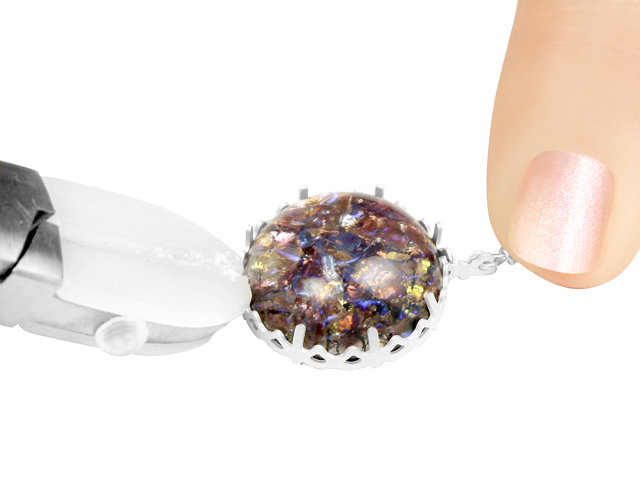
Curve the upper teeth over the stone with a burnisher or the ends of your nylon jaw pliers.
Add all available items to your cart at once or edit the quantities below.
Any items with quantities lower than stated minimums will default to the minimum in your cart.
Nice choice! All or most of the products needed for this project are shown
below with quantities. Sometimes we sell out of components and aren’t able to order more from
the manufacturer (we know, it is very disappointing to us, too). Use the opportunity to mix up
the design and make it yours by substituting similar products or altering the entire color
scheme—it’s up to you!
Please wait while we add the products to your cart.
How to Use Ribbon Bezels
Wrapping Cabochons with Lace Ribbon Settings
designed byArtbeads
Skill LevelBeginner
Time1-3 Hours
Ribbon bezels offer a decorative way to create settings for stones and cabochons. The ends can be soldered together or wire wrapped together to form the settings. The instructions below describe how to wire wrap the ribbon bezel to form a setting. Follow these helpful instructions to use brass ribbon settings to add a touch of beautiful class to your designs.
To get a an accurate measurement for the bezel, cut a small strip of paper. Wrap the stone with the strip and with a pencil mark the strip where the end overlaps.

Unroll the ribbon bezel and lay it flat. Use your paper strip to measure the length of ribbon. Keep in mind that you will want to add approximately 1/8th of an inch to each end to create your bail and you will need a good place to insert the wire to wrap the ends together, so it is best to cut the ribbon at a place where the ribbon has an opening or loop at each end. Also try to keep in mind where the prongs will end up after the stone is wrapped.
Cut the ribbon with a pair of side cutters to the appropriate length.
Bend the lower teeth of the ribbon to a 90 degree angle with a pair of chain nose pliers to create a seat for your stone.
Encircle the stone with the ribbon, pressing it snug to the stone with your fingers. Note that approximately 1/8th of an inch on each end of the ribbon will become your bail so it will be a little longer where the ends meet.
With a pair of chain nose pliers make a 90 degree bend approximately 1/8th of an inch from each end to create the bail. When doing this be sure that your stone fits snugly in the bezel. You can do this by pinching the ends together with a pair of nylon jaw pliers. Adjust the bend, if necessary, till you have a tight fit.
Cut a 3 to 4 inch length of wire. Twenty to twenty-two gauge works best. Make a 90 degree bend about 1/2 of an inch from one end of the wire.
With a pair of round nose pliers, grip the wire at the bend, using the smallest end of the pliers. You will want to hold your pliers in a vertical position so that one barrel of the pliers is above the wire and one is below the wire.
With your fingers push the shorter portion of wire up and over the top barrel of the pliers until it is facing downward.
At this point, you may want to switch hands. With a pair of chain nose pliers you will want to grip the shorter wire where it meets with the round nose pliers and make a bend to match the other side.
Thread the shorter end of the wire through the loops at the ends of the ribbon where you want your bail.
With a pair of nylon jaw pliers squeeze the two wire ends together as close as possible. Trim the shorter wire end to approximately 1/8th of an inch or to whatever length you want your bail to be.
Finish making the bail with a wrapped loop making sure to include the shorter wire end under your wraps. Trim the excess wire with a pair of side cutters and tuck in the tail.
Curve the upper teeth over the stone with a burnisher or the ends of your nylon jaw pliers.